Sage Southard manages the estimating department at Advanced Disaster Recovery, bringing seven years of restoration-industry experience to insurance estimating and large-loss documentation. Sage holds a Bachelor's degree in Law and Justice Studies with a minor in Business Administration from Rowan University and is OSHA 10, Xactimate Level One, and FEMA certified, as well as a Haag Certified Reviewer.

Filing a fire damage insurance claim is stressful. Advanced DRI walks you through each step, from the first call to final settlement, with practical tips.
In the hours after a house fire, most homeowners are not thinking clearly. Adrenaline is high, sleep is poor, and the next few weeks feel like an avalanche of phone calls, forms, and unfamiliar vocabulary. At Advanced DRI, we walk homeowners through the insurance claim process constantly, and we’ve found that the single most calming thing we can do is explain what’s coming next.
Here’s a step-by-step walk-through of a typical fire damage insurance claim, with the kinds of practical tips we wish every homeowner had on day one.
Step 1: Make Sure Everyone Is Safe
Before anything else — before the insurance call, before the photos, before the list of what you lost — verify your family is accounted for, including pets. If the fire department is still on-scene, do not re-enter the home until they clear it. Smoldering materials can flare back up hours later, and the structure itself may be compromised.
Step 2: Call Your Insurance Carrier
Most policies require you to report a loss “promptly,” which courts generally interpret as within 24 to 72 hours. Call the claims number on your policy or the main line on your insurance card. You will typically be asked:
- When the fire occurred
- The cause, if known
- Whether the home is still habitable
- A general description of damage
- Contact information for follow-up
You’ll receive a claim number. Write it down in multiple places — you’ll use it constantly for the next several months.
Step 3: Additional Living Expenses (ALE)
If your home is uninhabitable, most policies include Loss of Use or Additional Living Expenses coverage. This pays for hotel, temporary rental, food beyond your normal grocery budget, pet boarding, laundry, and other costs of being displaced.
Important: keep every receipt. Hotel bills, restaurant meals, rental car, spare phone chargers, replacement toiletries — all of it. Some carriers will advance funds; others require you to submit receipts for reimbursement.
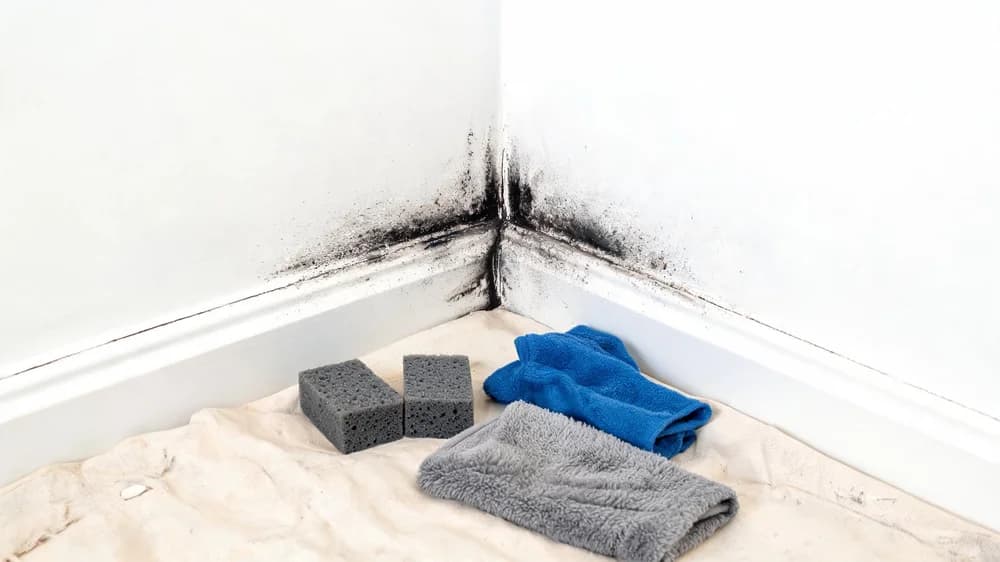
Step 4: Mitigation — Your Legal Duty
Every homeowners policy includes a duty to mitigate, which means you’re obligated to take reasonable steps to prevent further damage. After a fire, that typically means:
- Boarding up broken windows and openings
- Tarping the roof if it was damaged
- Beginning smoke and soot cleanup before acidic residue causes more damage
- Protecting personal property from weather and theft
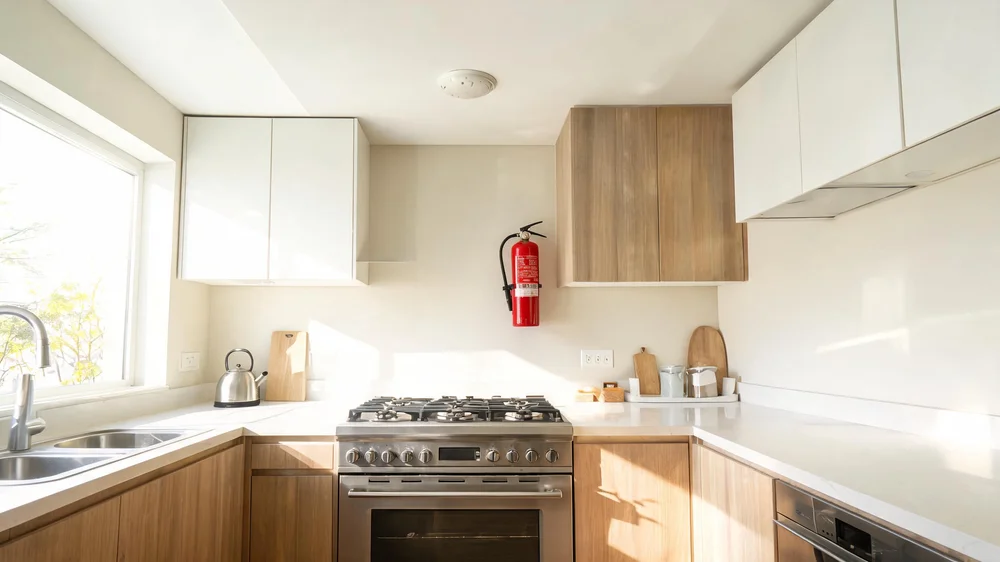
This is where a professional restoration company comes in. Our fire and smoke damage restoration team handles emergency board-up, tarping, and initial stabilization as one package, often the same day you call. This protects both your home and your claim.
Step 5: The Adjuster Visit
Within a few days, your insurance company will assign an adjuster who inspects the damage in person. The adjuster’s job is to document what happened and estimate what the carrier will pay. Expect:
- A walkthrough of the entire home, including rooms the fire didn’t reach (smoke travels)
- Photographs and sometimes video
- A request for your own inventory of damaged personal property
- Possibly a sample of building materials (carpet, cabinet door) to price out replacement
Tips for the adjuster visit:
- Be present. Point out damage that may not be obvious.
- Have your restoration company there too. Their scope of work is a strong reference point for the estimate.
- Don’t sign anything that releases the carrier from further liability on day one.
- Ask for a copy of the adjuster’s estimate when it’s complete.
Step 6: The Contents Inventory
You will be asked to list every damaged belonging, ideally with:
- Item description
- Brand, model, or approximate details
- Age and original purchase price (estimate is fine)
- Current condition
This is tedious. Most homeowners spend 20–60 hours on a complete inventory. A few tips that save time:
- Go room by room, working from photos you took before the fire if any exist
- Use bank or credit card statements to pull up receipts for bigger items
- Request help from family who may remember items you had
- Don’t throw anything damaged away until the adjuster has seen or approved it
Step 7: Understanding the Payment Structure
Most policies pay for contents in two stages:
- Actual Cash Value (ACV) is paid up front — depreciated value of your items
- Replacement Cost Value (RCV) is paid after you actually replace the items and submit receipts
This catches many homeowners by surprise. The first check is often significantly lower than the second, and you have to actually buy the replacement items to access the difference.
For the structure, there may be a similar structure: initial payment for immediate repairs, final payment on completion.
Step 8: Restoration and Reconstruction
While the claim progresses, work proceeds on the home itself. Restoration typically flows:
- Emergency stabilization (board-up, tarping, water extraction if firefighting caused flooding)
- Debris removal and initial cleanup
- Smoke and soot cleaning, HVAC cleaning, odor removal
- Demo of unsalvageable materials
- Structural repairs
- Rebuild — drywall, flooring, cabinetry, paint
- Final cleaning and move-back
A good restoration company coordinates all of this and communicates directly with the insurance adjuster, saving you from being the middleman.
Step 9: Disagreements and Supplements
Partway through restoration, the restoration company often finds additional damage not visible during the initial inspection — smoke in an HVAC plenum, water damage from firefighting hidden behind a wall, subfloor damage. These become supplements to the original claim.
If the carrier and the restoration company disagree on pricing, your policy has an appraisal clause as a dispute resolution step before litigation. Most claims settle without it.
Step 10: Settlement and Closeout
Once restoration is complete and contents have been replaced, final payments are issued. Keep records for several years — carriers sometimes re-open claims for hidden issues discovered later.
How Advanced DRI Helps Through the Claim
Beyond physical restoration, our team supports you throughout the claim process:
- Detailed written scope and estimate in industry-standard format
- Direct communication with the adjuster
- Photographic documentation of every phase
- Supplement requests when additional damage is discovered
- Help with the contents inventory, if requested
Ready for Help?
If you’ve just had a fire, the first call should be to your insurance carrier. The second should be to Advanced DRI. We’ll dispatch emergency stabilization the same day and begin documenting your loss in the format your insurer needs. Our team is available 24/7.
Frequently Asked Questions
Do I have to use the contractor my insurance suggests?
No. You have the right to choose your own restoration company. Insurance carriers often have a preferred vendor list, but you are not obligated to use them. Many homeowners prefer an independent contractor who advocates for their interests.
How long does a typical fire claim take to settle?
Small claims settle in weeks. Major fire claims with structural damage typically take 6 to 12 months from first call to final payment. The contents portion often settles faster than the structural portion.
What if I can’t remember everything I owned?
It’s a common challenge. Use photos (even old social media photos can help), credit card records, and family memory. Professional inventory services are also available and are sometimes covered by your policy. Don’t underreport — it’s your legal right to claim your actual loss.
Categories
Need Restoration Services?
Our team is available 24/7 for emergency response. Call us today for a free phone consultation.
Questions About Restoration?
Our experts are ready to help. Contact us for a free consultation.