What You’ll Need for Assessment
Tools:
- Moisture meter (available at hardware stores for under $50)
- Flashlight or work light
- Screwdriver for testing soft spots
- Tape measure
- Camera for documentation
- Marker for noting problem areas
Materials (for minor DIY repair only):
- Fans and dehumidifiers for drying
- Sandpaper (120-grit)
- Joint compound
- Primer and paint matching your wall color
- Protective gear (gloves, mask, safety glasses)
Time Required:
⏱️ Initial Assessment: 15-30 minutes
⏱️ Drying Time: 24-72 hours (not active time)
⏱️ Minor Repair: 2-4 hours
⏱️ Professional Replacement: 1-3 days
⚠️ Safety First
Before assessing drywall water damage:
- Turn off electricity to affected areas at the breaker box
- Wear protective gear including gloves and N95 mask
- Avoid touching wet drywall that may contain contaminated water
- Never attempt repairs if mold is visible or suspected
- Document everything with photos for insurance purposes
Understanding Drywall Water Damage Categories
Not all wall water damage is created equal. The source and contamination level of water determines your approach:
| Water Category | Source Examples | DIY Appropriate? | Action Required |
|---|---|---|---|
| Category 1 (Clean) | Supply lines, sink overflow, rainwater | Yes, if caught quickly | Dry within 24-48 hours |
| Category 2 (Gray) | Washing machines, dishwashers, toilet tanks | Caution advised | Professional assessment recommended |
| Category 3 (Black) | Sewage, flooding, standing water | No – professional only | Immediate professional remediation |

Step-by-Step: Assessing Your Drywall Water Damage
Step 1: Document the Damage
Before touching anything, take clear photos from multiple angles. Capture the water source, affected walls, and any visible damage. This documentation is crucial for insurance claims and helps professionals provide accurate estimates if needed.
💡 Pro Tip: Include a ruler or tape measure in photos to show the extent of damage.
Step 2: Measure Moisture Levels
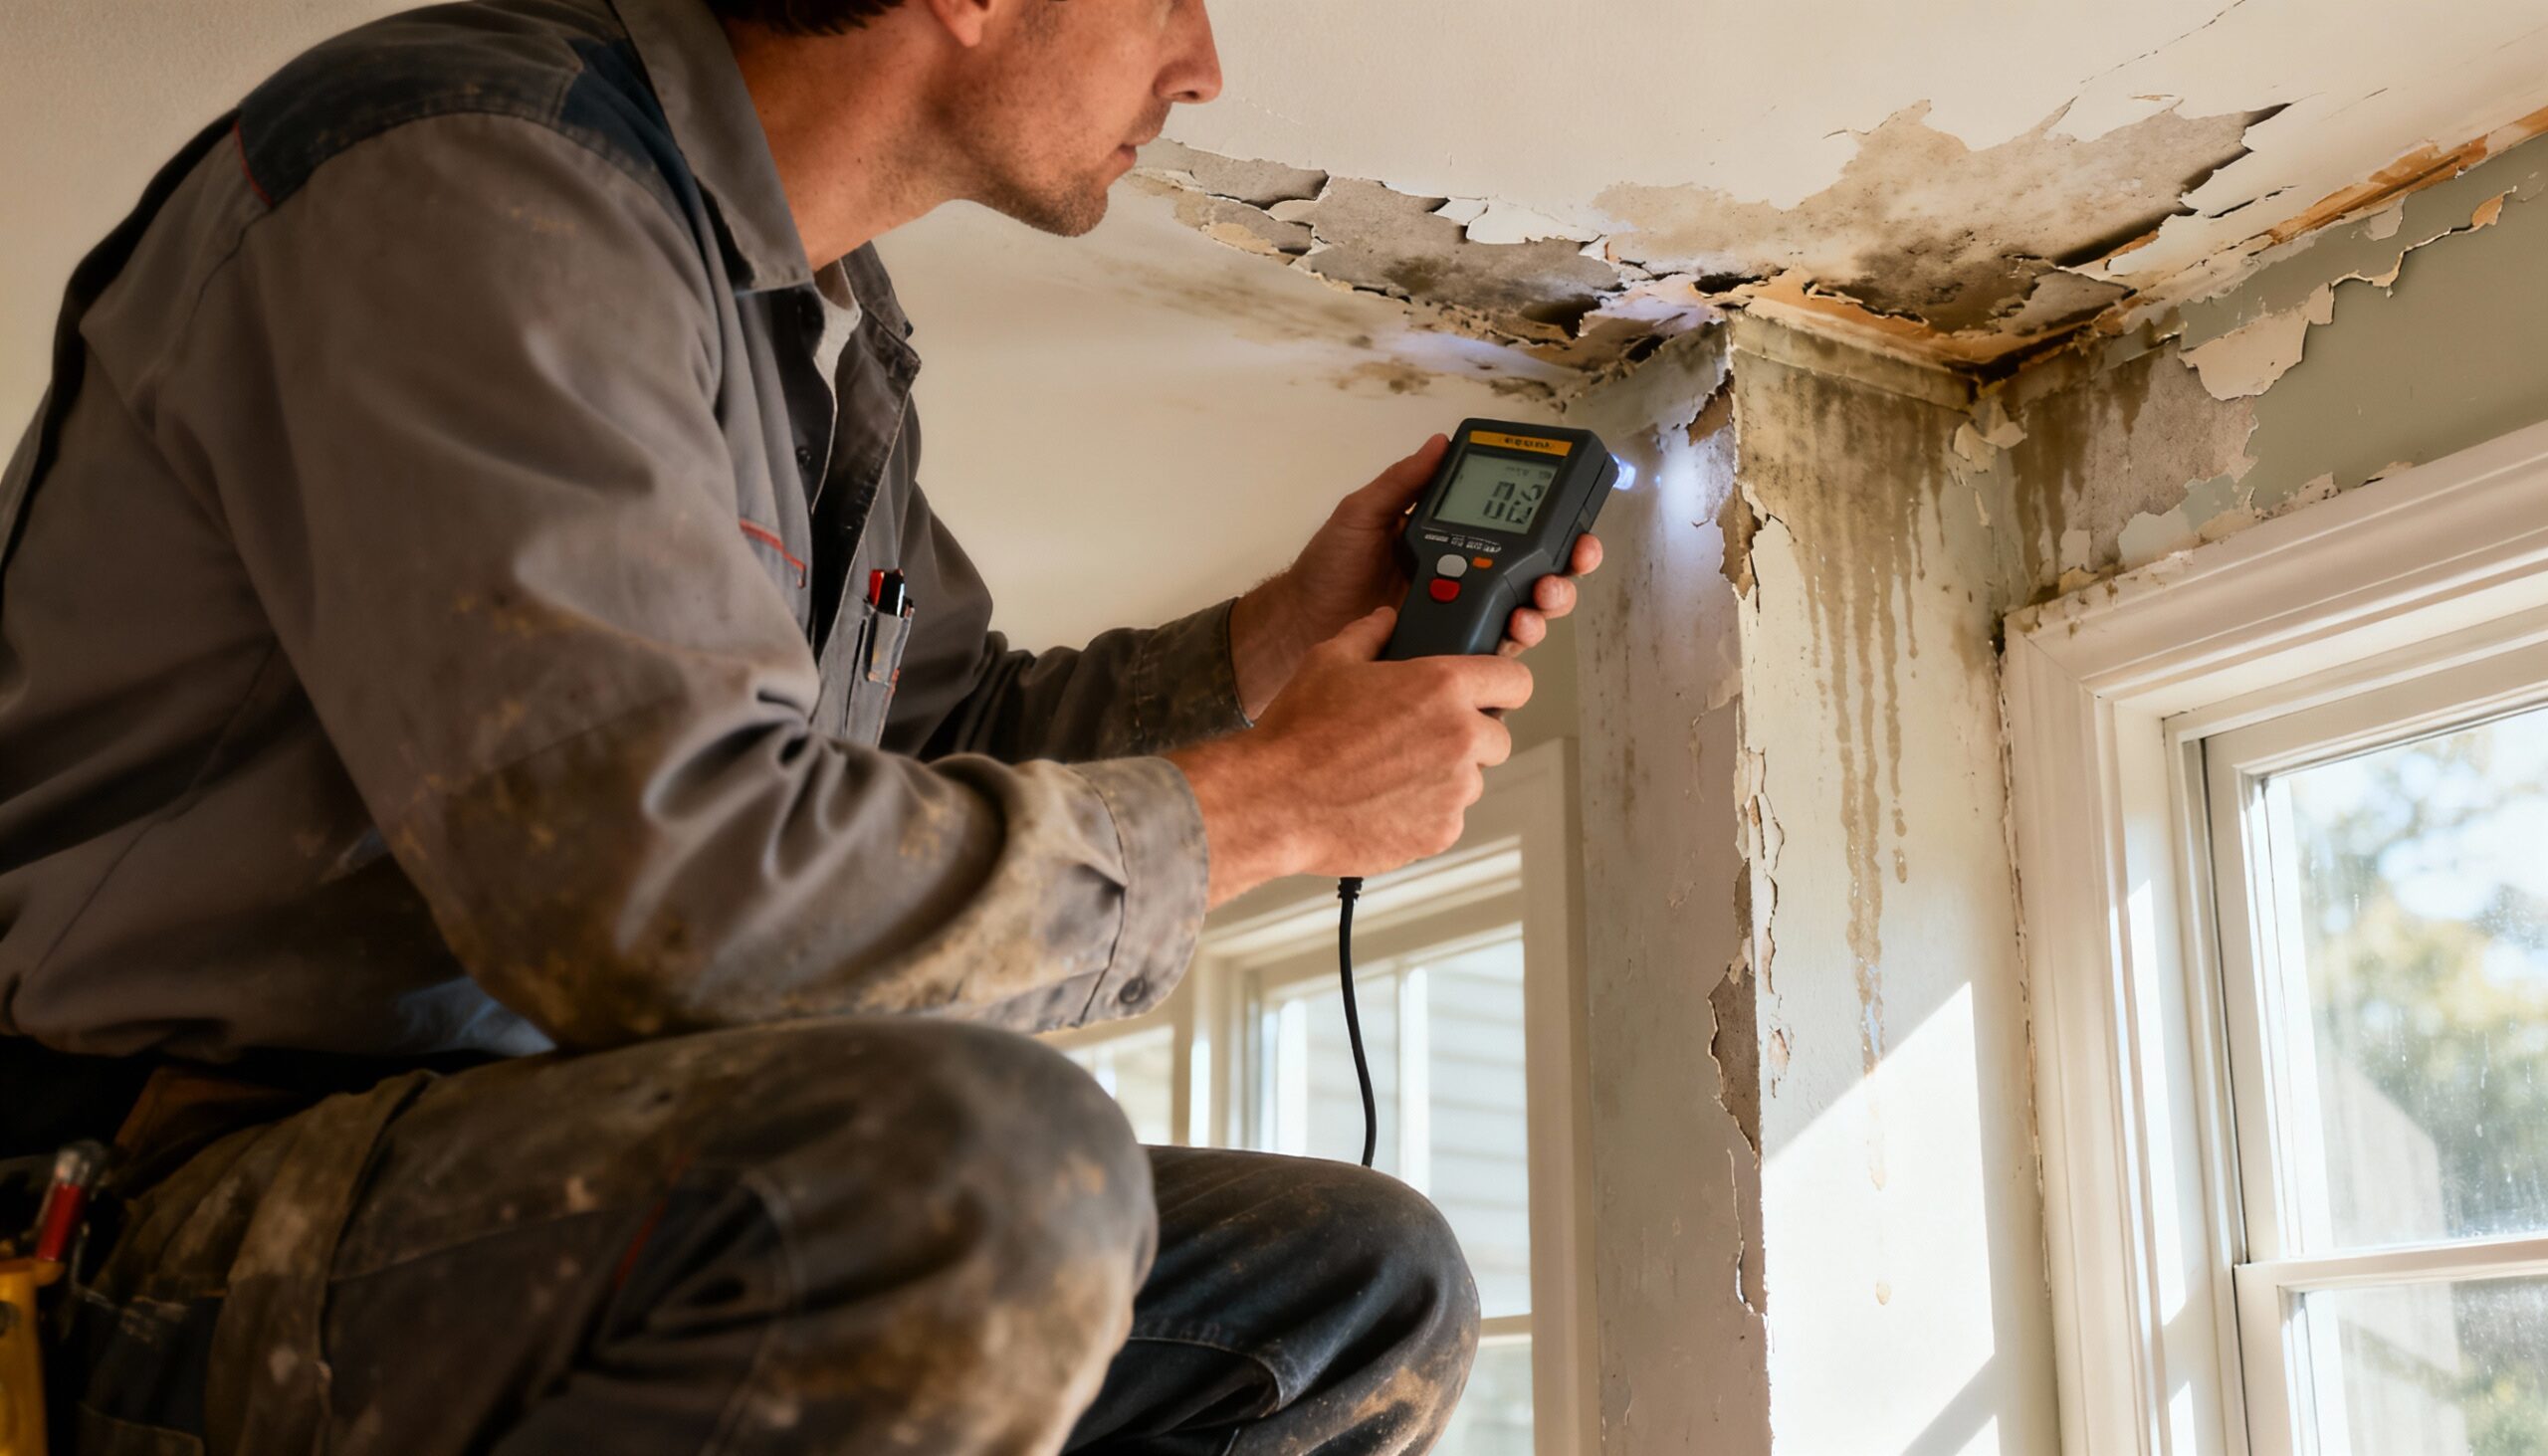
Using your moisture meter, check multiple spots on the affected drywall and surrounding areas. Hold the meter flat against the wall and take readings at various heights. Drywall moisture content above 1% indicates water presence, while readings above 5% suggest significant saturation.
Why this matters: Moisture meters reveal hidden water damage that isn’t visible to the eye, preventing future mold growth.
Step 3: Inspect for Structural Indicators
Look for these warning signs that indicate the severity of drywall water damage:
- ✅ Minor damage: Light discoloration, slight dampness, no texture changes
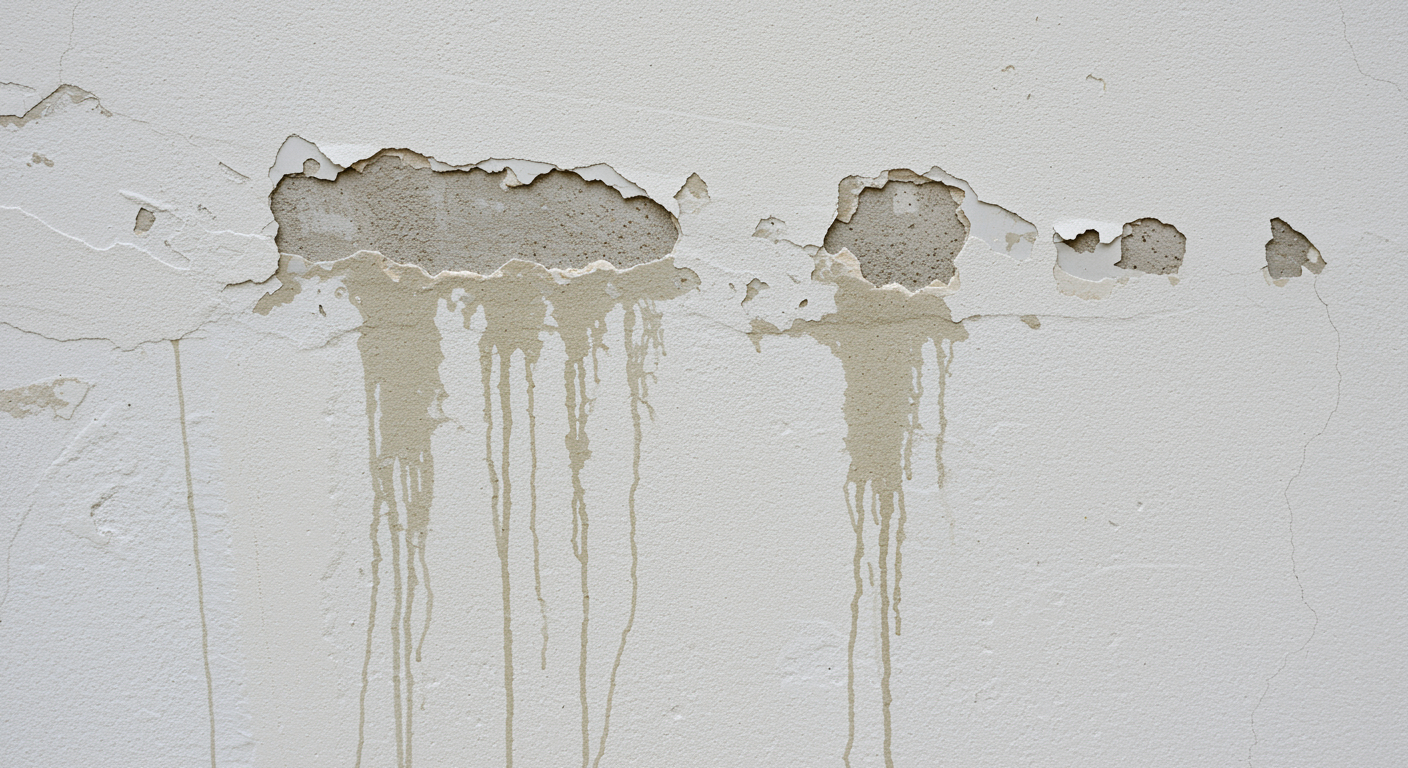
- ⚠️ Moderate damage: Darker stains, paint bubbling, soft spots when pressed
- 🔴 Severe damage: Sagging, crumbling texture, visible mold, musty odors
Step 4: Test Drywall Integrity
Gently press the affected areas with your screwdriver handle. Healthy drywall feels firm and solid. Wet drywall that’s been compromised will feel spongy, may indent easily, or could even puncture with light pressure.
What success looks like: You should have a clear understanding of which areas are affected and their moisture levels.
Step 5: Check Behind the Walls
If you have access to the back side of the wall (basement, crawlspace, or attic), inspect for water accumulation, insulation damage, or mold growth. Wall water damage often extends beyond what’s visible on the surface.
When to Repair: Minor Drywall Water Damage
You can safely attempt drywall repair yourself if ALL of these conditions are met:
- Water exposure was less than 24 hours
- The water source was clean (Category 1)
- Affected area is less than 2 square feet
- Drywall feels firm with no soft spots
- No visible mold or musty odors present
- Paint is intact (just discolored)
- No structural components are affected
DIY Repair Process for Minor Damage
1. Dry the Area Completely
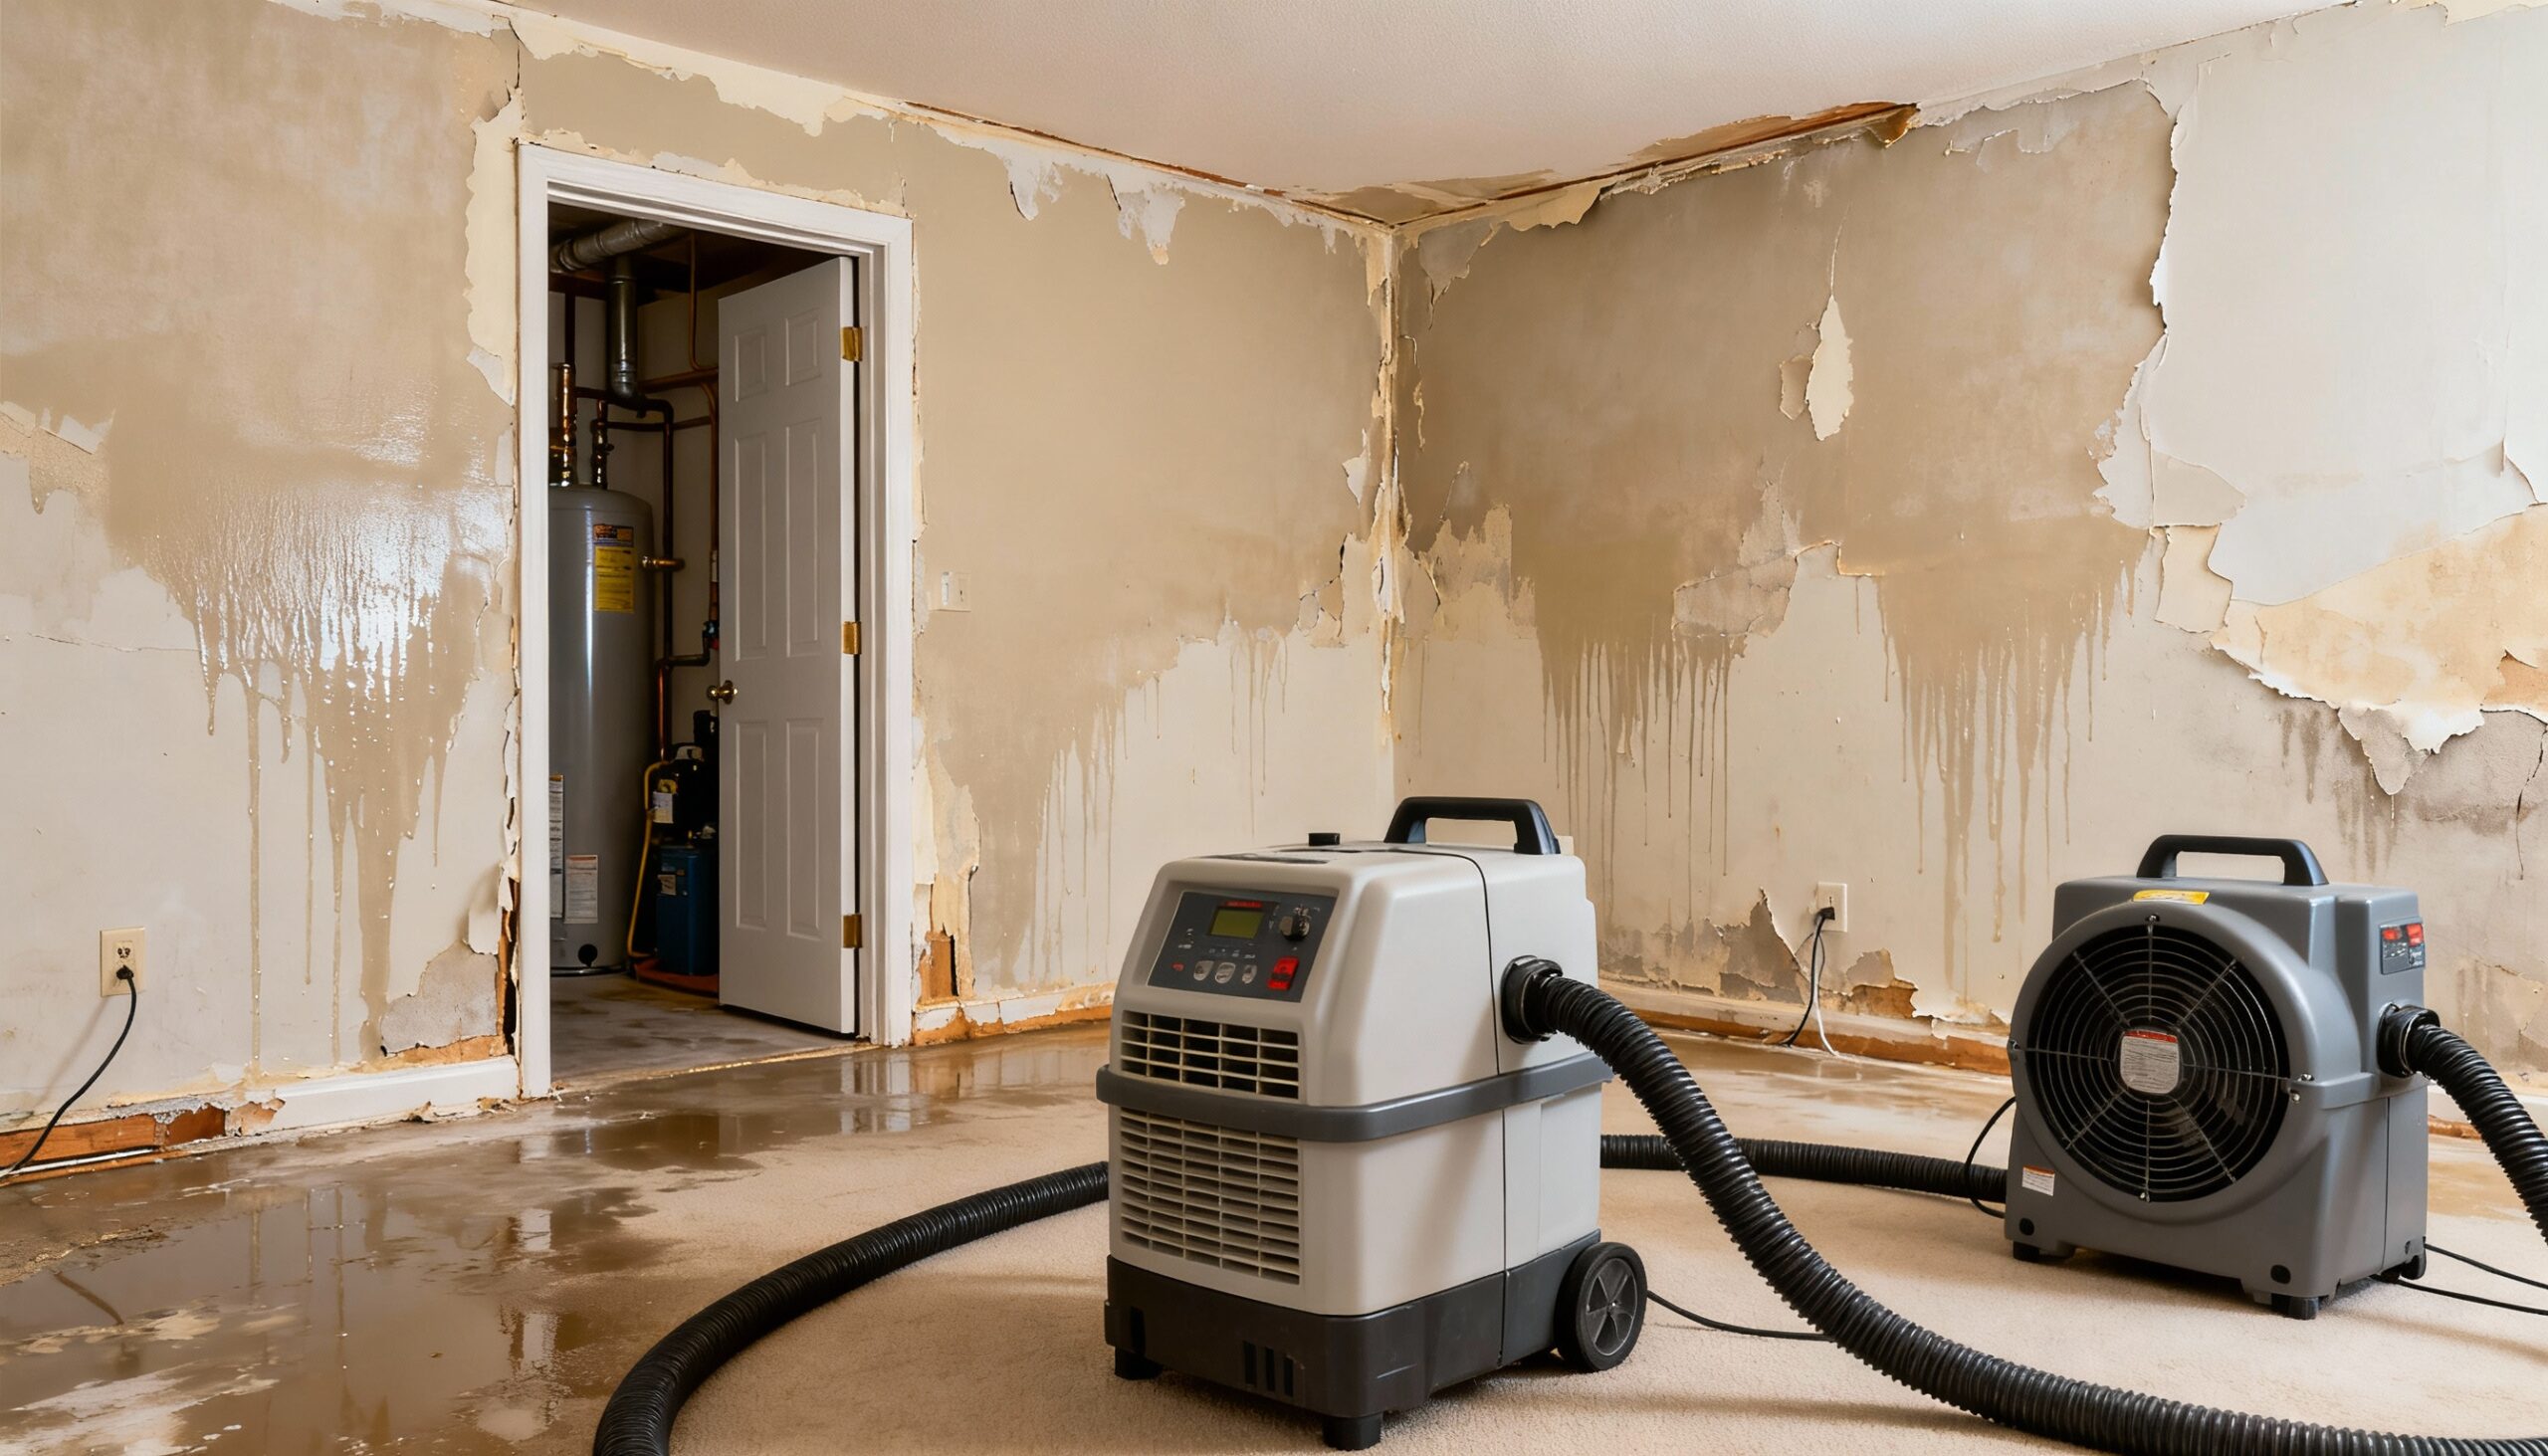
Set up fans and dehumidifiers pointing at the affected wall. Run continuously for 24-72 hours until moisture meter readings return to normal (below 1%). Ensure good ventilation by opening windows when weather permits.
2. Sand and Prime
Once completely dry, lightly sand any rough or bubbled areas with 120-grit sandpaper. Wipe clean with a damp cloth and allow to dry. Apply a stain-blocking primer to prevent water stains from bleeding through your paint.
3. Repair and Paint
If the drywall paper has separated slightly, apply a thin layer of joint compound, let it dry, and sand smooth. Apply two coats of paint matching your existing wall color.
⏱️ Timeline: 3-5 days total (mostly drying time)
When to Replace: Significant Drywall Water Damage
Professional drywall replacement is necessary when:
- Water exposure exceeded 48 hours
- Drywall feels soft, spongy, or crumbles when touched
- Visible sagging or warping is present
- Mold growth is visible or suspected
- Water was contaminated (Category 2 or 3)
- Affected area exceeds 4 square feet
- Insulation behind drywall is wet
- Multiple layers of paint are bubbling
- Musty odors persist after drying
Why Replacement is Often Better Than Repair
Wet drywall loses its structural integrity once the gypsum core becomes saturated. Even if it appears to dry out, the paper facing can harbor mold spores, and the core may remain weakened. Attempting to repair severely damaged drywall often leads to ongoing problems including:
- Hidden mold growth within wall cavities
- Compromised structural support
- Recurring stains and discoloration
- Decreased insulation performance
- Poor indoor air quality

The Professional Replacement Process
Understanding what professionals do helps you appreciate why replacement is sometimes the better investment:
1. Complete Moisture Assessment
Professionals use advanced thermal imaging and moisture mapping to identify all affected areas, including hidden water damage behind walls and in insulation.
2. Proper Containment
The work area is sealed with plastic sheeting and negative air pressure systems to prevent mold spores or contaminants from spreading to other parts of your home.
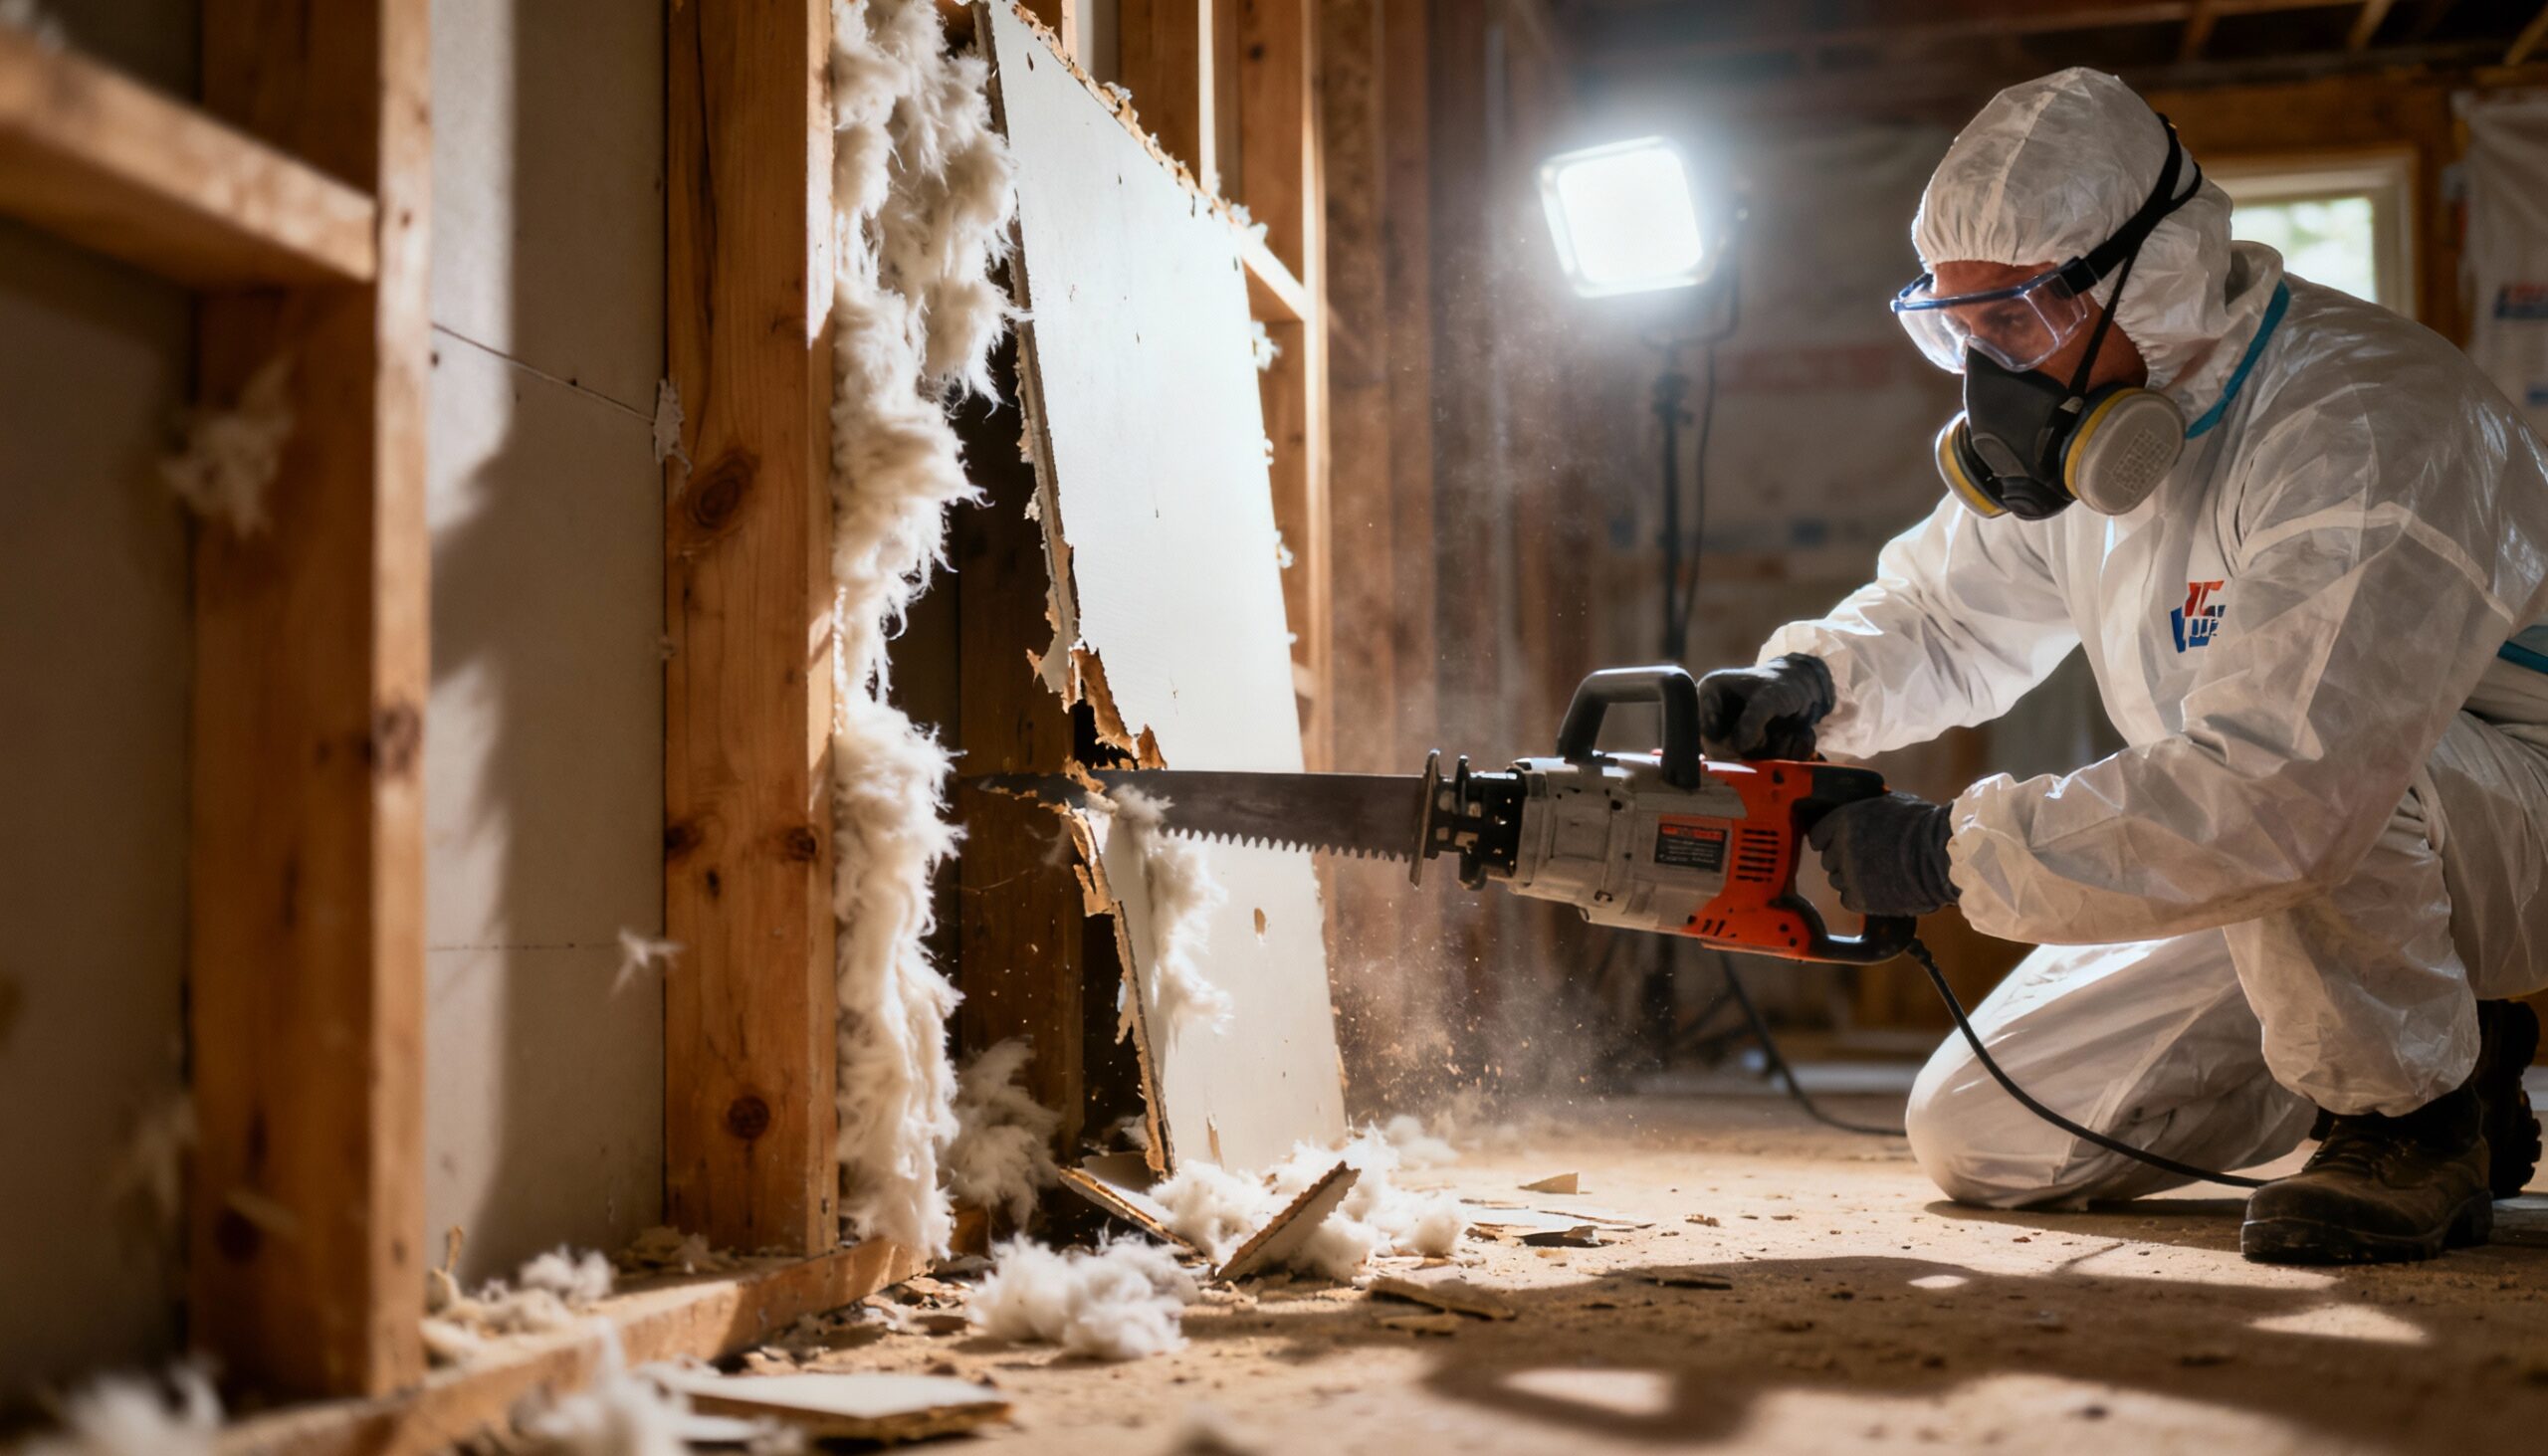
3. Safe Removal
Damaged drywall is carefully removed, along with any wet insulation. The wall cavity is inspected for structural damage, mold growth, and proper drying.
4. Thorough Drying
Commercial-grade dehumidifiers and air movers dry the wall cavity completely, typically taking 3-5 days depending on the extent of wall water damage.
5. Mold Prevention
Anti-microbial treatments are applied to framing and remaining surfaces to prevent future mold growth.
6. Professional Installation
New drywall is installed, taped, mudded, textured to match existing walls, and painted with proper ventilation. Affected belongings and furniture are also professionally cleaned and restored when possible.

Cost Considerations: Repair vs Replace
While we can’t provide specific pricing, understanding the factors that affect restoration expenses helps you make informed decisions:
| Factor | DIY Repair | Professional Replacement |
|---|---|---|
| Materials | Minimal supplies needed | Drywall, insulation, finishing materials |
| Equipment | Basic tools you may own | Professional drying equipment included |
| Time Investment | Your time over several days | Completed in 1-3 days |
| Insurance | Typically not covered | Often partially or fully covered |
| Long-term Risk | Higher if damage assessment is incorrect | Lower with warranty protection |
Preventing Future Drywall Water Damage
Once you’ve addressed the current issue, take these steps to prevent recurrence:
- Fix the source: Repair leaking pipes, improve drainage, or address roof issues immediately
- Monitor humidity: Keep indoor humidity below 50% with dehumidifiers
- Improve ventilation: Use exhaust fans in bathrooms and kitchens
- Regular inspections: Check areas prone to moisture monthly
- Quick response: Address any water intrusion within 24 hours
- Maintain gutters: Keep drainage systems clear and functional
🔴 Stop and Call a Restoration Professional If:
- Water covered the floor and soaked into walls from the bottom up
- Water came from sewage backup or flooding
- Multiple rooms or entire walls are affected
- You see or smell mold anywhere in the affected area
- Drywall has been wet for more than 48 hours
- You’re unsure about the water source or contamination level
- Structural components (studs, joists) appear damaged
- Electrical outlets or wiring were exposed to water
- Your insurance company requires professional documentation
⚠️ Remember: Attempting DIY repairs on significant drywall water damage can void insurance coverage and create serious health hazards.
Frequently Asked Questions
How long does wet drywall take to dry completely?
Drywall water damage typically requires 24-72 hours to dry with proper air circulation and dehumidification. However, this depends on the extent of saturation, humidity levels, and airflow. Use a moisture meter to confirm readings below 1% before attempting any repairs or considering the drying complete.
Can I just paint over water-damaged drywall?
No, painting over wet drywall or wall water damage without proper drying and assessment is a serious mistake. This traps moisture inside, leading to mold growth, structural deterioration, and recurring stains. Always dry completely, assess integrity, and use stain-blocking primer before painting.
Will drywall water damage always lead to mold?
Not if you act quickly. Mold needs moisture and time to grow—typically 24-48 hours. If you dry affected drywall completely within 24 hours and ensure moisture levels return to normal, you can prevent mold growth. However, any drywall that remained wet for over 48 hours should be professionally evaluated for replacement.
How can I tell if there’s hidden water damage behind my walls?
Warning signs of hidden wall water damage include musty odors, unexplained humidity, peeling paint or wallpaper, discolored baseboards, or warped flooring near walls. A moisture meter can detect moisture through drywall, but professionals use thermal imaging to map hidden water damage throughout wall cavities without cutting holes.
Is DIY drywall repair worth it for water damage?
DIY drywall repair is appropriate only for very minor damage—small areas affected by clean water for less than 24 hours with no soft spots or mold. For anything more extensive, professional replacement is worth the investment to ensure proper drying, prevent mold, maintain structural integrity, and often qualify for insurance coverage.

