What You’ll Need
Tools:
- Caulk gun (for sealing cracks)
- Putty knife or scraper (for surface prep)
- Wire brush (for cleaning concrete)
- Paint roller and tray (for waterproof sealant)
- Shovel or garden spade (for grading work)
- Level (to check ground slope)
- Flashlight (for inspecting dark areas)
Materials:
- Hydraulic cement (for filling cracks—available at hardware stores)
- Masonry waterproof sealant (for interior basement walls)
- Exterior-grade caulk (for window wells and penetrations)
- Downspout extensions (at least 6 feet from foundation)
- Soil or mulch (for regrading if needed)
- Dehumidifier (for ongoing moisture control)
Time Required:
⏱️ Inspection: 30 minutes
⏱️ Crack Sealing: 1-2 hours
⏱️ Interior Sealing: 2-3 hours (plus drying time)
⏱️ Exterior Grading: 1-2 hours
⚠️ Safety First
Before you begin:
- Wear safety glasses when working with concrete or chemicals
- Use gloves when handling sealants and hydraulic cement
- Ensure proper ventilation when applying waterproof coatings
- Test for mold before disturbing any areas—call professionals for mold removal if you find extensive growth
- Never attempt structural repairs yourself
Understanding Basement Waterproofing
Effective basement waterproofing starts with understanding where water comes from. Moisture enters basements through three main paths: through cracks in walls and floors, through porous concrete, and via improper drainage around your foundation. The best waterproofing methods address all three entry points.
| Water Source | Signs You’ll See | Prevention Method | DIY Friendly? |
|---|---|---|---|
| Surface Water | Puddles near foundation, water after rain | Grading, gutters, downspouts | ✅ Yes |
| Groundwater | Constant dampness, efflorescence (white powder) | Interior sealant, dehumidification | ✅ Yes (partial) |
| Subsurface Water | Water seeping through walls, hydrostatic pressure | Exterior excavation, drainage systems | 🔴 Professional needed |
| Condensation | Damp surfaces, musty smell, no visible leaks | Dehumidifier, ventilation | ✅ Yes |
Step-by-Step Basement Waterproofing Guide
Step 1: Conduct a Thorough Inspection
Start with a complete basement assessment. Walk around your basement with a flashlight during daylight hours. Look for water stains, efflorescence (white chalky deposits), cracks, and areas where moisture appears. Check corners where walls meet floors—these are common entry points.
💡 Success looks like: A detailed list of problem areas with photos for reference. Mark cracks with tape or chalk so you don’t miss any during repairs.
Why this matters: You can’t fix what you can’t see. A proper inspection reveals the full scope of your basement moisture control needs and helps you prioritize which waterproofing methods to use first.
Step 2: Fix Exterior Drainage Issues
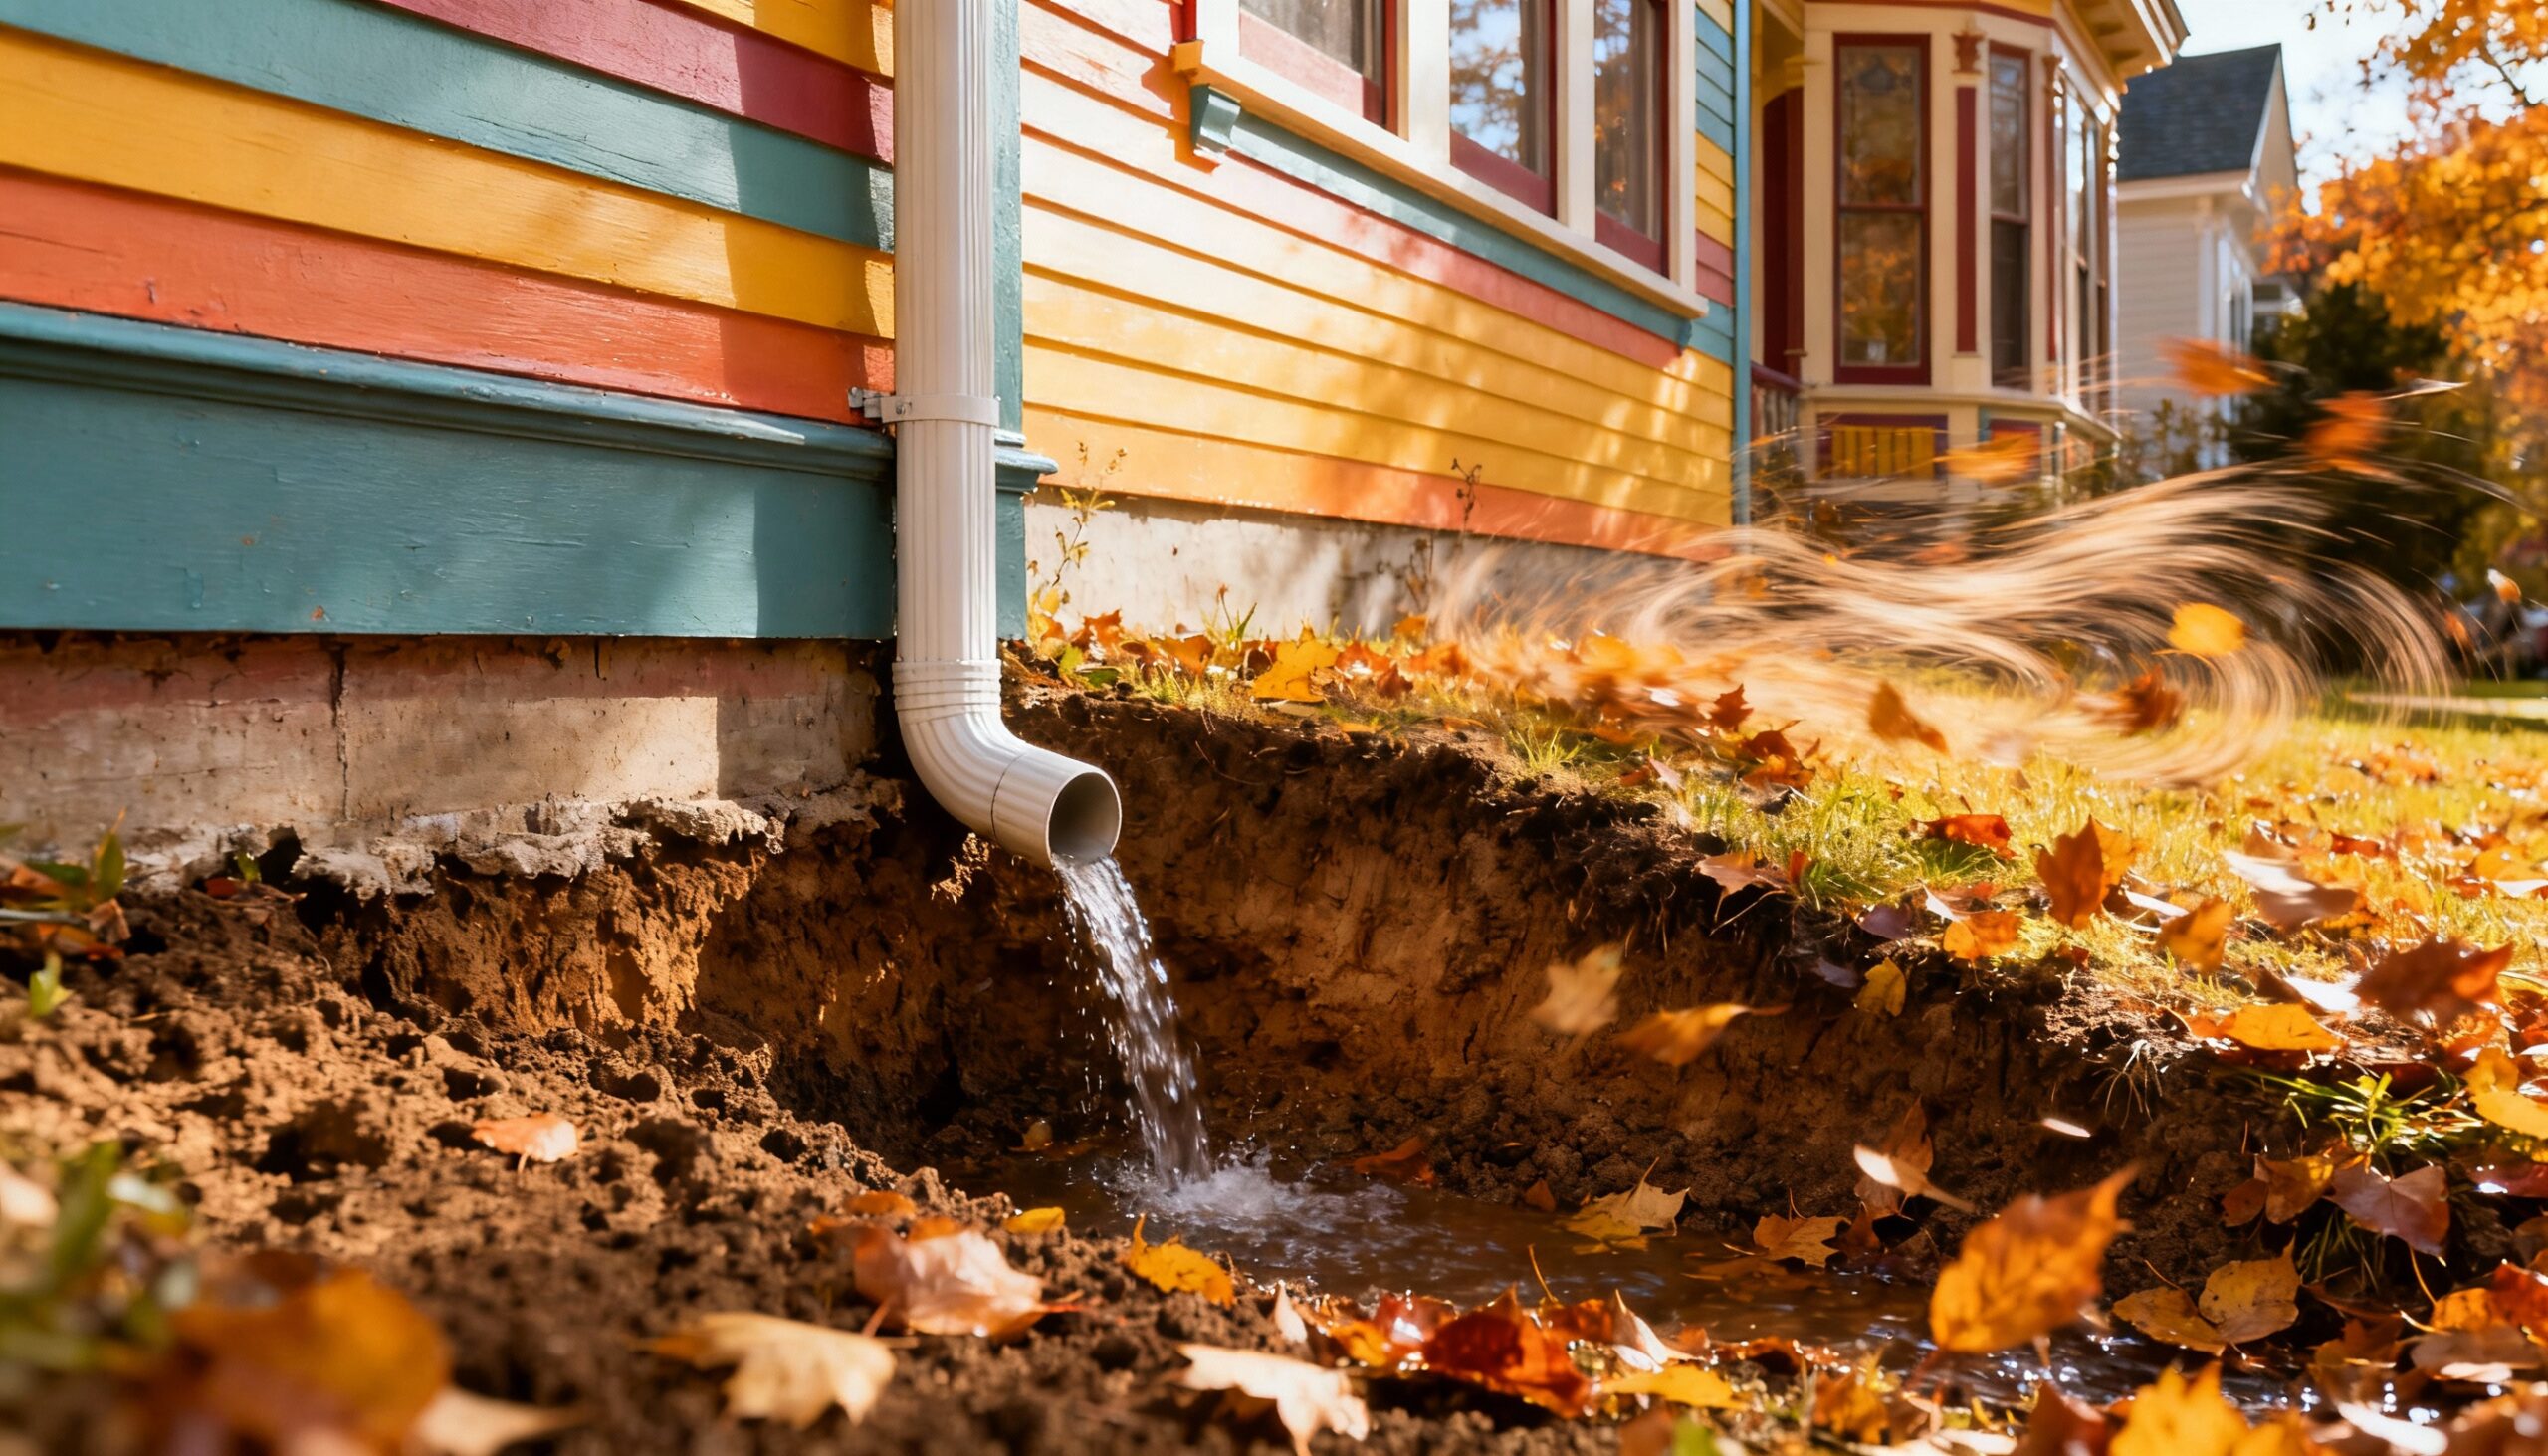
Go outside and check your foundation perimeter. The ground should slope away from your foundation at least 6 inches over the first 10 feet. If it doesn’t, you’ll need to regrade. Use your level to verify the slope—place it on the ground pointing away from the house.
⚠️ Warning: Don’t pile soil above your siding or brick. Maintain at least 6 inches of clearance to prevent rot and termite damage.
Next, inspect and extend your downspouts. They should direct water at least 6 feet away from your foundation. Add downspout extensions if needed—these inexpensive additions make a massive difference in basement waterproofing.
✅ Success looks like: Water flowing away from your foundation during rain, not pooling near basement walls.
Why this matters: Most basement water problems start with poor exterior drainage. Fix the source, and you prevent water from ever reaching your foundation walls.

Step 3: Seal Interior Cracks
Clean each crack thoroughly. Use your wire brush to remove loose concrete, dust, and debris. The surface must be clean for sealant to adhere properly. For active leaks, let the area dry completely before sealing (use a dehumidifier to speed this up).
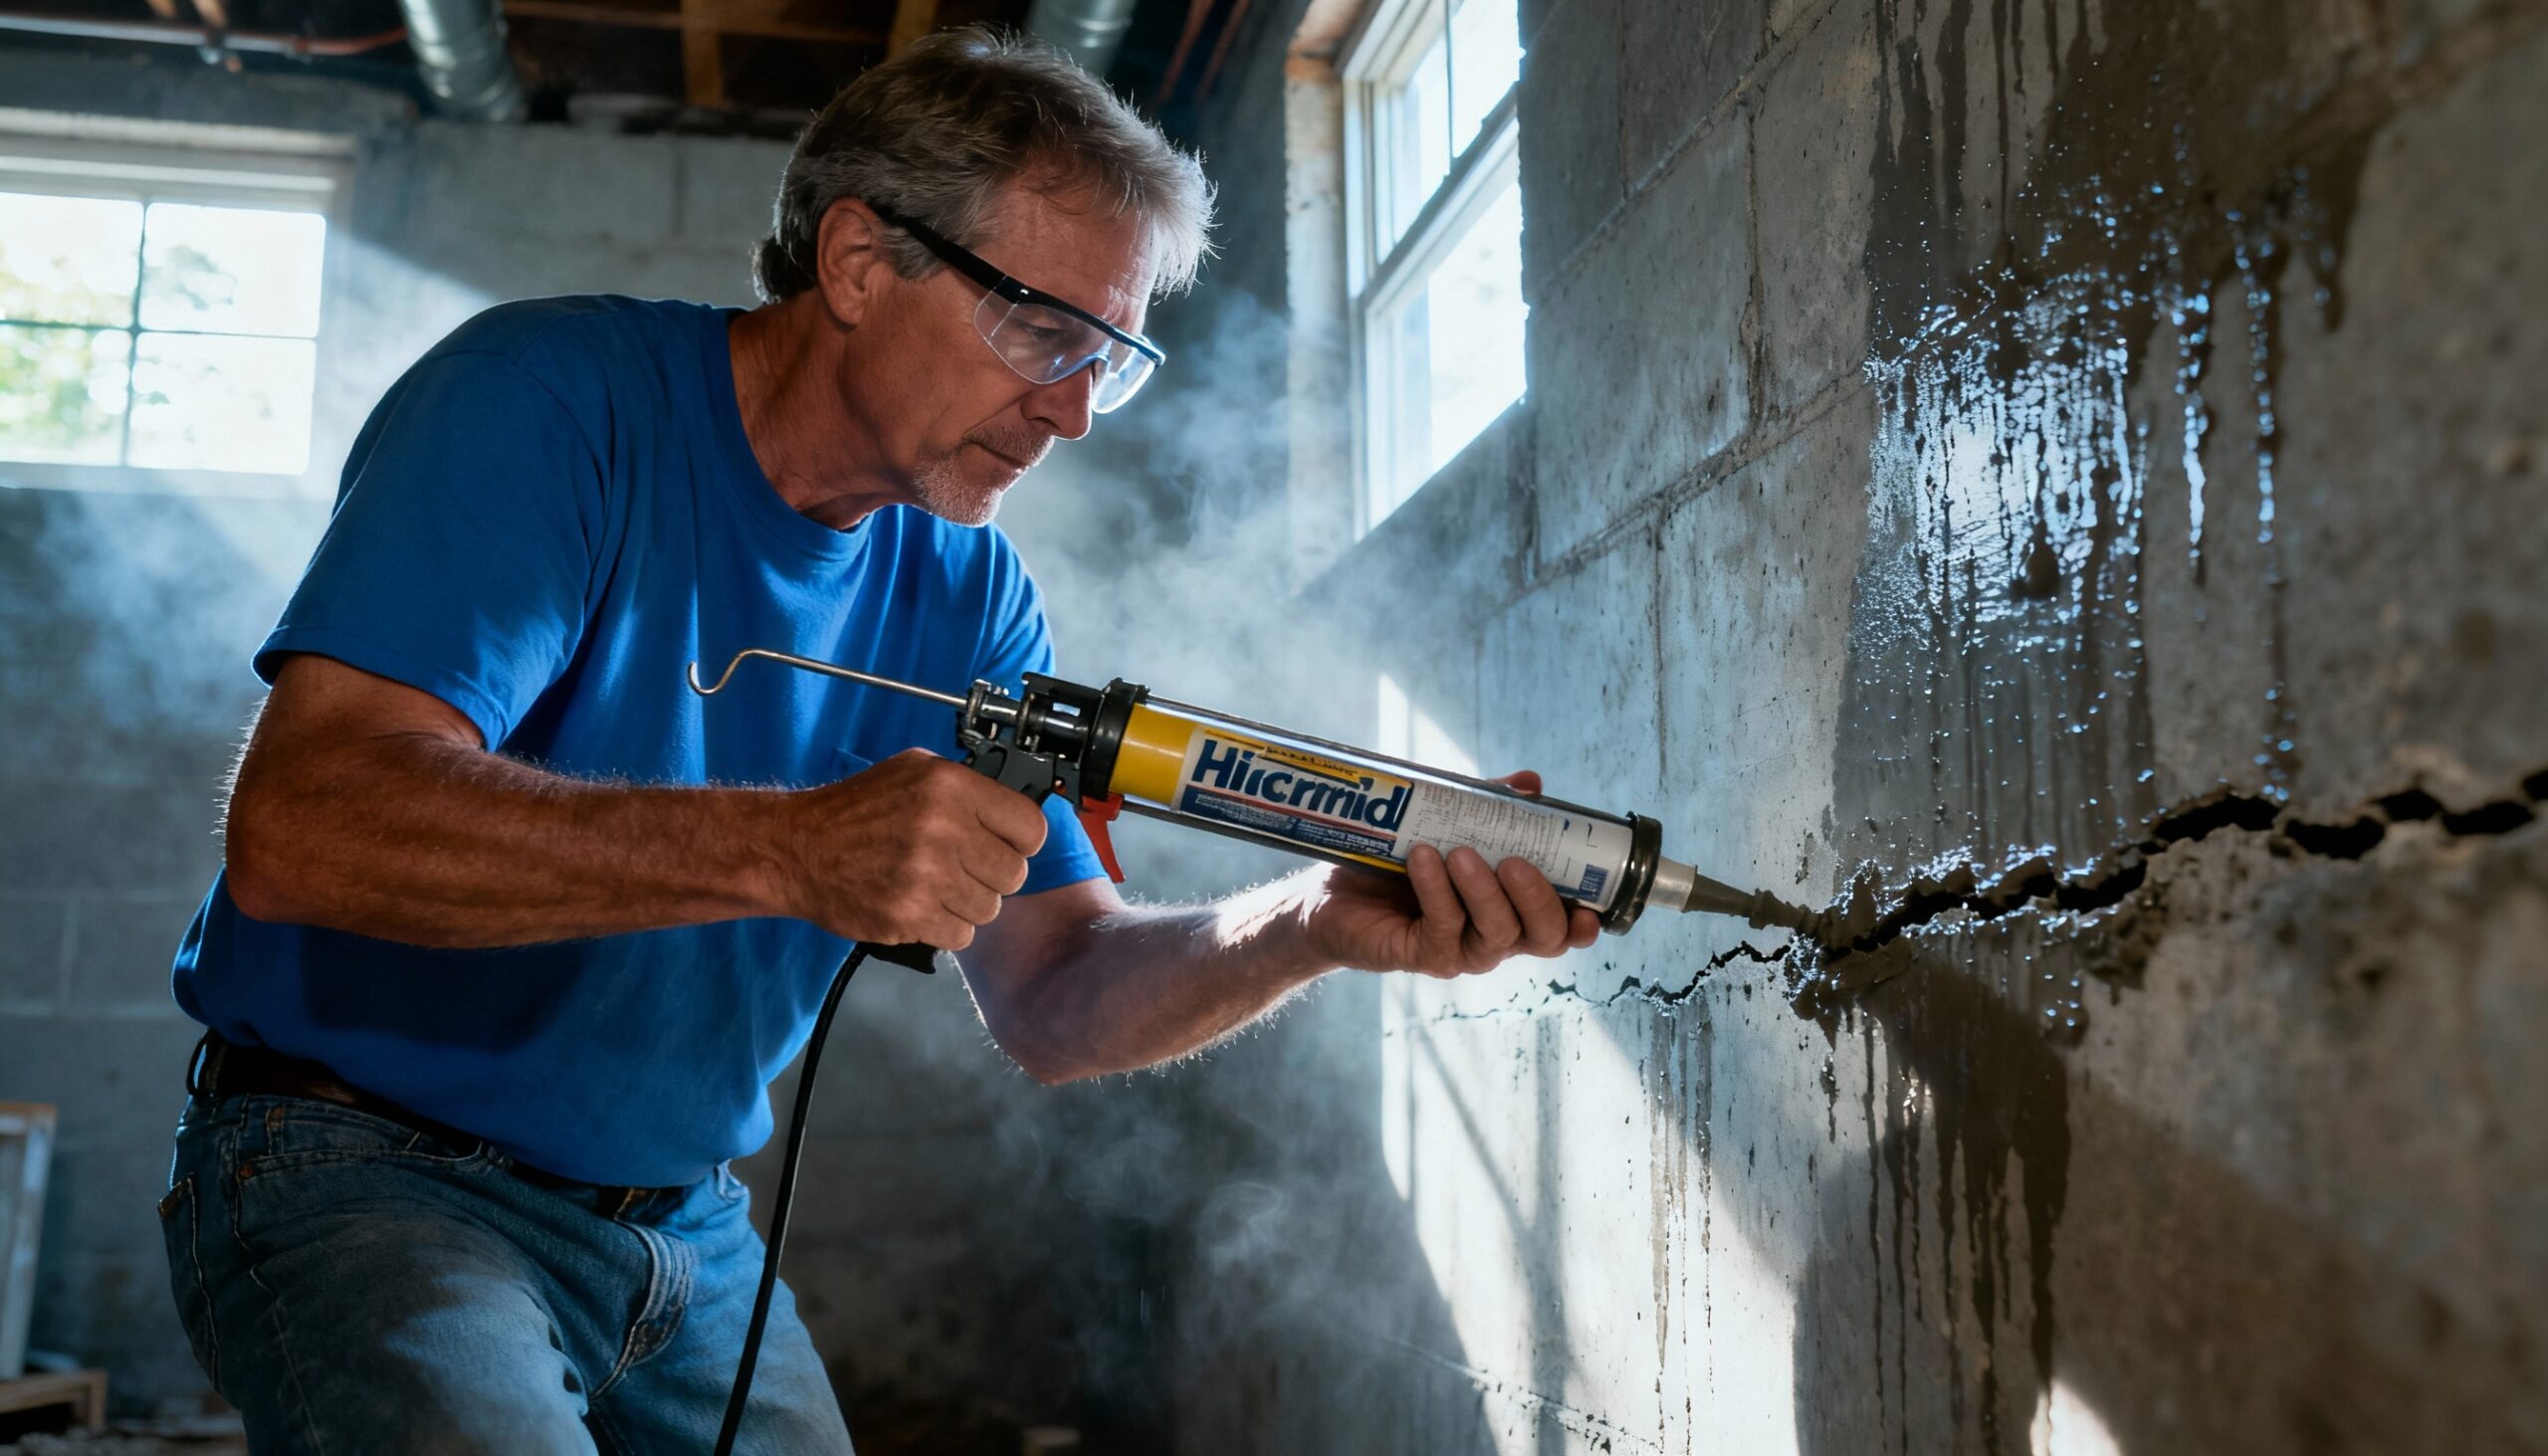
Apply hydraulic cement to larger cracks. Mix according to package directions—it typically has a peanut butter consistency. Press it firmly into the crack using your putty knife, slightly overfilling. Smooth the surface and let it cure for 24 hours.
🔧 Pro tip: Hydraulic cement actually sets faster when wet, so you can use it on damp surfaces. However, for best results in basement sealing, start with the driest conditions possible.
For hairline cracks, use flexible masonry caulk. Cut the tube tip at a 45-degree angle and apply in a continuous bead. Smooth with your finger (wear gloves) within 5 minutes before it skins over.
✅ Success looks like: Smooth, even repairs that blend with surrounding concrete. No gaps or air pockets in the sealant.

Step 4: Apply Interior Waterproof Sealant
Choose a quality masonry waterproof sealant. These products create a barrier against moisture penetration through porous concrete. Read the label to ensure it’s rated for below-grade applications (basement walls).
Prepare your walls. They must be clean and free of paint, efflorescence, or previous coatings. Use your wire brush and vacuum to clean thoroughly. Slightly dampen the surface before applying water-based sealants.
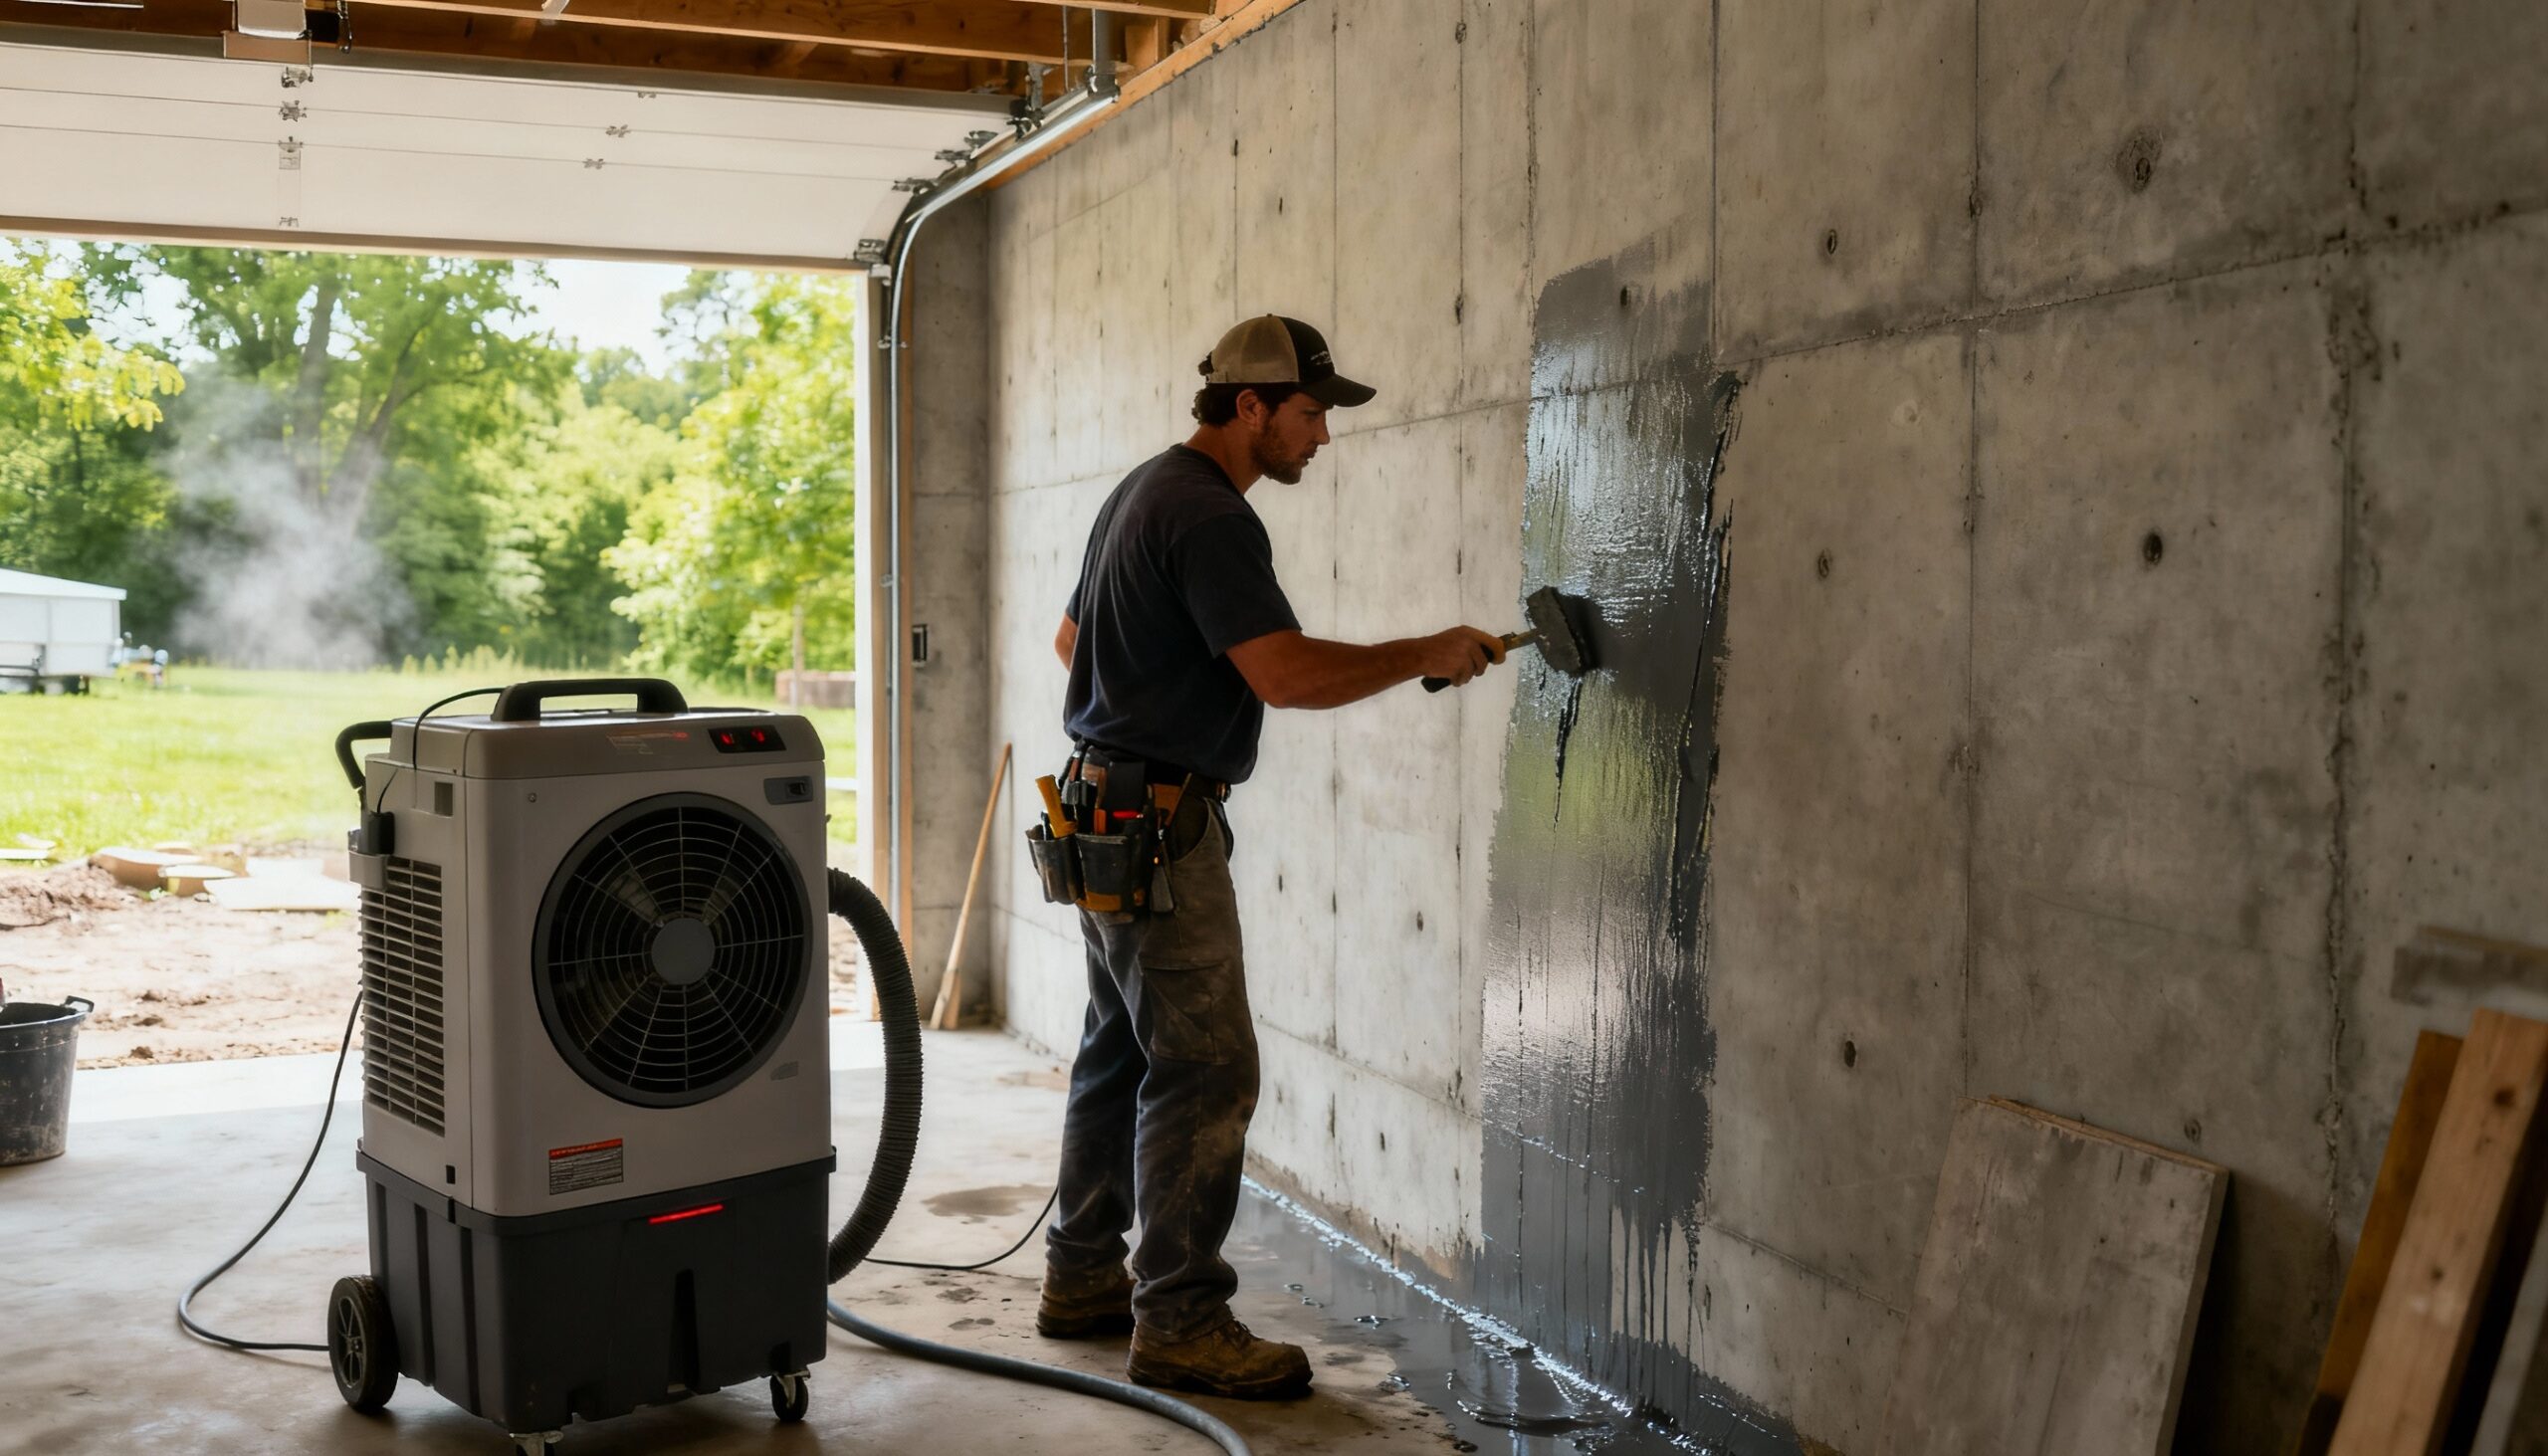
Apply two coats with a paint roller. Work in 4-foot sections, maintaining a wet edge. The first coat seals the pores; the second coat provides maximum protection. Wait the recommended time between coats (usually 2-4 hours).
⏱️ Timing note: Full cure takes 7-10 days. Avoid heavy moisture exposure during this period.
✅ Success looks like: Even coverage with no streaks, drips, or missed spots. The surface should have a consistent sheen.
Why this matters: Interior sealants stop moisture vapor from passing through concrete, preventing that damp feeling and protecting against mold growth.
Step 5: Seal Window Wells and Penetrations
Check all basement windows. Look where window frames meet concrete—these joints often crack over time. Clean the area and apply exterior-grade caulk in a continuous bead. Tool it smooth to shed water away from the opening.
Inspect utility penetrations. Where pipes, cables, or vents enter your basement, look for gaps. Seal small gaps with caulk; fill larger openings with expanding foam, then cover with caulk once cured.
💡 Pro tip: Consider installing window well covers. They keep rain out while still allowing emergency egress—a smart addition to any basement waterproofing plan.
Step 6: Install a Dehumidifier
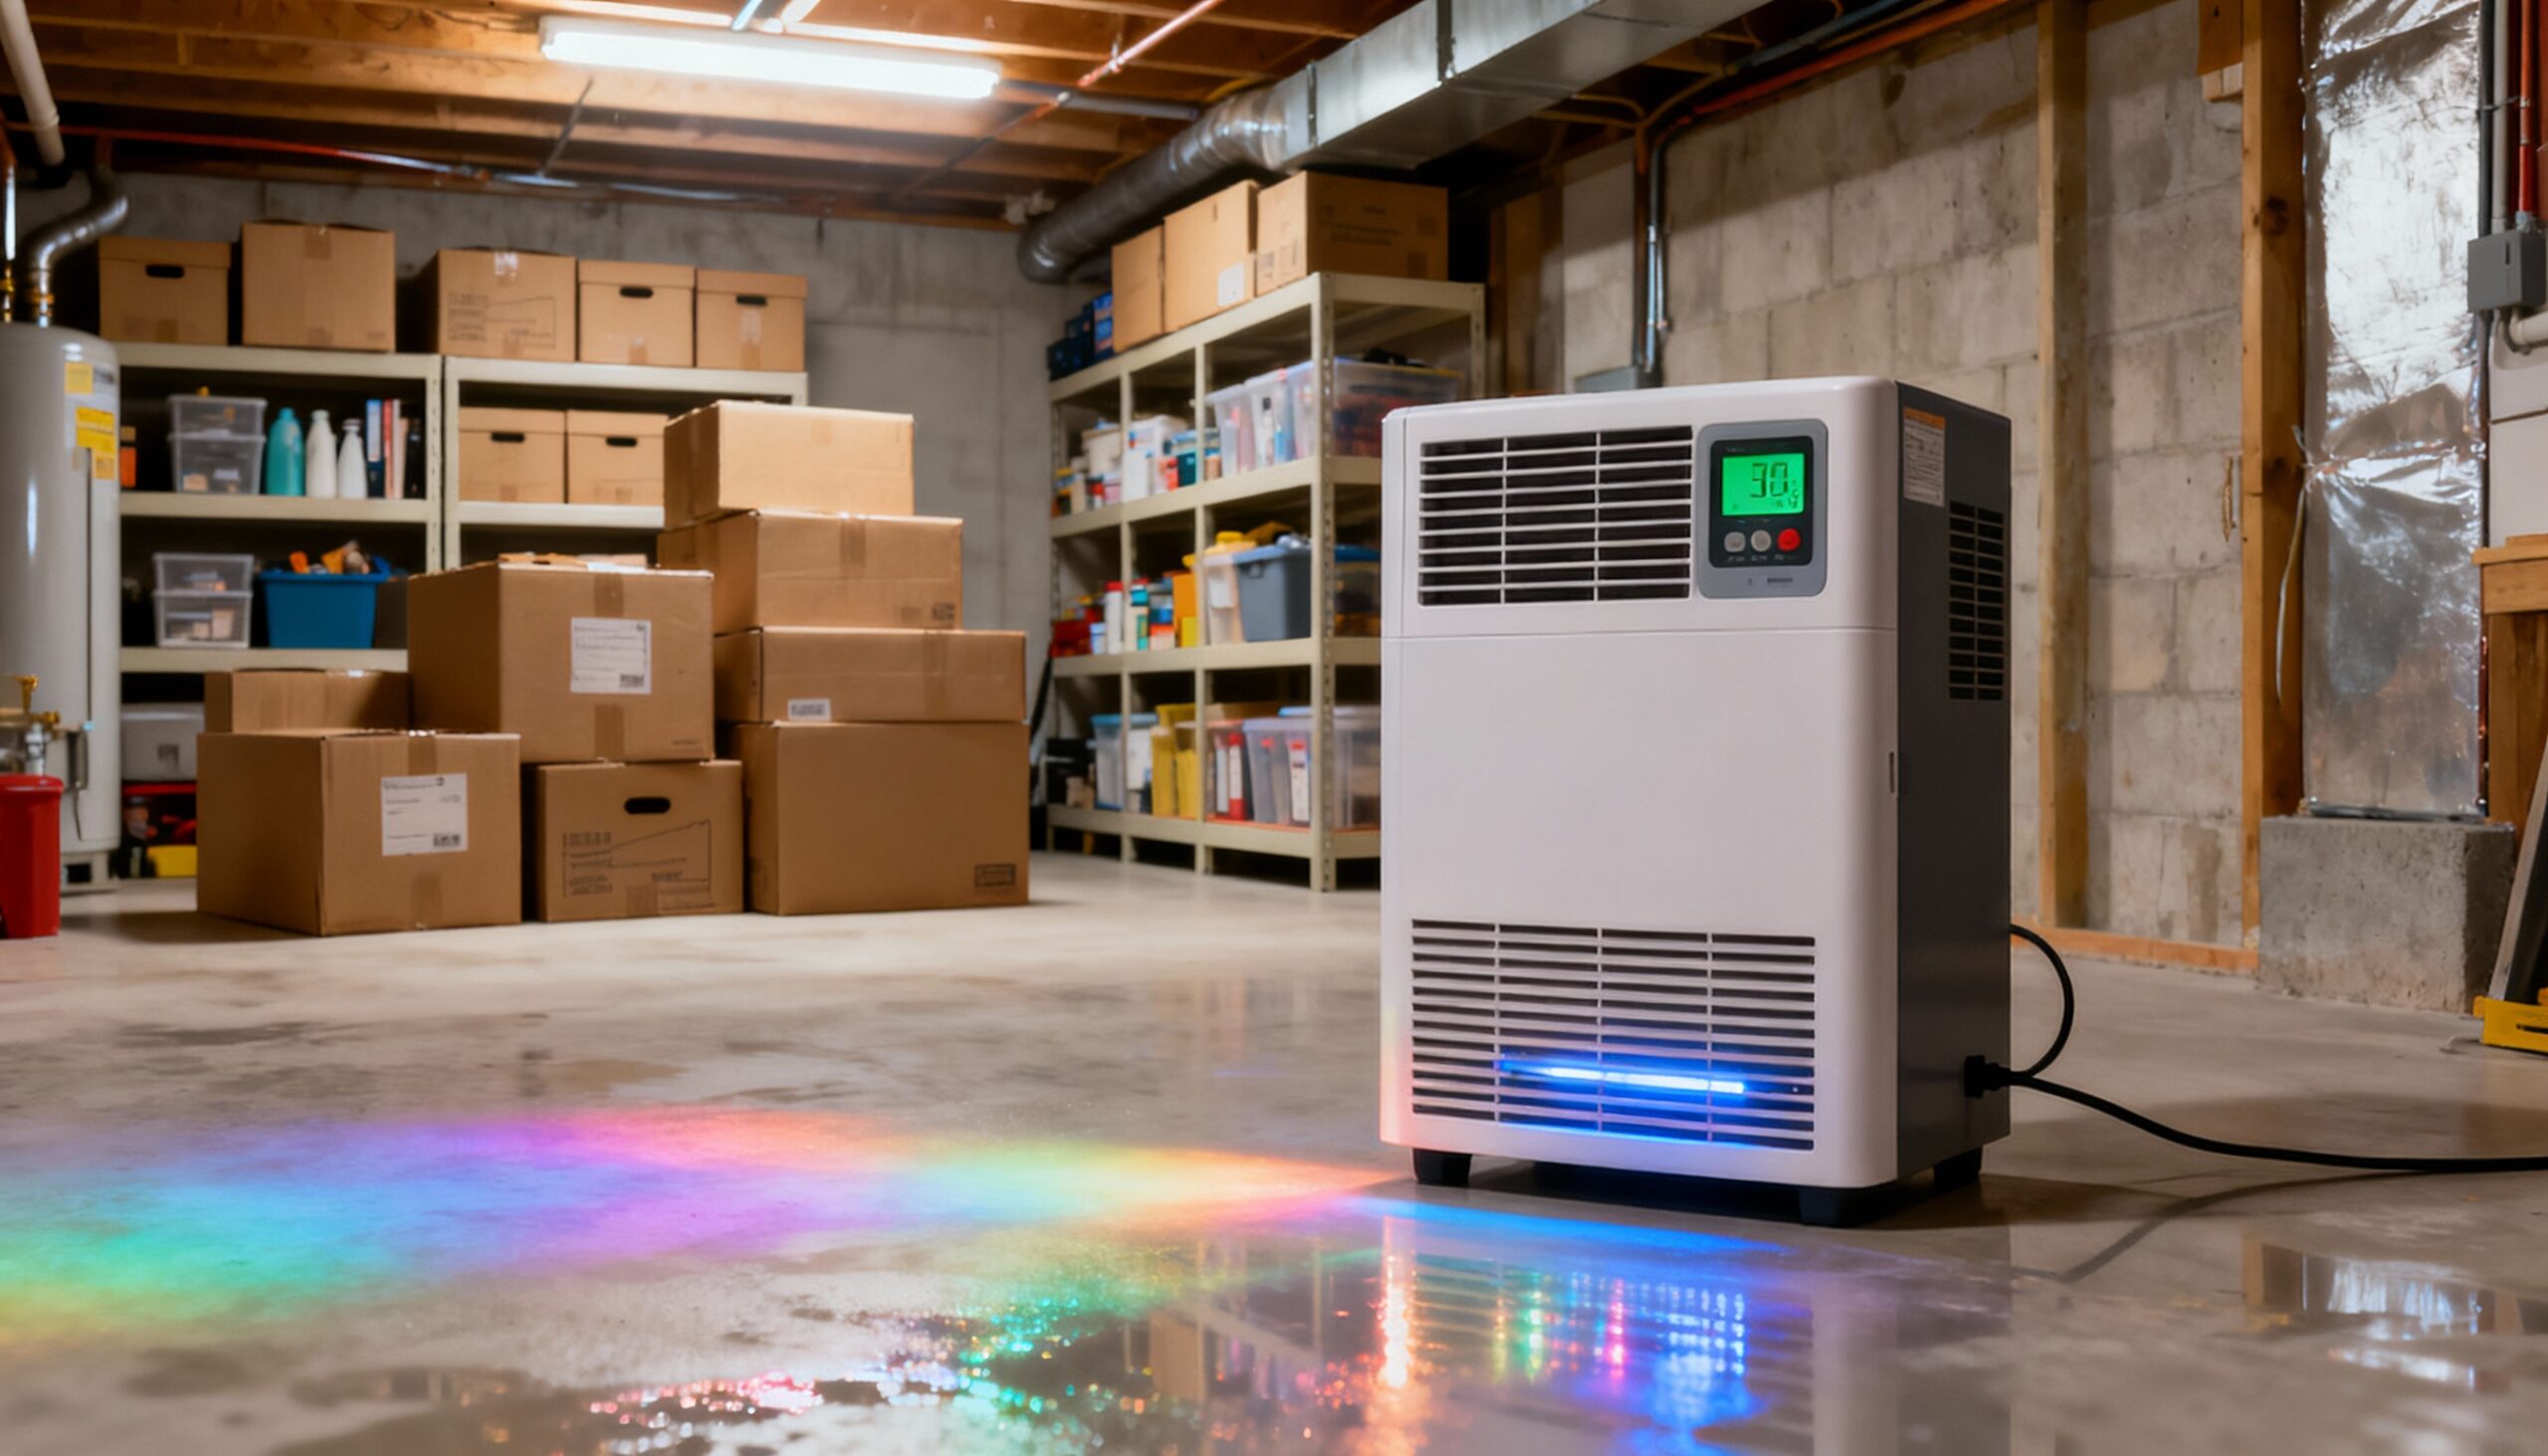
Even with perfect basement sealing, some moisture is inevitable. A quality dehumidifier maintains ideal humidity levels (30-50%) and prevents condensation. Choose one sized for your basement’s square footage—most basements need at least a 50-pint capacity.
Position it centrally with good air circulation on all sides. Set it to drain automatically into a floor drain or condensate pump. Empty the bucket daily if manual drainage is your only option.
✅ Success looks like: Basement humidity staying between 30-50% year-round. No musty smells or damp feeling.

Troubleshooting Common Issues
Problem: Sealant Won’t Stick
Solution: The surface is likely too dusty, oily, or damp. Clean more thoroughly with a degreaser if needed. For damp areas, use hydraulic cement designed for wet conditions.
Problem: Water Still Appearing After Sealing
Solution: You may have hydrostatic pressure from high groundwater. Interior waterproofing methods alone can’t handle this—you’ll need exterior excavation or an interior drainage system installed by professionals.
Problem: White Powder Keeps Appearing (Efflorescence)
Solution: This means water is still moving through your walls. Brush it off, improve exterior drainage, and consider a stronger penetrating sealer. If it persists, groundwater pressure may require professional intervention.
Problem: Mold Growth Despite Dry Appearance
Solution: Hidden moisture may be present. Use a moisture meter to check walls and floors. Improve ventilation and run a dehumidifier. For extensive mold, call professionals.
🔴 When to Call a Professional
Stop and call a restoration professional if:
- Water actively pours through walls or floors during rain
- You see horizontal cracks wider than 1/4 inch (potential structural issue)
- Walls are bowing inward or show signs of movement
- You have a high water table or frequent flooding in your area
- Efflorescence returns within weeks despite repairs
- You find extensive mold growth (more than 10 square feet)
- DIY methods don’t resolve moisture problems within one season
- You need exterior excavation or drainage system installation
Professional basement waterproofing includes solutions like exterior membrane installation, French drain systems, sump pump installation, and structural repairs—all beyond the scope of DIY projects. Contact our experts for a professional assessment.
Preventive Maintenance Tips
Monthly:
- Check dehumidifier and empty or clean as needed
- Inspect visible areas for new cracks or moisture
- Ensure downspout extensions remain properly positioned
Seasonally:
- Clean gutters before spring and fall
- Check grading hasn’t settled near foundation
- Test sump pump if you have one (pour water into pit)
- Inspect window well drains for blockages
Annually:
- Re-inspect all sealed cracks for new damage
- Check interior sealant for wear or peeling
- Test basement humidity levels in summer
- Consider professional inspection if you’ve had previous issues
Understanding Your Waterproofing Options
| Method | Best For | Effectiveness | Longevity |
|---|---|---|---|
| Interior Sealant | Minor moisture, vapor control | Good for prevention | 5-10 years |
| Crack Injection | Small structural cracks | Excellent for specific leaks | 10+ years |
| Exterior Membrane | Full wall protection | Most effective | 20-30 years |
| Interior Drainage | High groundwater areas | Excellent | 15-25 years |
The Complete Basement Moisture Control Strategy
Effective basement waterproofing isn’t just one solution—it’s a layered approach. Start with the basics: proper grading and gutter maintenance. These prevent 80% of basement water problems. Add interior sealing and crack repairs to stop minor moisture intrusion. Finally, maintain ideal humidity with a dehumidifier.
Think of it as a defensive strategy: Exterior drainage is your first line of defense, keeping water away from walls. Interior sealing is your second line, stopping moisture that reaches the foundation. Dehumidification is your final backup, controlling any remaining humidity.
For serious water problems—standing water, persistent leaks, or structural concerns—professional basement waterproofing systems provide permanent solutions. These include exterior excavation, drainage tile installation, and sump pump systems that DIY methods simply can’t match. Learn more about our residential restoration services.
Frequently Asked Questions
How do I know if my basement needs waterproofing or just better ventilation?
Run a simple test: tape a 12-inch square of aluminum foil to your basement wall for 24 hours. If moisture appears on the foil’s surface, you have a ventilation/humidity problem. If moisture appears behind the foil (between foil and wall), water is coming through the concrete and you need basement waterproofing solutions.
Is interior basement sealing as effective as exterior waterproofing?
Interior sealing works well for minor moisture and prevention, but exterior waterproofing methods are more effective for serious water problems. Exterior systems stop water before it reaches your foundation, while interior solutions manage water that’s already there. For best results, combine both approaches—exterior drainage to prevent water accumulation and interior basement sealing for added protection.
Can I waterproof my basement myself, or do I need professionals?
Many preventive basement waterproofing tasks are DIY-friendly: applying interior sealants, fixing minor cracks, improving drainage, and maintaining gutters. However, call professionals for active water intrusion, structural cracks, exterior excavation, drainage system installation, or if DIY methods don’t resolve your moisture problems within one season.
How often should I reapply basement waterproof sealant?
Quality interior basement sealants typically last 5-10 years before needing reapplication. However, inspect annually for peeling, bubbling, or areas where moisture is penetrating. High-traffic areas or walls subject to hydrostatic pressure may need more frequent attention. If you notice reduced effectiveness or visible wear, it’s time to reapply.
What’s the biggest mistake homeowners make with basement moisture control?
The most common mistake is only addressing interior symptoms while ignoring exterior causes. Homeowners seal cracks and paint walls without fixing the poor drainage that’s causing water to accumulate against their foundation. Always start your basement waterproofing efforts outside—proper grading, gutters, and downspout extensions prevent most moisture problems before they start.
Take Action Before Water Does
Basement waterproofing isn’t glamorous, but it’s one of the most important maintenance tasks for protecting your home’s value and your family’s health. The preventive measures in this guide—proper drainage, crack sealing, and interior protection—cost a fraction of what you’d spend repairing water damage or remediating mold.
Start with what you can control: Check your gutters this weekend. Walk around your foundation and look for poor grading. These simple steps take less than an hour but prevent thousands in potential damage.
For persistent moisture issues or if you’re dealing with active water intrusion, don’t wait for the problem to worsen. Professional restoration specialists have the tools, experience, and waterproofing methods to solve even the most challenging basement moisture control problems permanently. Our 24-hour emergency services are available when you need them most.
Remember: Every basement is different, and local soil conditions, water tables, and climate all affect which basement sealing strategies work best. When in doubt, consult with a professional who can assess your specific situation and recommend the most effective solutions.
Your basement should be a dry, usable space—not a source of stress. Take action now, and you’ll enjoy peace of mind knowing your home is protected from moisture damage for years to come.

