5 Steps to Take Immediately After Discovering Water Damage
Tyler McClelland leads mitigation operations for Advanced DRI across New York's Hudson Valley, directing water, mold, and large-loss response in the field. He holds IICRC Water Restoration Technician (WRT) and Applied Microbial Remediation Technician (AMRT) certifications and a New York State Mold Supervisor certification, and is trained in IRCA hospital safe construction practices recognized by The Joint Commission.

Follow these essential water damage steps immediately after discovery. Learn the 5 critical water damage steps to minimize damage, document for insurance, and protect your home from further harm.
What You'll Need for These Water Damage Steps
Having the right tools ready makes your emergency water damage response faster and more effective. Here's what you need:Tools:
- Smartphone or camera (for documentation)
- Flashlight (battery-powered, not electrical)
- Rubber boots (waterproof footwear)
- Bucket and mop (for small amounts of water)
- Wet/dry vacuum (if available and safe to use)
Materials:
- Towels and rags (old towels work best)
- Plastic sheeting or tarps (to protect undamaged items)
- Waterproof gloves (for handling wet items)
- Notebook and pen (for documenting damage)
- Garbage bags (heavy-duty for disposal)
Time Breakdown:
⏱️ Safety Assessment: 5-10 minutes ⏱️ Water Source Control: 5-15 minutes ⏱️ Documentation: 15-20 minutes ⏱️ Water Removal: 10-20 minutes ⏱️ Professional Contact: 5-10 minutes Having these items ready before an emergency occurs makes executing these water damage steps much faster and more effective.⚠️ Safety Warning
These water damage steps are safe for DIY if:- Water is clean (from supply lines, not sewage)
- The amount is manageable (less than 2 inches deep)
- No electrical hazards are present
- The structure appears stable
- You have proper safety equipment
- Water is near electrical outlets or appliances
- You see sparks or smell burning
- Water is contaminated (sewage, chemicals, flood water)
- Ceiling is sagging or bulging
- You hear cracking or structural sounds
- Water depth exceeds 2 inches
- Turn off electricity to affected areas at the breaker panel
- Wear rubber boots and waterproof gloves
- Never use electrical equipment in standing water
- Keep children and pets away from the area
- Have your phone charged and accessible
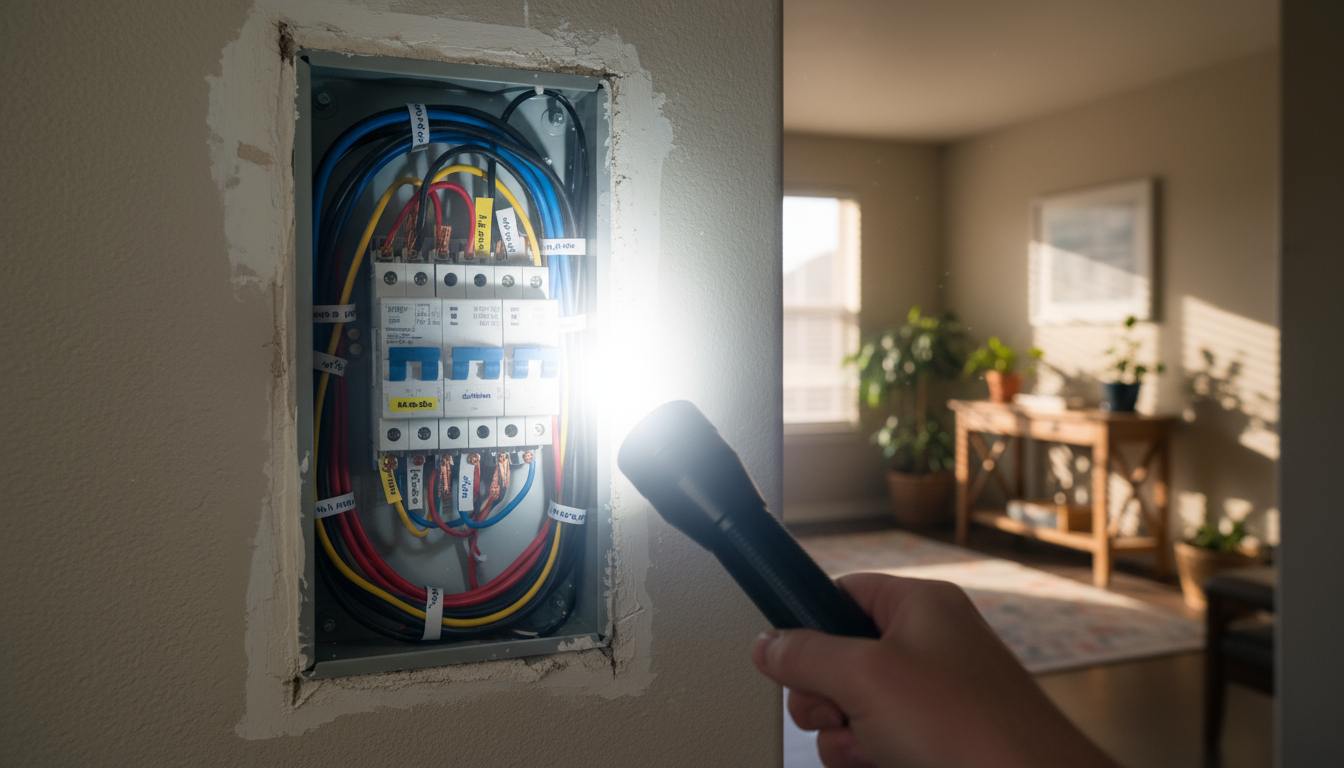
Step 1: Ensure Safety First (Critical Water Damage Steps)
⏱️ Time Required: 5-10 minutes Before you do anything else, assess whether it's safe to enter the affected area. Your safety is more important than saving belongings or preventing damage. This critical first step in your water damage steps process sets the foundation for everything that follows. A proper water damage response always begins with safety. What to do:- Stop at the entrance - Don't rush into the water-damaged area. Stand at the doorway and visually assess the situation for obvious hazards like hanging ceiling materials, sparking outlets, or deep water.
- Turn off electricity - Go to your electrical panel and shut off power to all affected rooms. If the panel is in the flooded area, call an electrician or emergency services instead. Mark which breakers you've turned off with tape.
- Identify the water source - Determine where the water is coming from. Clean water from supply lines is category 1 (safest). Gray water from appliances is category 2 (some risk). Black water from sewage or flooding is category 3 (dangerous - call professionals immediately).
- Check structural stability - Look for sagging ceilings, bulging walls, or warped floors. Listen for cracking or creaking sounds. If you notice any structural concerns, evacuate and call professionals.
- Gear up properly - Put on rubber boots, waterproof gloves, and if available, safety glasses. If the water is anything other than clean supply water, consider wearing a mask.
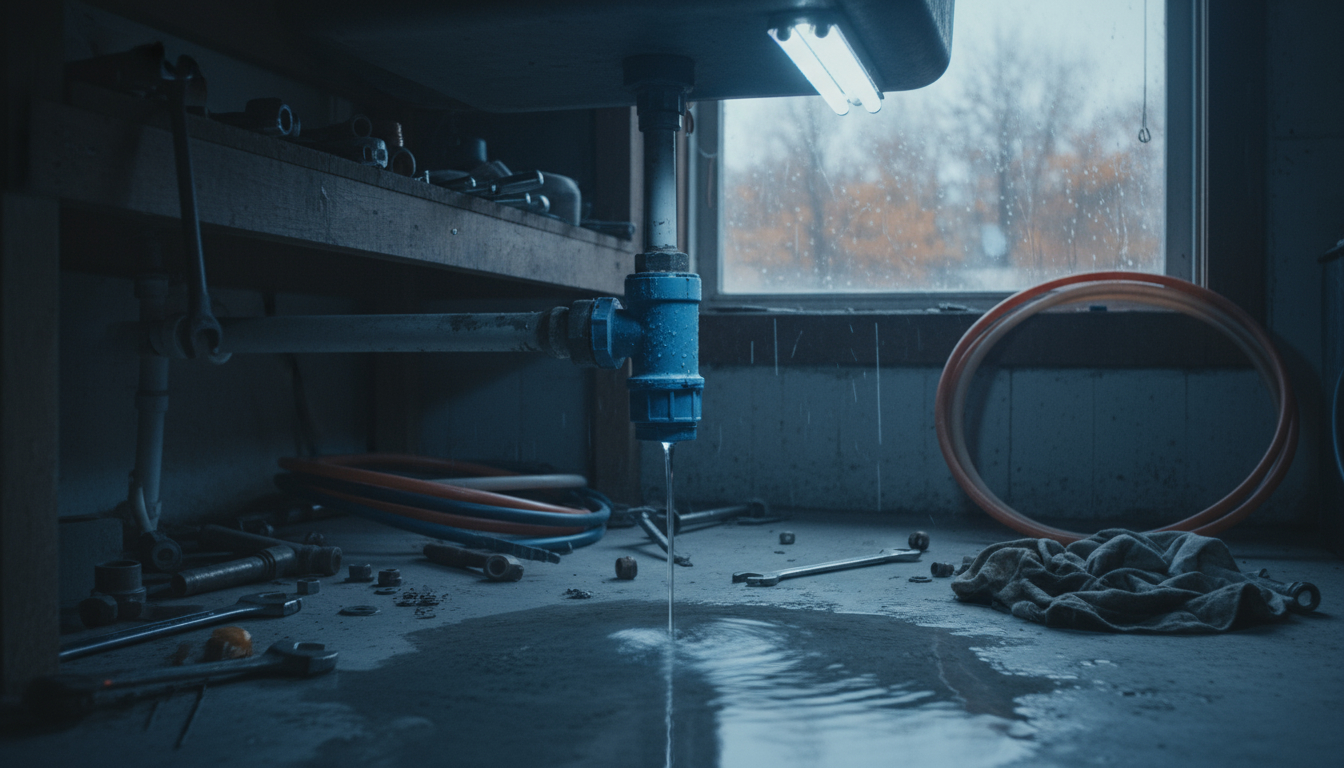
Step 2: Stop the Water Source (Essential Water Damage Steps)
⏱️ Time Required: 5-15 minutes Once you've confirmed it's safe to proceed, your next priority is stopping additional water from entering your home. This is one of the most critical water damage steps because every minute of continued water flow increases damage exponentially, so acting quickly here is crucial. Emergency water damage situations require immediate action to control the source. Follow these water damage tips to stop the water effectively: What to do:- Locate the water supply shutoff - For localized issues (sink, toilet, appliance), turn off the valve directly connected to that fixture. Turn clockwise to close. For larger issues or unknown sources, locate your main water shutoff valve (usually near the water meter or where the main line enters your home).
- Turn off the supply - For most shutoff valves, turn clockwise until tight. Don't over-tighten as this can damage the valve. For lever-style valves, rotate 90 degrees until perpendicular to the pipe. The water flow should stop within seconds.
- Address appliance leaks - If a washing machine, dishwasher, or water heater is leaking, turn off its dedicated shutoff valve. Unplug the appliance if you can do so safely without stepping in water. Pull the appliance slightly away from the wall if possible to prevent further damage.
- Contain roof or window leaks - If water is entering from outside, place buckets under active drips. Use towels to create barriers against spreading water. Cover the source with plastic sheeting or tarps if accessible and safe to do so.
- Open drains if helpful - If water is pooling and you have floor drains, clear any debris blocking them. However, never open drains if the backup is coming from the sewer system.
Step 3: Document Everything
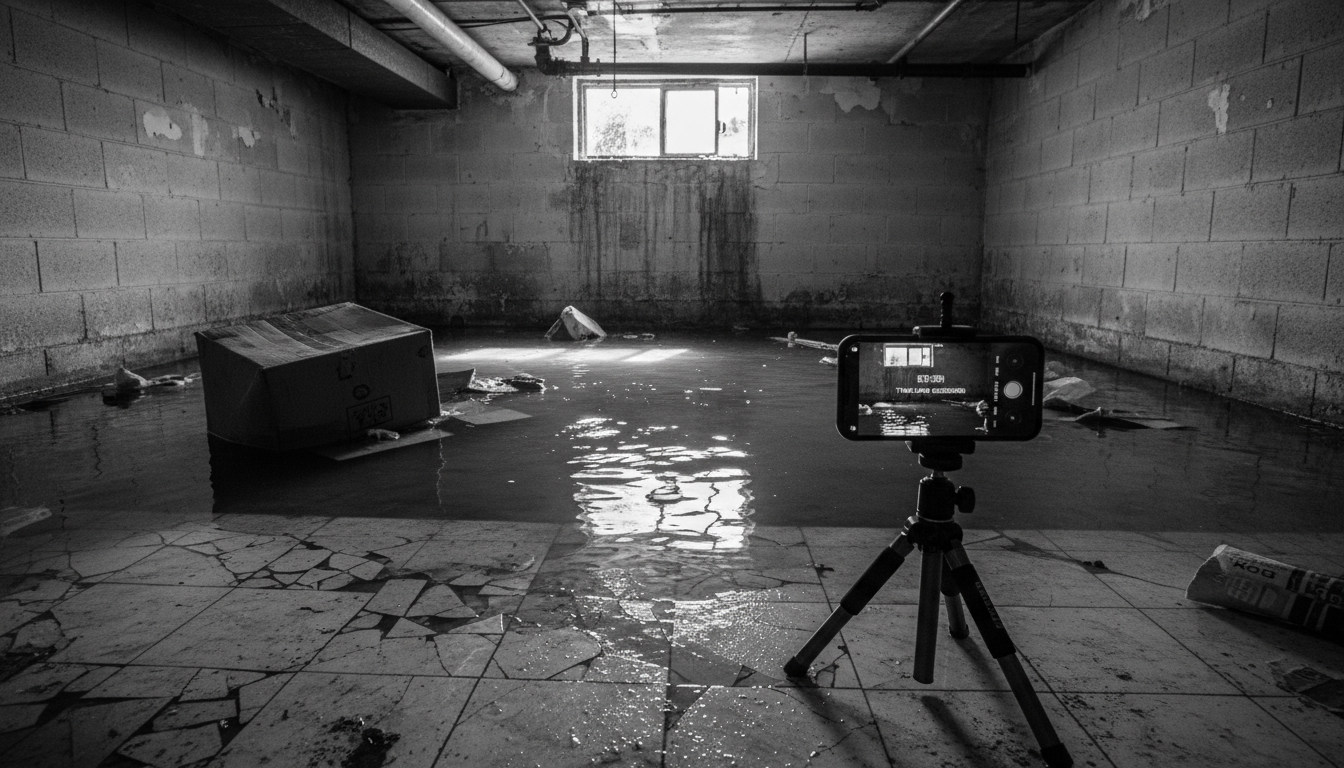
⏱️ Time Required: 15-20 minutes Thorough documentation is essential for insurance claims and can mean the difference between full coverage and denied claims. This water damage steps phase requires patience and attention to detail, even when you're anxious to start cleaning. Proper documentation is one of the most important water damage steps for protecting your financial interests. A proper water damage response includes comprehensive documentation. What to do:- Photograph the water source - Take clear photos of where the water originated. Capture burst pipes, leaking appliances, or roof damage from multiple angles. Include close-ups showing the specific failure point and wider shots showing the context. In emergency water damage situations, documentation is your best protection.
- Document all water damage - Photograph every affected area, including floors, walls, ceilings, and furniture. Take photos from each corner of the room and from doorways. Capture water lines on walls showing how high water reached. Don't clean up before documenting.
- Record damaged belongings - Photograph each damaged item individually. Include serial numbers, brand names, and model numbers when visible. Open drawers and cabinets to show contents. Document both obvious damage and items that appear undamaged but were exposed to water.
- Create a written inventory - In your notebook, list every damaged item with a description, approximate age, and estimated value. Note which rooms were affected. Write down the time you discovered the damage and when you believe it started.
- Make a video walkthrough - Use your smartphone to create a continuous video tour of all damaged areas while narrating what you're seeing. Mention dates, times, and describe the damage in detail. This provides context that photos alone cannot capture.
- Document temporary repairs - Before you make any emergency repairs, photograph the area. Then photograph the repairs you make. Keep all receipts for materials purchased for emergency mitigation.
Step 4: Remove Standing Water
⏱️ Time Required: 10-20 minutes (for initial removal) With safety confirmed, the source stopped, and documentation complete, you can now begin removing standing water. This is one of the most hands-on water damage steps. Speed matters here because water continues damaging materials and promoting mold growth with every passing hour. An effective water damage response includes prompt water removal. Emergency water damage requires fast action. Follow these water damage tips for effective removal. However, only attempt this for manageable amounts of clean water. What to do:- Start with towels for small amounts - For minimal water (less than 1/4 inch deep), use old towels to soak up as much as possible. Press firmly to absorb water from carpets and rugs. Wring towels into buckets and repeat. This is the safest method for small leaks or spills.
- Use a wet/dry vacuum for larger amounts - If you have a wet/dry shop vacuum and the electricity is safely on, use it to extract water from carpets and hard floors. Empty the tank frequently and dispose of water down a drain or outside. Never use a regular household vacuum for water.
- Mop and bucket method - For hard floors with shallow standing water, use a mop and bucket. Work from the outer edges toward a central point, then use towels to absorb the final puddles. Change the mop water frequently to maximize effectiveness.
- Remove saturated materials - Take up any completely soaked rugs, bath mats, or removable carpet pieces. Hang them outside or in a garage to drain and dry. Remove wet cardboard boxes from the area as they deteriorate quickly and spread moisture.
- Elevate wet furniture - If furniture legs are sitting in water, carefully lift and place aluminum foil or plastic under the legs to prevent further absorption. Move lightweight furniture to dry areas if possible. For heavy furniture, place towels underneath to wick moisture away. These water damage tips can save valuable furniture from permanent damage.

Step 5: Contact Your Insurance and Professionals (Final Water Damage Steps)
⏱️ Time Required: 5-10 minutes to make calls The final critical step in your immediate water damage steps is bringing in the experts. Even if you've successfully handled the initial emergency, professional assessment and restoration are almost always necessary to prevent future problems like mold growth and structural damage. These water damage tips will help you communicate effectively with professionals. What to do:- Call your insurance company - Contact your homeowner's insurance provider as soon as possible, ideally within the first hour. Explain what happened, what you've done so far, and what damage you've observed. Ask about your coverage, deductibles, and next steps. Get a claim number and the name of your adjuster.
- Contact a water damage restoration company - Call a professional restoration service immediately, even if it's after hours. Many companies offer 24/7 emergency response. Explain your situation and ask when they can assess your property. Contact us for immediate emergency water damage assistance. Don't wait for insurance approval to make this call – time is critical.
- Notify your landlord if renting - If you rent your home, contact your landlord or property manager immediately. Document this notification in writing via email or text. Your lease may have specific requirements for emergency situations.
- Document your communications - Write down the names, times, and details of all calls you make. Save claim numbers, reference numbers, and appointment times. Keep notes about what each person tells you regarding coverage, procedures, and next steps.
- Ask about immediate actions - When speaking with your insurance adjuster, ask if there are any additional steps you should or shouldn't take before the adjuster visits. Some insurers want you to preserve everything exactly as-is, while others encourage emergency mitigation.
- Schedule professional assessment - Confirm appointment times with both the insurance adjuster and restoration company. Try to coordinate their visits if possible. Ask the restoration company what to expect and whether you should leave affected areas undisturbed.
🔴 When to Call a Professional Immediately
Stop all DIY efforts and call water damage restoration professionals right away for emergency water damage situations if: A proper water damage response means knowing when DIY efforts aren't enough. Professional water damage response is necessary when:- Category 2 or 3 water - Contaminated water from toilets, sewage, or external flooding requires professional sewage cleanup services and specialized safety equipment
- Extensive damage - Water affects multiple rooms, entire floors, or has been present for more than 24 hours
- Hidden water - Moisture is detected in walls, under flooring, or in ceiling cavities where you cannot access it
- Structural concerns - Sagging ceilings, warped floors, or any signs of structural compromise require immediate professional evaluation
- Mold is present - Visible mold growth or musty odors indicate the need for professional mold remediation
- Electrical hazards exist - Water near electrical systems, outlets, or appliances requires professional electrical assessment
- HVAC system affected - Water in heating or cooling systems can spread contamination throughout your home
- You're unsure about anything - When in doubt, professional assessment is always the safest choice
- Industrial-strength water extraction equipment
- Moisture detection technology to find hidden water
- Professional-grade dehumidifiers and air movers
- Experience with insurance claims and documentation
- Training in safety protocols for contaminated water
- Ability to prevent mold growth and structural damage
- 24/7 emergency water damage response teams
Additional Water Damage Steps for Prevention
After you've handled the immediate water damage emergency using these water damage steps, consider these preventive water damage tips to protect your home from future incidents: Regular maintenance:- Inspect supply line hoses on washing machines and dishwashers every six months
- Replace rubber washing machine hoses with braided steel versions
- Check for leaks under sinks and around toilets quarterly
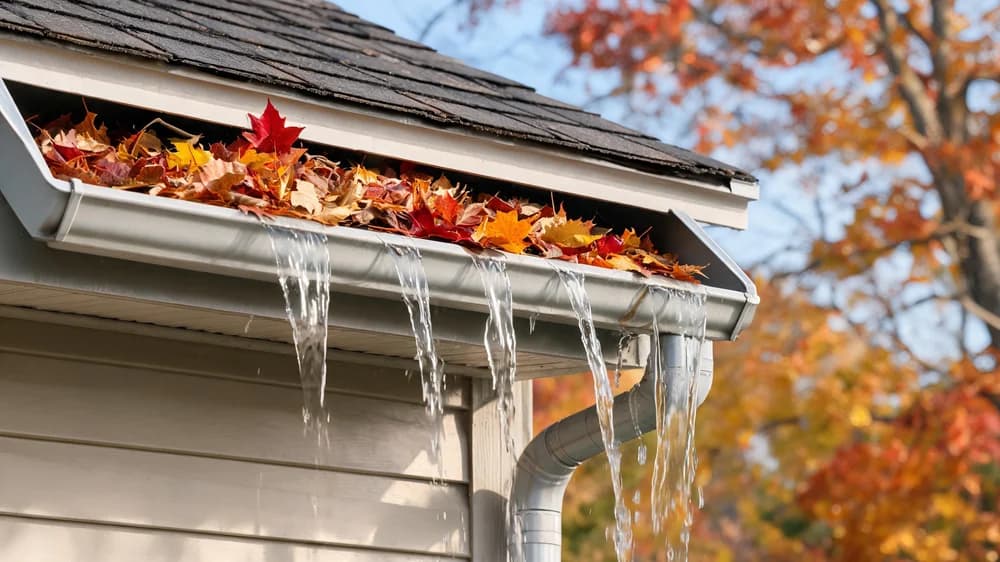
- Clean gutters and downspouts twice yearly to prevent water intrusion
- Test your sump pump monthly if you have a basement
- Follow these water damage tips to catch problems early
- Install water leak detectors near water heaters, washing machines, and under sinks
- Know where your main water shutoff valve is and ensure it's accessible
- Consider installing an automatic water shutoff system
- Maintain proper grading around your home's foundation
- Inspect and maintain your roof regularly
- Keep a list of emergency water damage steps posted near your main water shutoff
- Have emergency contacts ready, including fire and smoke damage restoration professionals
- Keep your insurance company's emergency number programmed in your phone
- Store a water damage emergency kit with towels, buckets, and a flashlight
- Take photos of your home and belongings annually for insurance purposes
- Review your insurance coverage to understand what's included
- Keep contact information for emergency restoration services handy
- Print out these water damage steps and keep them accessible
- Know when to call for emergency board-up services if structural damage occurs
Troubleshooting Common Water Damage Situations
Even when following proper water damage steps, you may encounter unexpected issues. Here's how to handle common problems that arise during the water damage steps process. These water damage tips help you address issues quickly:| Problem | Likely Cause | Immediate Action | Professional Help Needed? |
|---|---|---|---|
| Water meter still moving after shutoff | Second leak or main line issue | Shut off main water valve, call plumber | Yes - immediately |
| Water returning after removal | Source not fully stopped or hidden leak | Re-inspect source, check walls and ceilings | Yes - same day |
| Musty smell develops | Mold beginning to grow | Increase ventilation, call professionals | Yes - within 24 hours |
| Ceiling staining but no drip | Slow leak or past damage | Document, monitor, investigate source | Yes - within 48 hours |
| Carpet stays wet despite extraction | Pad saturated or subfloor affected | Lift carpet edges to check pad and floor | Yes - professional drying needed |
Understanding the 24-48 Hour Window
Water damage restoration professionals often talk about a critical 24-48 hour window. Understanding why this timeframe matters can help you appreciate the urgency of following proper water damage steps immediately after discovery: Within 24 hours:- Drywall begins absorbing water and swelling
- Furniture finishes may start showing white rings or discoloration
- Metal fixtures begin showing rust and tarnish
- Photographs, books, and important documents start deteriorating
- Ideal window for preventing most secondary damage
- Critical period for effective water damage response
- Mold and mildew begin growing and spreading
- Doors, windows, and studs may swell and warp
- Metal begins corroding and rusting more severely
- Furniture joints may loosen or separate
- Strong odors develop and permeate materials
- Emergency water damage intervention becomes critical
- Restoration time and costs increase significantly
- Mold growth accelerates and may require professional remediation
- Structural damage becomes more likely
- Many materials require replacement rather than restoration
- Health risks from mold and bacteria increase
What to Expect from Professional Restoration
When professionals arrive to handle your water damage, understanding their process helps you know what to expect. These professional water damage steps go far beyond what homeowners can do on their own. Emergency water damage professionals follow a systematic approach: Initial assessment (30-60 minutes):- Inspection of all affected areas with moisture meters
- Documentation with photos and moisture readings
- Classification of water type (category 1, 2, or 3)
- Determination of affected materials and structural elements
- Creation of a restoration plan and timeline
- Emergency water damage evaluation for urgent situations
- Industrial-strength pumps and vacuums remove standing water
- Truck-mounted or portable extraction units handle large volumes
- Specialized tools extract water from carpets and padding
- Continuous monitoring to ensure thorough removal
- Rapid water damage response minimizes secondary damage
- Commercial air movers circulate air and speed evaporation
- Industrial dehumidifiers remove moisture from the air
- Daily monitoring of moisture levels in materials
- Adjustment of equipment positioning as needed
- Documentation of drying progress for insurance
- Antimicrobial treatments prevent mold growth
- Cleaning of salvageable belongings and surfaces
- Deodorization to remove musty odors
- HEPA filtration of air during the process
- Removal and disposal of unsalvageable materials
- Reconstruction of damaged areas
- Painting, flooring, and finish work
- Final walkthrough and project completion
Frequently Asked Questions
How quickly does mold start growing after water damage?
Should I use fans to dry out water damage?
Will my insurance cover water damage steps and repairs?
Can I sleep in my house with water damage?
What's the difference between water damage steps for cleanup and professional restoration?
Final Thoughts on Water Damage Steps
Discovering water damage in your home is stressful, but following these five essential water damage steps gives you a clear action plan. Remember that your priorities are safety first, stopping the water source, thorough documentation, initial water removal, and contacting professionals. Each of these water damage steps builds on the previous one to minimize damage and set you up for successful restoration. Following proper water damage response protocols protects your investment. While these emergency water damage steps help you take control of the immediate situation, professional restoration services have the equipment, expertise, and experience to thoroughly dry your home and prevent future problems. Most water damage requires professional intervention to address hidden moisture and prevent mold growth. These water damage tips provide a foundation, but professional expertise ensures complete restoration. A comprehensive water damage response combines immediate homeowner action with professional restoration. The key to minimizing water damage is speed. The faster you act using these water damage steps, the more you'll save in both property damage and restoration time. A quick water damage response makes all the difference. Don't hesitate to call professionals even if you're unsure whether you need them – a quick assessment can prevent thousands in future damage. Remember these water damage tips and act immediately. Need professional water damage restoration? Our certified team responds 24/7 to water emergencies throughout your area. We'll guide you through the water damage steps, work directly with insurance companies, use advanced moisture detection equipment, and restore your home to pre-damage condition. Learn more about our residential restoration services or contact us immediately for emergency response or to schedule an assessment of your water damage situation.Categories
Need Restoration Services?
Our team is available 24/7 for emergency response. Call us today for a free phone consultation.
Questions About Restoration?
Our experts are ready to help. Contact us for a free consultation.