T
Tyler McClelland· Mitigation Manager, Hudson Valley Region (NY)
Tyler McClelland leads mitigation operations for Advanced DRI across New York's Hudson Valley, directing water, mold, and large-loss response in the field. He holds IICRC Water Restoration Technician (WRT) and Applied Microbial Remediation Technician (AMRT) certifications and a New York State Mold Supervisor certification, and is trained in IRCA hospital safe construction practices recognized by The Joint Commission.
IICRC Water Restoration Technician (WRT), IICRC Applied Microbial Remediation Technician (AMRT), NY State Mold Supervisor Certification, Lead RRP Certification, OSHA Bloodborne Pathogens Training, IRCA Hospital Safe Construction Practices (TJC), Large Loss Mastery Estimating CertifiedLinkedIn
Published October 18, 2025 · Updated May 27, 2026

Learn safe water damage cleanup methods for minor incidents. This DIY guide covers water removal and when to call professionals for water damage cleanup.
What You'll Need
Proper equipment is essential for successful DIY water cleanup. Here's everything you need for safe cleanup of minor water damage:Tools:
- Wet/dry vacuum (shop vac) - Essential for removing standing water
- Dehumidifier - Removes moisture from the air to prevent mold
- Box fans or air movers - Accelerates drying process
- Moisture meter (optional but helpful) - Measures hidden moisture in materials
- Flashlight - Inspects dark areas and behind furniture
- Camera or smartphone - Documents damage for insurance
Materials:
- Rubber gloves - Protects hands from contaminated water
- N95 masks - Prevents inhalation of mold spores or contaminants
- Heavy-duty trash bags - For disposing of damaged materials
- Disinfectant spray or solution - Sanitizes affected surfaces
- Microfiber towels and mops - Absorbs water from surfaces
- Plastic sheeting - Protects undamaged areas
- Extension cords - Powers equipment safely away from water
Time Required:
⏱️ Assessment & Prep: 15-20 minutes ⏱️ Water Removal: 30-60 minutes ⏱️ Drying Process: 24-72 hours (monitoring required) ⏱️ Cleaning & Sanitizing: 30-45 minutes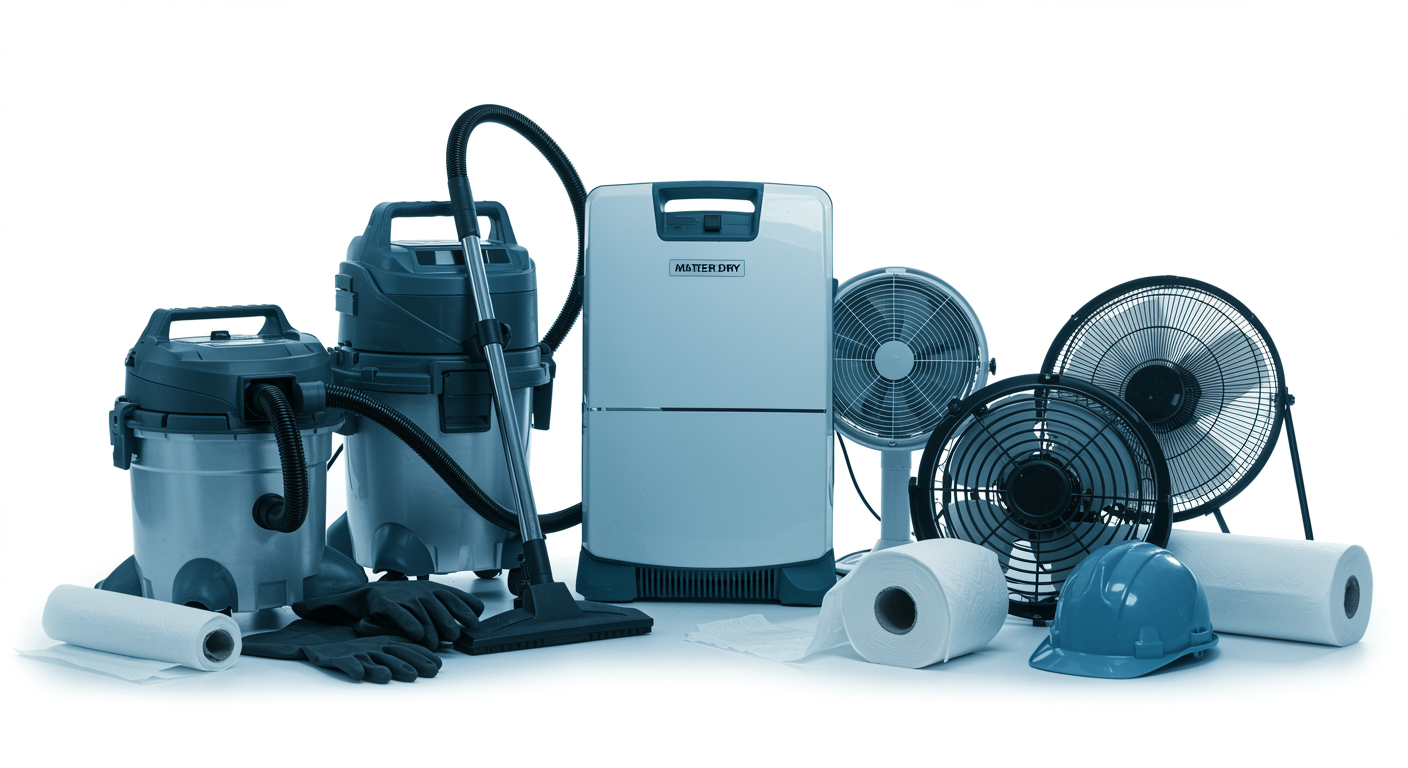
⚠️ Safety First for Safe Cleanup
Before you begin any water damage cleanup:- Turn off electricity to the affected area at the breaker box if water is near outlets or appliances
- Wear protective gear including rubber gloves and N95 mask at all times during safe cleanup
- Identify the water source - Clean water only (not sewage or floodwater)
- Ensure proper ventilation by opening windows and doors
- Never use regular household vacuums on standing water - electrical shock hazard
- Watch your footing - wet floors are extremely slippery
🔴 Stop and Call a Professional If:
- Water has been standing for more than 24-48 hours
- The affected area is larger than 10x10 feet
- Water came from sewage backup, flooding, or contaminated sources
- You see or smell mold growth (contact mold removal specialists)
- Water has reached electrical outlets, appliances, or wiring
- Structural materials like drywall, insulation, or subflooring are saturated
- You're dealing with Category 2 (gray water) or Category 3 (black water)
- You have health concerns or compromised immunity
Understanding Water Damage Categories
Not all minor water damage is the same. Understanding these categories helps ensure safe cleanup. Here's what you need to know:| Category | Description | Examples | DIY Safe? |
|---|---|---|---|
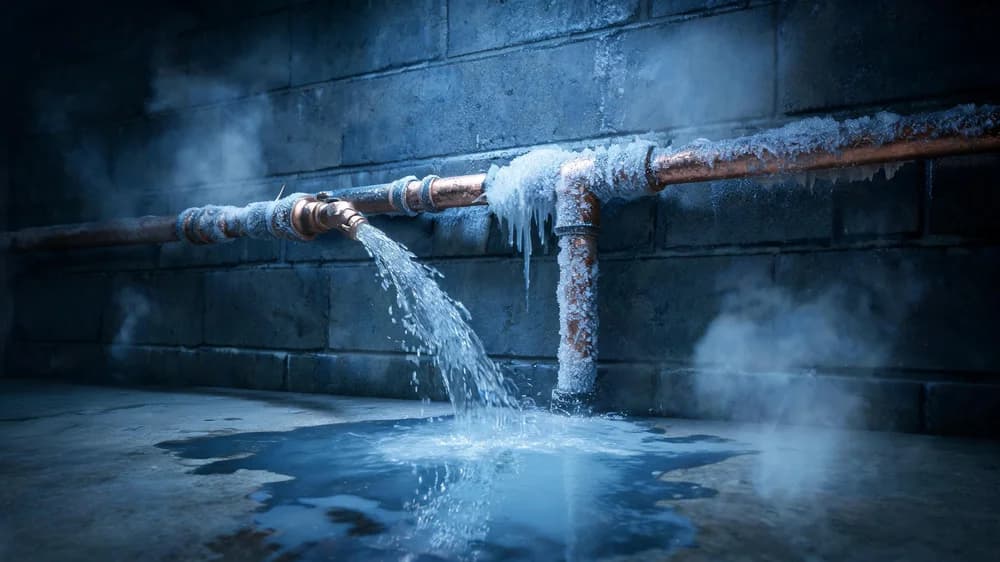
| Category 1 (Clean Water) | Water from a clean source with no contamination | Broken supply line, sink overflow, rainwater | ✅ Yes, suitable for DIY water cleanup |
| Category 2 (Gray Water) | Water with some contamination that may cause discomfort | Washing machine discharge, dishwasher leak | ⚠️ Caution advised |
| Category 3 (Black Water) | Highly contaminated water with bacteria and pathogens | Sewage backup, flooding, toilet overflow | 🔴 Never - Call sewage cleanup professionals immediately |
Step-by-Step Water Damage Cleanup Process
Step 1: Document the Damage
Before touching anything, take photos and videos of all affected areas from multiple angles. Include close-ups of water levels, damaged items, and the water source. This documentation is essential for insurance claims and helps you track your progress. Why this matters: Insurance companies require proof of damage, and photos taken before cleanup begins provide the best evidence of the extent of the problem.Step 2: Stop the Water Source
Locate and stop the source of water immediately. Turn off the water supply valve for the affected fixture or appliance. If you can't identify or stop the source, turn off your home's main water supply and call a plumber. This critical first step in DIY water cleanup prevents further damage. ✅ Success looks like: No more water entering the space, and you've identified where it came from.Step 3: Remove Standing Water
Use your wet/dry vacuum to remove all standing water from floors and carpets. Work systematically from one end of the room to the other. For larger volumes, you may need to empty the vacuum tank multiple times. Use towels and mops for areas the vacuum can't reach. Pro tip: Start at the furthest point from your drainage area and work backward to avoid walking through water repeatedly.Step 4: Move Furniture and Belongings
Remove all moveable items from the wet area. Place aluminum foil or plastic sheeting under furniture legs if items must stay in the room during drying. Elevate wet items on blocks to allow air circulation underneath. Protecting your belongings is crucial when handling minor water damage. Why this matters: Furniture sitting in water will absorb moisture, leading to permanent damage and potential mold growth in cushions and wood.Step 5: Remove Wet Materials
Remove any materials that cannot be adequately dried within 24-48 hours. This includes saturated area rugs, carpet padding, cardboard boxes, paper products, and fabric items. Bag these materials immediately and dispose of them to prevent mold growth. ⚠️ Important: If drywall is saturated more than a few inches up from the floor, or if insulation is wet, professional removal is recommended.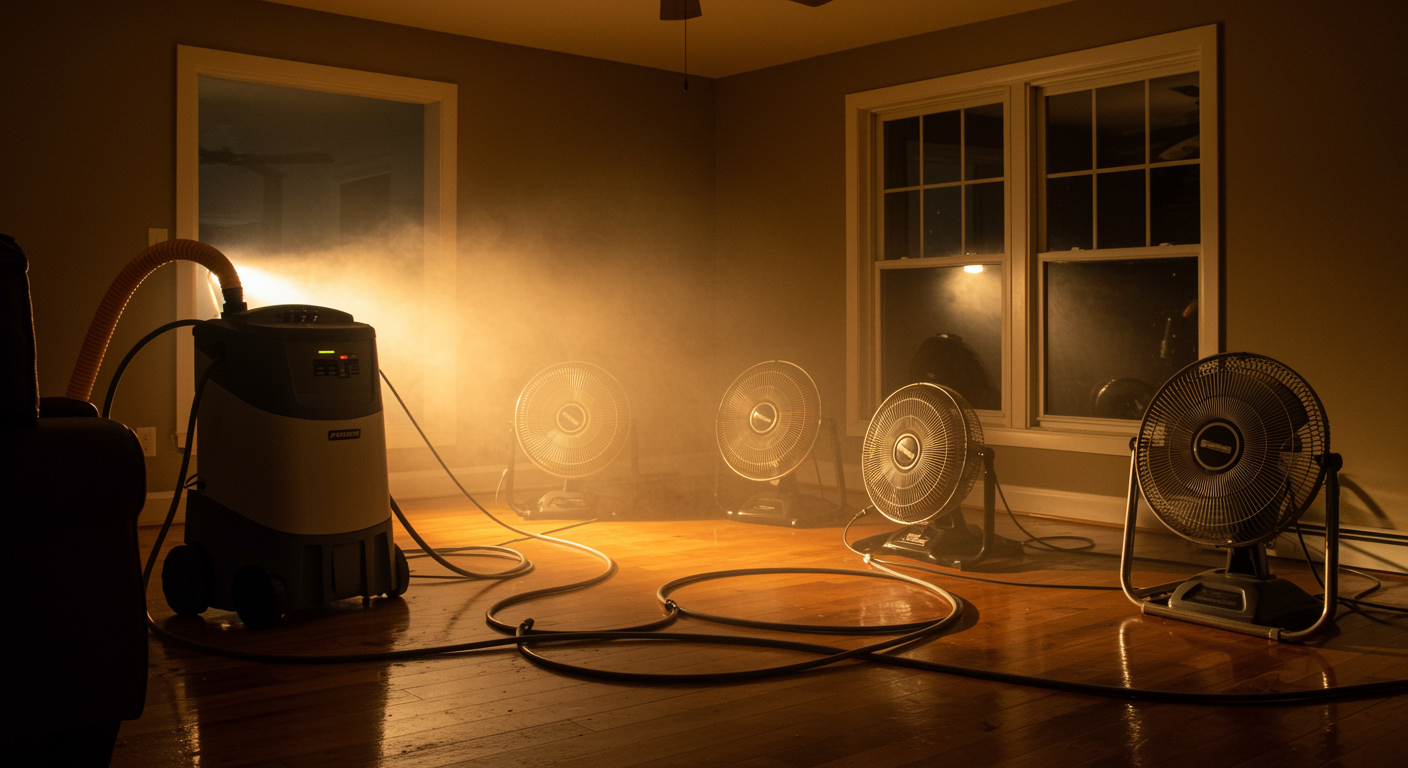
Step 6: Begin the Drying Process
Set up dehumidifiers and fans to create air movement throughout the space. Position fans to blow across wet surfaces, not directly at them. Place dehumidifiers in the center of the room or near the wettest areas. Keep windows and doors closed when running dehumidifiers for maximum effectiveness in your DIY water cleanup efforts. 💡 Optimal setup: One dehumidifier per 500 square feet of affected space, plus 2-3 fans to circulate air.Step 7: Monitor the Drying Progress
Check the affected areas every 4-6 hours. Empty dehumidifier tanks as needed and adjust fan positions. Use a moisture meter to check hidden areas like baseboards and subfloors. Materials should feel dry to the touch within 24-48 hours and show normal moisture readings. ✅ Success looks like: Surfaces feel completely dry, no musty odors, and moisture meter readings are normal (typically 10-12% for wood).Step 8: Clean and Disinfect
Once everything is completely dry, clean all affected surfaces with a disinfectant solution. Pay special attention to areas that had direct contact with water. Wipe down walls, baseboards, and floors thoroughly. Allow surfaces to air dry after disinfecting. This sanitization step ensures safe cleanup of minor water damage. Why this matters: Even clean water can pick up contaminants from floors and surfaces. Disinfecting prevents bacterial growth and eliminates odors.Step 9: Inspect for Hidden Damage
Use your flashlight to check inside cabinets, behind appliances, and in crawl spaces. Look for signs of moisture, discoloration, or musty odors. Check the ceiling below if damage occurred on an upper floor. 🔴 Call a professional if you discover: Mold growth, sagging ceilings, bubbling paint, or persistent moisture that won't dry.Troubleshooting Common Issues
Problem: Area Won't Dry Completely
Solution: Increase air circulation by adding more fans, ensure dehumidifier is properly sized and emptied regularly, and check for hidden water sources. If materials remain wet after 48 hours of continuous drying during your DIY water cleanup, professional equipment may be needed.Problem: Musty Odor Develops
Solution: This indicates insufficient drying or early mold growth. Increase drying efforts immediately and inspect hidden areas like wall cavities and under flooring. If odor persists after complete drying, mold may be present and requires professional assessment.Problem: Carpet or Padding Remains Wet
Solution: Padding rarely dries adequately and should be removed and replaced. Carpet can sometimes be saved if dried within 24 hours using specialized equipment. Consider professional carpet cleaning and drying services for minor water damage affecting large carpeted areas.Problem: Water Damage on Upper Floors
Solution: Check the ceiling of the room below immediately. Water often travels through floors and can cause hidden damage. If ceiling shows water stains, bulging, or sagging, professional inspection is required.Prevention Tips to Avoid Future Minor Water Damage
Preventing minor water damage is easier than dealing with safe cleanup after an incident. Follow these proactive maintenance tips:- Inspect appliance hoses annually and replace every 5 years
- Know where your main water shutoff valve is located and test it yearly
- Install water leak detectors near water heaters, washing machines, and under sinks
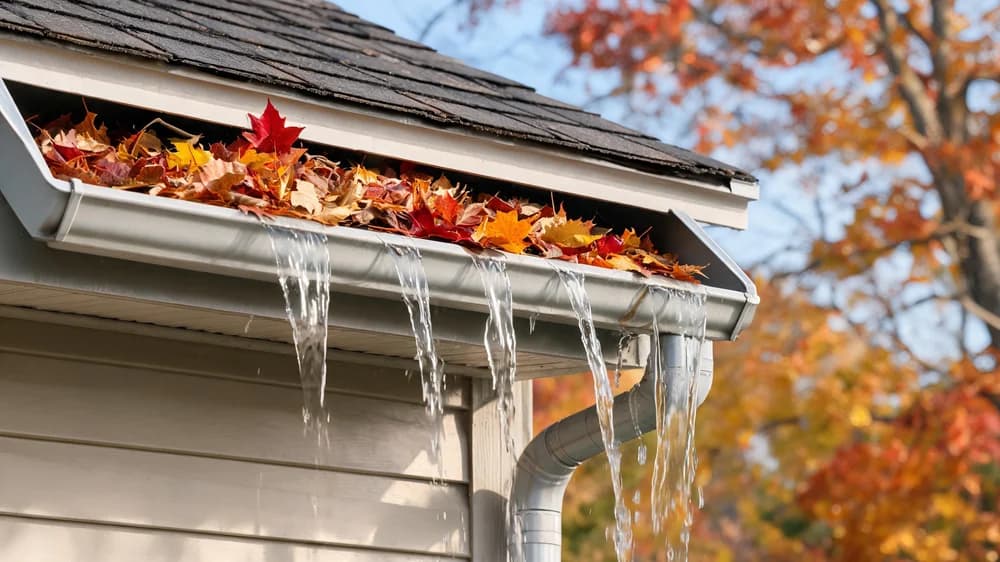
- Clear gutters and downspouts seasonally to prevent water intrusion
- Check under sinks monthly for signs of leaks or moisture
- Maintain proper grading around your home's foundation
- Service water-using appliances according to manufacturer recommendations
When DIY Water Cleanup Isn't Enough: Recognizing the Need for Professional Help
While many minor water damage incidents can be handled with DIY water cleanup methods and safe cleanup techniques, some situations require professional expertise and equipment. Professional restoration companies have industrial-grade dehumidifiers, moisture detection tools, and the experience to identify hidden damage that homeowners often miss. Consider professional help if:- You're unsure about the water category or contamination level
- The affected area is larger than you can effectively manage
- You don't have access to proper drying equipment
- You discover the problem more than 48 hours after it occurred
- You have valuable items, antiques, or important documents affected
- Your homeowner's insurance requires professional documentation

Frequently Asked Questions
How quickly do I need to start water damage cleanup to prevent mold?
You have approximately 24-48 hours to dry out water-damaged areas before mold growth becomes likely. However, starting immediately is always best. The faster you remove water and begin drying, the better your chances of preventing mold, odors, and structural damage. If you can't begin safe cleanup and DIY water cleanup within 24 hours, professional help is strongly recommended.
Can I use a regular vacuum cleaner for water damage cleanup?
Never use a regular household vacuum for water extraction. Standard vacuums are not designed for liquid and create serious electrical shock hazards when used on water. Always use a wet/dry vacuum (shop vac) specifically designed for liquid cleanup. These specialized vacuums safely separate water from electrical components and are essential for safe DIY water cleanup.
What's the difference between minor water damage I can handle and damage requiring professionals?
Minor water damage suitable for DIY water cleanup includes small, clean water incidents under 10x10 feet that you discover quickly, such as appliance leaks or supply line breaks. Professional help is needed for contaminated water (sewage, flooding), large affected areas, water present for over 48 hours, structural saturation, or any situation involving mold growth. When in doubt, a professional assessment is always safer for safe cleanup.
How long should I run dehumidifiers and fans after water damage?
Continue running dehumidifiers and fans for 24-72 hours, or until all surfaces are completely dry and moisture meter readings return to normal levels. Check progress every 6-8 hours and adjust equipment placement as needed. Even if surfaces feel dry, continue drying for at least 24 hours to ensure moisture deep within materials is removed. Stopping too early can lead to hidden mold growth.
What are the most common mistakes people make during DIY water cleanup?
The biggest mistakes include starting cleanup too late, not removing all standing water completely, insufficient drying time, attempting to save materials that should be discarded (like carpet padding), not checking for hidden moisture, and failing to disinfect properly during safe cleanup. Many homeowners also underestimate the affected area or attempt to handle contaminated water situations that require professional expertise and equipment beyond DIY water cleanup capabilities.
Protect Your Home with Professional Support
While this guide helps you handle minor water damage incidents with DIY water cleanup techniques, remember that even small water problems can lead to significant damage if not addressed properly. Professional restoration specialists have the expertise, equipment, and experience to ensure your home is completely dry and safe. If you're dealing with water damage and need expert guidance or professional services, don't hesitate to reach out. Quick action makes all the difference in protecting your home and preventing costly secondary damage. Whether you need advice on a current situation or want to schedule a professional assessment, 24-hour emergency services are available for water emergencies. Remember: When it comes to water damage cleanup, being proactive and thorough is always better than dealing with mold, structural damage, or health issues down the road. Stay safe, act fast, and don't hesitate to contact professional restoration experts when needed.Categories
Need Restoration Services?
Our team is available 24/7 for emergency response. Call us today for a free phone consultation.

Questions About Restoration?
Our experts are ready to help. Contact us for a free consultation.