Water Damage Restoration
Preventing Frozen Pipes: Essential Winter Home Maintenance Tips
October 16, 202514 min read
Back to Blog
Essential tips to prevent frozen pipes during winter. Protect your home from costly water damage with proper insulation and maintenance strategies.
Understanding Why Pipes Freeze and How to Prevent Frozen Pipes
Before diving into prevention methods, it's important to understand the enemy. When water freezes inside pipes, it expands by approximately 9%, creating immense pressure that can crack even metal pipes. Understanding how to prevent frozen pipes starts with knowing which pipes are most vulnerable—those in unheated areas like basements, crawl spaces, attics, garages, and exterior walls. Pipes that run along outside walls or in cabinets facing exterior walls are also at high risk. Temperature isn't the only factor—wind chill, poor insulation, and even the diameter of your pipes play crucial roles. Smaller diameter pipes freeze faster, and pipes with little to no water flow are more susceptible than those with running water.What You'll Need
Materials:
- Pipe insulation tubes (foam or fiberglass—available at hardware stores)
- Heat tape or heat cable (thermostatically controlled versions recommended)
- Caulk and weather stripping (for sealing gaps and cracks)
- Outdoor faucet covers (insulated foam covers)
- Cabinet thermometer (to monitor problem areas)
- Towels or newspapers (for additional insulation if needed)
Tools:
- Utility knife or scissors (for cutting insulation)
- Measuring tape
- Flashlight
- Ladder (for accessing attic or high areas)
Time Required:
⏱️ Initial Assessment: 30 minutes ⏱️ Insulation Installation: 2-3 hours ⏱️ Sealing Gaps: 1 hour ⏱️ Ongoing Monitoring: 5-10 minutes daily during freezes⚠️ Safety First
Before you begin:- Wear gloves when handling fiberglass insulation to avoid skin irritation
- Use proper ladder safety techniques when accessing crawl spaces or attics
- Turn off power to any electrical heat tape before installation
- Be cautious in tight crawl spaces—ensure adequate ventilation
- If working with heat tape, follow manufacturer's instructions precisely to avoid fire hazards
Step-by-Step Guide to Prevent Frozen Pipes
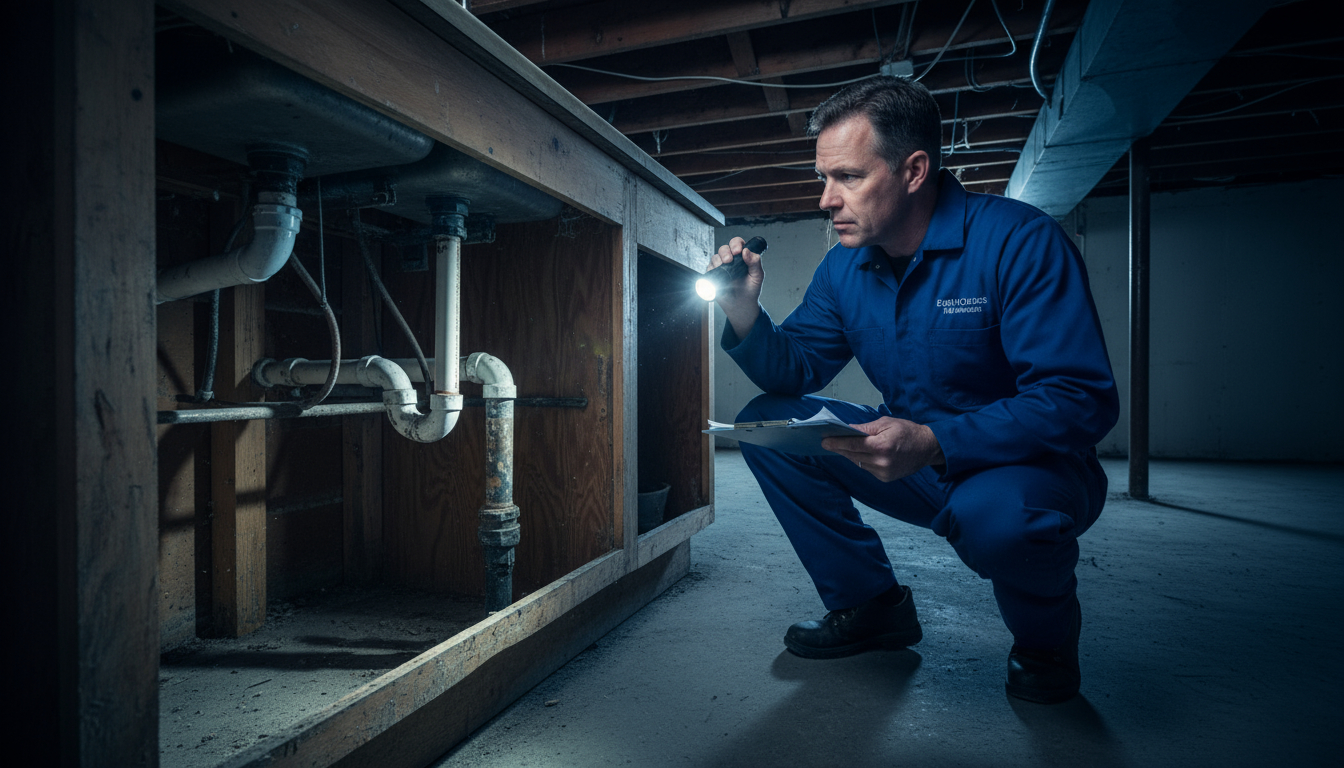
Step 1: Identify Vulnerable Pipes (30 minutes)
Walk through your home with a flashlight and notepad to locate all at-risk pipes. Check your basement, crawl space, attic, garage, and any unheated areas. Pay special attention to pipes along exterior walls, especially on the north side of your home where sunlight is minimal. 💡 Why this matters: You can't protect what you don't know exists. Mapping your vulnerable pipes ensures comprehensive coverage. ✅ Success indicator: You have a complete list of pipe locations with notes about which are most exposed to cold air.Step 2: Install Pipe Insulation (1-2 hours)
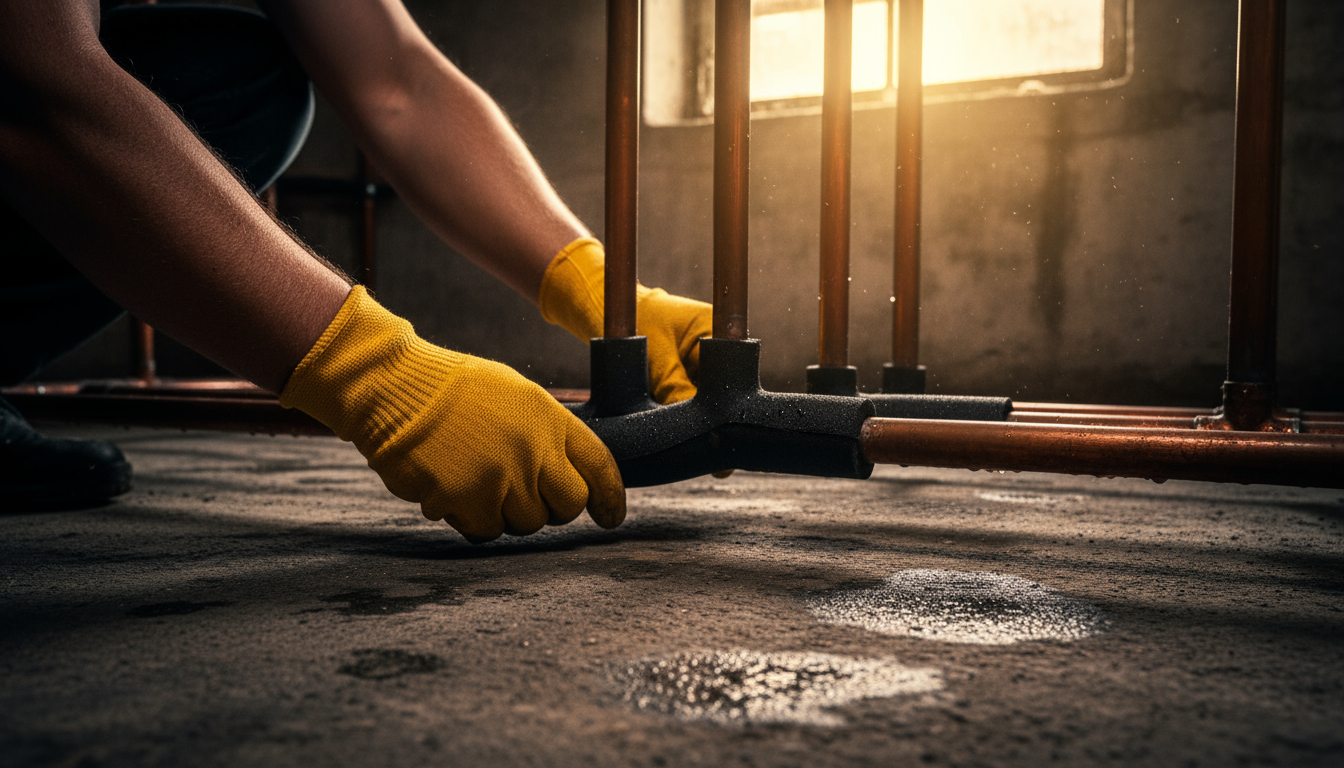
Purchase foam pipe insulation tubes that match your pipe diameter. These tubes typically come in 6-foot lengths with a pre-cut slit for easy installation. Slide the insulation over pipes in vulnerable areas, ensuring complete coverage with no gaps. Secure the slit with duct tape or cable ties. For elbow joints, cut insulation at 45-degree angles and fit pieces together like puzzle pieces. 💡 Why this matters: Proper insulation creates a thermal barrier that slows heat loss and keeps pipes above freezing temperatures. ✅ Success indicator: All exposed pipes in unheated areas are completely covered with no visible gaps in insulation. ⚠️ Pro tip: Use fiberglass insulation for pipes in extremely cold areas or where space is tight—it provides better protection than foam in harsh conditions.
Step 3: Apply Heat Tape to High-Risk Pipes (1 hour)
For pipes in extremely vulnerable locations, wrap heat tape or heat cable in a spiral pattern along the pipe length. Never overlap the tape as this creates hot spots that can damage pipes or cause fires. Plug thermostatically controlled heat tape into a GFCI outlet—these models automatically turn on when temperatures drop below a set point, typically around 38°F. 💡 Why this matters: Heat tape provides active warming during extreme cold when insulation alone isn't enough. ✅ Success indicator: Heat tape is wrapped evenly with no overlapping sections, and the thermostat indicator shows proper function. ⚠️ Warning: Always follow manufacturer installation instructions precisely. Improper heat tape installation can cause electrical fires.Step 4: Seal Gaps and Cracks (1 hour)
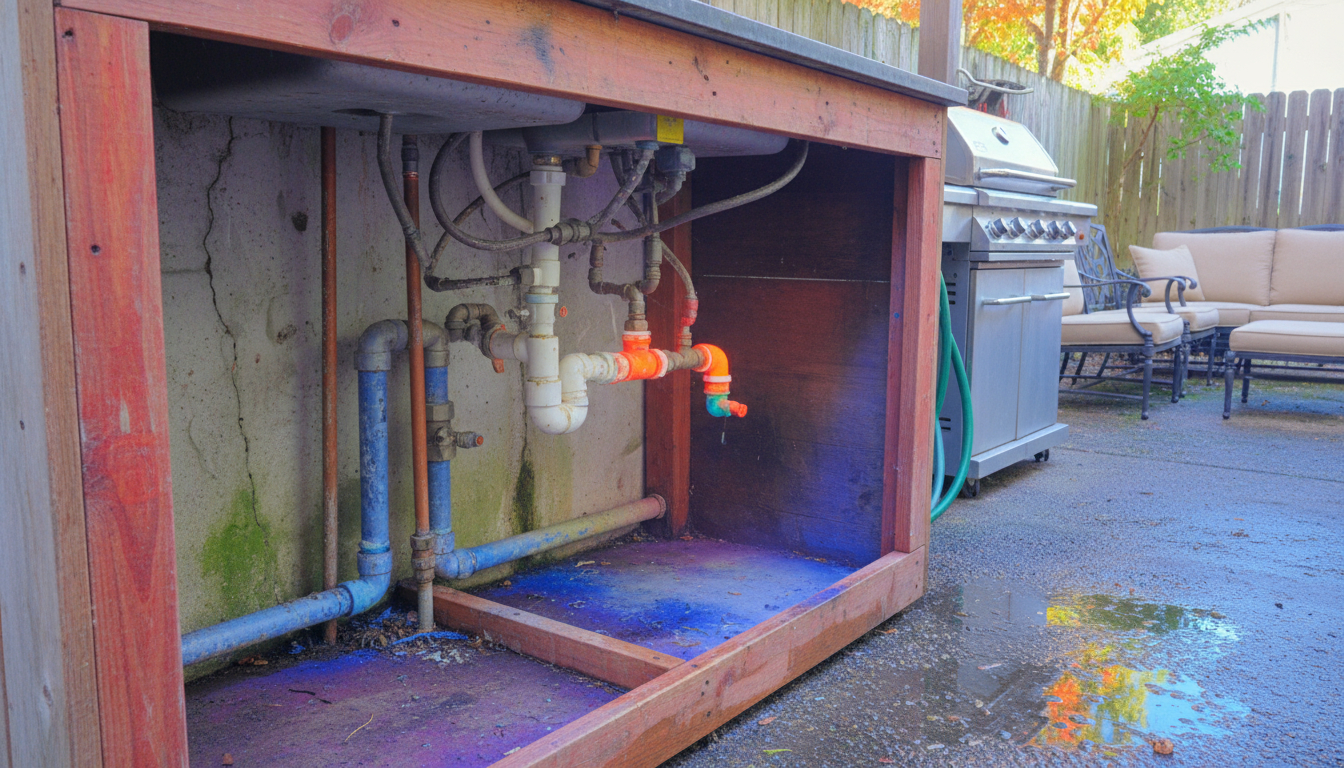
Inspect areas where pipes enter your home through walls or floors. Use caulk to seal gaps around pipes, filling even small cracks that allow cold air infiltration. Install weather stripping around crawl space doors, basement windows, and any access panels near plumbing. Focus on sealing gaps in rim joists (where your foundation meets wooden framing) as these are common cold air entry points. 💡 Why this matters: Even small air leaks can drop temperatures enough to freeze pipes. Sealing gaps prevents cold air from reaching vulnerable plumbing. ✅ Success indicator: You can't feel cold air drafts near pipes, and all visible gaps are filled with caulk or weather stripping.Step 5: Protect Outdoor Faucets (15 minutes)
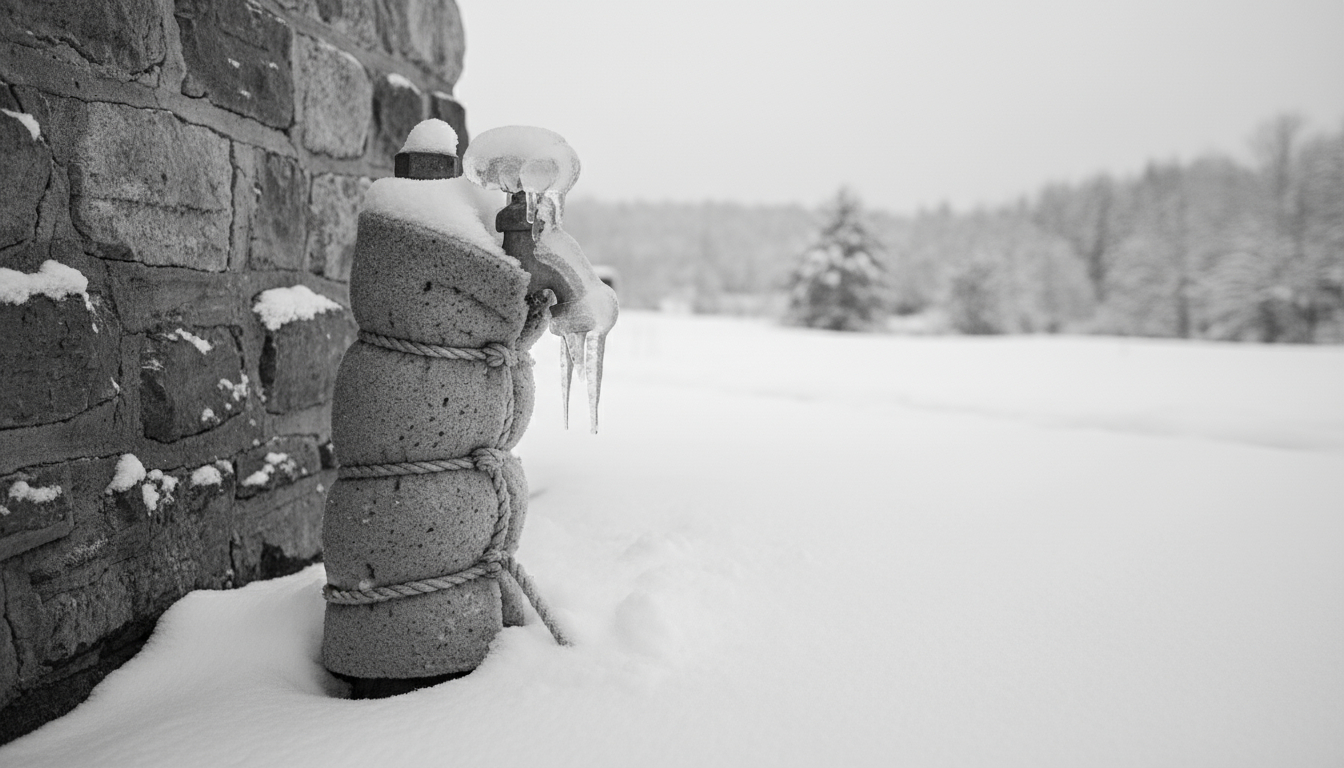
Disconnect all garden hoses from outdoor faucets and drain them completely. Turn off the water supply to outdoor faucets using the shutoff valve inside your home. Open the outdoor faucet to drain remaining water, then leave it in the open position. Install insulated faucet covers over all exterior spigots, ensuring they fit snugly. 💡 Why this matters: Outdoor faucets and the pipes leading to them are extremely vulnerable to freezing since they're directly exposed to cold air. ✅ Success indicator: All outdoor faucets are drained, covered, and the indoor shutoff valves are closed.
Step 6: Prepare Cabinet Pipes (10 minutes)
Identify any pipes located in cabinets on exterior walls, particularly in kitchens and bathrooms. Remove items stored in these cabinets to allow for better air circulation. During cold snaps, keep cabinet doors open to let warm room air circulate around pipes. 💡 Why this matters: Cabinets trap cold air against pipes. Opening doors allows your home's heated air to keep pipes warm. ✅ Success indicator: You can easily open cabinet doors, and you've noted which cabinets need to stay open during freezes.
During a Cold Snap: Active Measures to Prevent Frozen Pipes
When temperatures drop below freezing, especially below 20°F, implement these additional protective measures to prevent frozen pipes:| Action | When to Do It | Why It Works | Effort Level |
|---|---|---|---|
| Let faucets drip | When temps drop below 20°F | Moving water resists freezing; relieves pressure | Easy |
| Open cabinet doors | Throughout the cold spell | Warm air circulates around pipes | Easy |
| Maintain indoor heat | 24/7 during freeze | Keeps pipe areas above freezing | Easy |
| Check vulnerable areas | Morning and evening | Early detection prevents disasters | Moderate |
The Strategic Drip Technique to Prevent Frozen Pipes
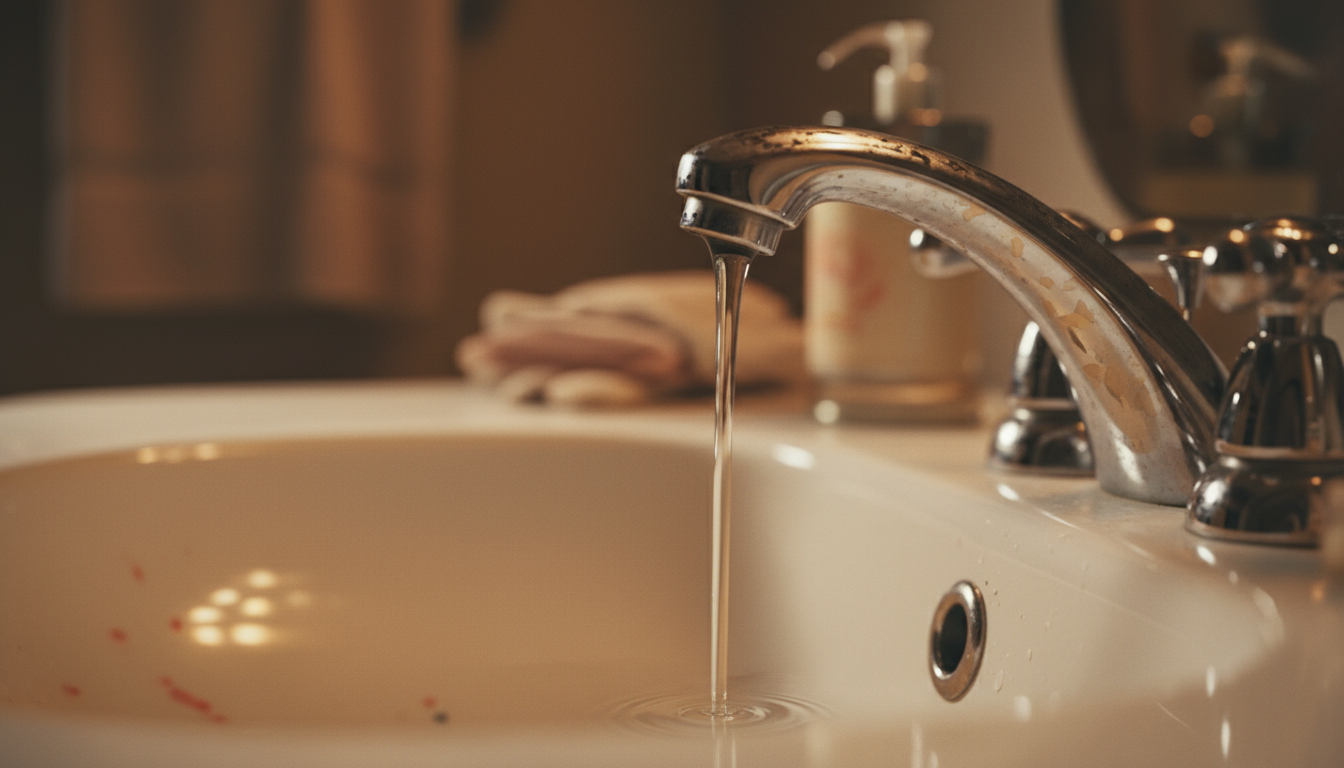
When extremely cold weather is forecast, one of the most effective ways to prevent frozen pipes is to let faucets drip at a rate of about 5 drips per minute—roughly the thickness of a pencil lead stream. Focus on faucets on exterior walls or those supplied by vulnerable pipes. Both hot and cold water lines benefit, so let both sides drip slightly. This small amount of water flow prevents pressure buildup and keeps water molecules in motion, making freezing much less likely.
Temperature Monitoring
Place a thermometer in areas where pipes are located, such as in cabinets under sinks, in the basement, or in crawl spaces. If temperatures in these areas drop below 40°F, take immediate action by increasing heat in that area, opening cabinet doors, or letting faucets drip. For homes with persistent heating issues during extreme cold, consider emergency heating services to maintain safe temperatures.Troubleshooting Common Issues
Problem: Insulation keeps slipping off pipes
Solution: Use plastic cable ties every 12-18 inches to secure foam insulation, or wrap with duct tape along the slit seam. For horizontal pipes, support the insulation with wire or string tied to joists above.Problem: Can't reach pipes in tight crawl space
Solution: Use heat tape instead of bulky insulation in inaccessible areas. Consider hiring a professional if the space is truly unreachable—prevention is worth the investment.Problem: Heat tape isn't warming up
Solution: Check that it's plugged into a functioning GFCI outlet. Verify the thermostat setting is appropriate (should activate around 38-40°F). Test the outlet with another device. If heat tape still doesn't work, replace it before extremely cold weather arrives.Problem: Pipes freeze despite taking precautions
Solution: If you discover a frozen pipe (indicated by no water flow or frost on the pipe exterior), keep the faucet open and apply gentle heat using a hair dryer, heating pad, or towels soaked in hot water. Never use open flames, propane torches, or high-heat sources.🔴 When to Call a Professional
Stop and contact a water damage restoration professional immediately if:- A pipe has burst and water is actively flowing into your home
- You smell gas near pipes or appliances after a freeze
- You discover frozen pipes inside walls where you can't apply heat safely
- Ice remains in pipes after several hours of gentle heating attempts
- You're uncomfortable working in crawl spaces or accessing pipe locations
- Your home has experienced previous freeze damage
- You need professional-grade insulation for commercial properties or multi-family units
- Seasonal homes that will be unoccupied during winter
- Properties with complex plumbing systems
- Historic homes with aging infrastructure
- Rental properties where tenant education may be insufficient
Preventive Maintenance Schedule
| Timing | Task | Duration |
|---|---|---|
| Late Fall (October-November) | Complete full winterization process | 3-4 hours |
| First Hard Freeze | Test all protection measures; adjust as needed | 30 minutes |
| During Cold Snaps | Implement drip strategy and open cabinets | 15 minutes |
| Weekly in Winter | Check insulation integrity and temperature monitoring | 10 minutes |
| Early Spring | Remove covers; inspect for any freeze damage | 1 hour |
Long-Term Strategies to Prevent Frozen Pipes
Beyond seasonal preparation, consider these permanent improvements to prevent frozen pipes year after year: Relocate exposed pipes: If you have pipes in exterior walls or unheated areas that repeatedly freeze, consider rerouting them to interior walls or heated spaces. While this requires professional plumbing work, it's a permanent solution to prevent frozen pipes that eliminates the problem entirely. Upgrade insulation: Adding insulation to your attic, basement, or crawl space improves your entire home's energy efficiency while protecting pipes. Spray foam insulation around rim joists provides exceptional protection for pipes in basement ceiling areas. Install smart home monitoring: Temperature sensors and water leak detectors provide alerts when conditions become dangerous or if a pipe bursts. These systems can notify you via smartphone even when you're away from home. Consider PEX piping: When replacing old plumbing, PEX (cross-linked polyethylene) pipes offer superior freeze resistance compared to copper or galvanized steel. While PEX can expand slightly during freezing without bursting, you still need to prevent frozen pipes through proper insulation and maintenance, though prevention is still essential.What Success Looks Like
You'll know your frozen pipe prevention efforts are successful when:- ✅ All faucets produce steady water flow even during the coldest weather
- ✅ You see no frost or ice formation on visible pipes during cold snaps
- ✅ Cabinet areas and crawl spaces maintain temperatures above 40°F
- ✅ Heat tape indicator lights activate appropriately when temperatures drop
- ✅ Your winter heating bills don't spike dramatically (good insulation helps)
- ✅ You confidently leave town during winter knowing your home is protected
Emergency Preparedness
Despite best efforts, emergencies can happen. Keep these items accessible during winter months:- Hair dryer or space heater for thawing frozen pipes
- Main water shutoff valve location clearly marked and operable
- Emergency contact numbers for plumbers and 24-hour restoration services
- Buckets, towels, and a wet/dry vacuum for minor leaks
- Flashlight with fresh batteries for inspecting dark areas
Cost-Benefit Analysis of Frozen Pipe Prevention
Investing in measures to prevent frozen pipes delivers substantial returns. Basic winterization materials typically represent a modest investment, while a single pipe burst incident can result in significant repair costs, increased insurance premiums, temporary housing expenses, and replacement of damaged possessions. Most homeowners recover their prevention investment many times over by avoiding just one freeze-related disaster. Learning to prevent frozen pipes is one of the smartest investments you can make in your home. Insurance companies often offer reduced premiums for homes with documented freeze protection measures, particularly for seasonal properties. Check with your provider about potential discounts for professional winterization documentation. Taking steps to prevent frozen pipes can literally save you money on insurance while protecting your home.Frequently Asked Questions
At what temperature do pipes typically freeze?
Pipes can begin to freeze when temperatures drop to 20°F or below, especially if they're in unheated areas or exposed to wind. However, well-insulated pipes in heated spaces can withstand much colder temperatures. The duration of exposure matters too—a brief dip below freezing is less dangerous than sustained cold temperatures over several hours or days. Understanding these temperature thresholds is key to knowing when to take action to prevent frozen pipes.
Should I let all my faucets drip or just specific ones?
Focus on faucets supplied by vulnerable pipes—those on exterior walls, in unheated areas, or that have frozen before. You don't need to drip every faucet in your home. A good rule of thumb is to drip one faucet that's the farthest from your water heater or main supply, plus any faucets in high-risk locations. Both hot and cold sides should drip slightly.
Can I insulate pipes myself or do I need a professional?
Most homeowners can successfully install pipe insulation themselves—it's a straightforward DIY project requiring basic tools and materials from any hardware store. The main challenges are accessing tight spaces and ensuring complete coverage. Consider hiring a professional if you have extensive pipe runs in inaccessible crawl spaces, need heat tape installation with complex electrical work, or want to reroute pipes for permanent solutions.
What's the difference between heat tape and pipe insulation?
Pipe insulation passively slows heat loss by creating a thermal barrier around pipes, while heat tape actively warms pipes using electric heating elements. Insulation is sufficient for most situations and costs less to install and operate. Heat tape is best reserved for extremely vulnerable pipes in unheated areas where insulation alone isn't enough. Many homeowners use both together for maximum protection in high-risk locations.
How do I know if a pipe is already frozen?
Signs of frozen pipes include no water coming from faucets (or only a trickle), visible frost on exposed pipes, strange gurgling sounds when running water, or unexplained water pressure drops. If you suspect a frozen pipe, act quickly—keep the faucet open, apply gentle heat to the frozen section, and never use open flames. If you can't locate the freeze or safely thaw the pipe, call a professional immediately to prevent a burst.
Take Action to Prevent Frozen Pipes Before the Next Freeze
Learning how to prevent frozen pipes doesn't require extensive plumbing knowledge or expensive equipment—just consistent attention and proactive preparation. By following the steps outlined in this guide, you'll protect your home from one of winter's most preventable disasters and master the art of frozen pipe prevention. Start your efforts to prevent frozen pipes in late fall, before the first hard freeze. Even if cold weather has already arrived, it's never too late to add protection. Every measure you take reduces your risk of experiencing the stress, expense, and disruption of burst pipes. If you've experienced freeze damage in the past, or if your home has particularly vulnerable plumbing, consider professional winterization services. Expert assessment can identify risks you might overlook and provide customized solutions to prevent frozen pipes tailored to your specific situation. Don't wait for disaster to strike. Take control of your home's winter preparedness today and enjoy peace of mind knowing your plumbing system can handle whatever winter throws your way. With proper frozen pipe prevention, you'll never have to worry about winter plumbing emergencies again.Categories
Need Restoration Services?
Our team is available 24/7 for emergency response. Call us today for a free phone consultation.

Questions About Restoration?
Our experts are ready to help. Contact us for a free consultation.