Ceiling Water Damage Warning Signs: When to Call Emergency Services
Rob Temples manages emergency restoration operations for Advanced DRI's Fairfield, NJ and New York City service areas. With 10 years in the restoration industry and prior experience working for a general contractor, he integrates construction knowledge with mitigation expertise on every project and holds an IICRC Water Restoration Technician (WRT) certification.

Critical ceiling water damage warning signs requiring emergency response. Learn to identify dangerous situations, prevent collapses, and protect your safety.
🔍 What You'll Need for Ceiling Inspection
Tools:
- Flashlight or headlamp - For examining dark corners and shadowed areas
- Step ladder - To safely reach ceiling height (never stand on furniture)
- Smartphone camera - Document changes over time with dated photos
- Moisture meter (optional) - Available at hardware stores for detecting hidden moisture
Safety Equipment:
- Safety glasses - Protect eyes from falling debris or particles
- Dust mask - If disturbing old ceiling materials
- Gloves - When touching potentially contaminated areas
Time Required:
⏱️ Initial Inspection: 10-15 minutes ⏱️ Documentation: 5 minutes ⏱️ Follow-up Checks: 5 minutes daily if monitoring
⚠️ Safety First: Before You Begin
Important safety considerations:
- Never touch ceiling water damage with bare hands - water may be contaminated
- Stay clear of sagging ceiling areas - they can collapse without warning
- Turn off electricity to affected rooms if water is dripping near fixtures
- Move furniture and valuables away from the affected area
- Wear a mask if you detect musty odors - mold may be present
🚨 Critical Warning Signs: Call Emergency Services Immediately
Some ceiling leak signs require immediate professional intervention. Don't wait or try to fix these yourself:
🔴 Sagging or Bulging Ceiling
A ceiling that's drooping, sagging, or bulging indicates significant water accumulation above. This is a structural emergency that can lead to sudden collapse. The ceiling drywall is holding gallons of water and losing its ability to support the weight. What to do: Evacuate the room immediately, move valuables, and call emergency restoration services. Do not attempt to puncture or drain the bulge yourself.
🔴 Active Water Dripping or Pouring
Water actively flowing from your ceiling means there's a significant leak source above - whether from plumbing failure, roof damage, or an upstairs incident. Active leaks cause exponential damage with each passing hour. What to do: Place buckets to catch water, turn off water main if it's a plumbing leak, document with photos, and call professionals immediately. Check your attic if safely accessible to locate the source.
🔴 Large or Growing Stains
Water stains larger than 2 feet in diameter or stains that are visibly expanding indicate active, ongoing water intrusion. The larger the stain, the more extensive the hidden damage likely is behind your ceiling. Why size matters: A small 6-inch stain might represent a minor leak, but a 3-foot stain suggests gallons of water have already saturated the ceiling materials, insulation, and potentially structural supports.
🔴 Visible Mold Growth
Black, green, or brown spots appearing on or around ceiling water damage indicate mold colonization. Mold can begin growing within 24-48 hours of water exposure and poses serious health risks. What to do: Do not disturb moldy areas (this releases spores). Seal off the room if possible, run air purifiers elsewhere, and contact mold remediation specialists. Never attempt DIY mold removal for ceiling damage.
🔴 Peeling or Flaking Paint
Paint that's bubbling, peeling, or flaking away from the ceiling indicates the drywall beneath has absorbed significant moisture. This compromises the structural integrity of the ceiling material.
⚠️ Moderate Warning Signs: Monitor and Schedule Professional Assessment
These ceiling leak signs require professional evaluation but aren't necessarily immediate emergencies:
Small, Stable Water Stains
A water stain smaller than 12 inches that isn't growing may be from a past leak that's already been resolved. However, you need to verify this is truly old damage and not an ongoing slow leak. How to monitor: Take a dated photo, trace the stain outline with pencil on the ceiling, and check daily for a week. If it grows or darkens, call professionals. If stable, schedule an inspection within 2 weeks to verify no hidden moisture remains.
Discoloration Without Texture Changes
Yellowish or brownish ceiling discoloration without soft spots, sagging, or active dampness might indicate old water damage. The key word is "might" - you need professional confirmation. What this could mean: Previous minor leak that dried out, condensation staining, or the early stage of a developing problem. A moisture meter reading will tell you if there's hidden dampness.
Musty Odors
A musty, earthy smell in a room with no visible ceiling water damage suggests hidden moisture and possible mold growth in ceiling cavities, insulation, or above the drywall. Why odor matters: Your nose can detect mold before your eyes can. If you smell mustiness near a ceiling area, moisture is present somewhere, and investigation is needed.
| Warning Sign | Severity Level | Action Required | Timeframe |
|---|---|---|---|
| Sagging ceiling | 🔴 Critical | Evacuate and call emergency services | Immediately |
| Active dripping | 🔴 Critical | Stop water source, call professionals | Within 1 hour |
| Large stains (2+ feet) | 🔴 Critical | Call emergency restoration | Same day |
| Visible mold | 🔴 Critical | Seal room, call specialists | Within 24 hours |
| Small stable stains | ⚠️ Moderate | Monitor and schedule inspection | Within 2 weeks |
| Musty odors | ⚠️ Moderate | Professional moisture assessment | Within 1 week |
| Minor discoloration | ✅ Low | Document and watch for changes | Within 1 month |
🔍 Step-by-Step: How to Inspect Your Ceiling for Water Damage
Regular ceiling inspections help you catch problems early. Follow these steps for a thorough assessment:
Step 1: Visual Inspection in Good Lighting
Examine your ceiling during daylight hours or with bright artificial lighting. Look for any discoloration, texture changes, or irregularities. Why this matters: Many ceiling leak signs are subtle and only visible in proper lighting. ✅ What success looks like: You can see the entire ceiling surface clearly and identify any variations in color or texture.
Step 2: Check High-Risk Areas First
Focus on areas beneath bathrooms, under roof valleys, around skylights, near plumbing fixtures, and below HVAC units. These locations are most prone to ceiling water damage. 💡 Pro tip: Check ceilings in closets and storage rooms - these often-overlooked spaces can hide water damage for months.
Step 3: Touch Test (Safely)
With gloved hands, gently press areas that look suspicious. Do NOT press hard on discolored or sagging areas. You're checking for soft spots that indicate water-saturated drywall. ⚠️ Warning: If the ceiling feels spongy or soft, stop immediately and call professionals. Do not continue pressing.
Step 4: Document Your Findings
Take clear, dated photos of any water stains or ceiling leak signs you discover. Include a ruler or common object for scale. This documentation is crucial for insurance claims and tracking progression. Why documentation matters: Photos prove when damage occurred and how it progressed, which is essential for insurance and warranty claims.
Step 5: Use a Moisture Meter (Optional but Recommended)
A moisture meter can detect hidden dampness that's not yet visible. Hold the meter against the ceiling near suspected areas and normal areas for comparison. ✅ What success looks like: Readings below 16% are normal for drywall. Readings above 20% indicate active moisture problems requiring professional attention.
🛠️ Common Causes of Ceiling Water Damage
Understanding what causes ceiling leak signs helps you address the root problem:
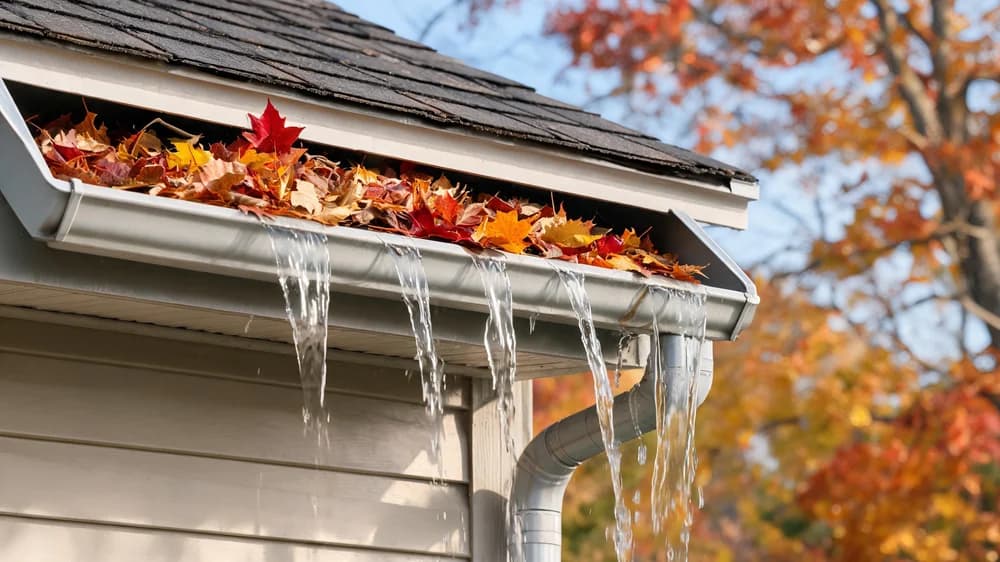
- Roof leaks - Missing shingles, damaged flashing, or clogged gutters allowing water infiltration
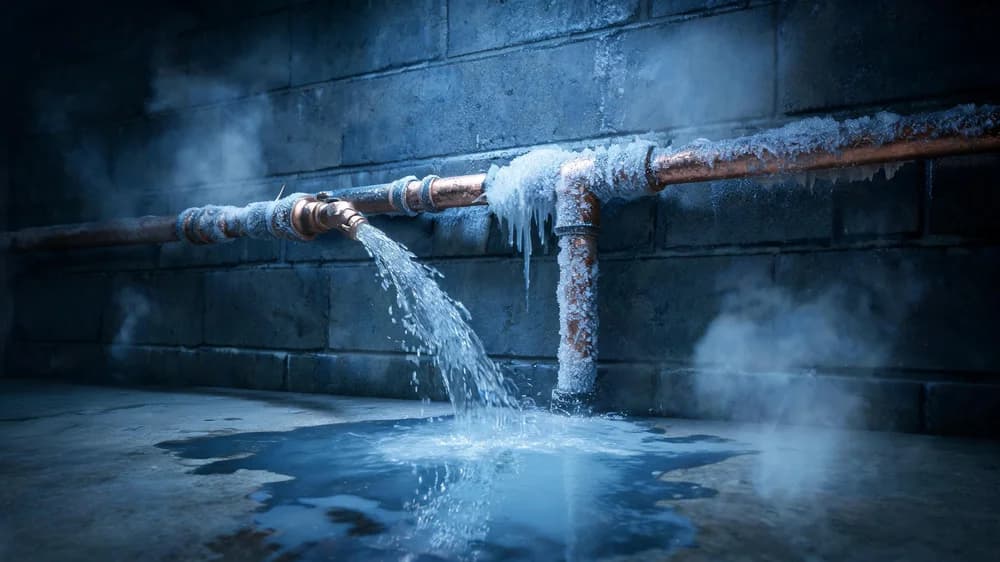
- Plumbing failures - Leaking pipes, toilet seals, or bathtub overflows from floors above
- HVAC condensation - Air conditioning drain pans or condensate lines backing up in attics
- Ice dams - Winter ice buildup forcing water under roof shingles
- Attic condensation - Poor ventilation causing moisture buildup on cold surfaces
🚫 What NOT to Do When You Find Ceiling Water Damage
Avoid these common mistakes that can make the situation worse:
- Don't ignore small stains - They rarely stay small and often indicate hidden extensive damage
- Don't puncture bulging ceiling - This can cause uncontrolled flooding and potential collapse
- Don't paint over water stains - This masks the problem while moisture continues causing damage
- Don't delay calling professionals - Water damage worsens exponentially with time
- Don't attempt DIY fixes for active leaks - You need to address both the source and resulting damage
🔴 When to Call Emergency Restoration Services
Contact professional water damage restoration immediately if you observe:
- Any ceiling sagging, bulging, or drooping
- Active water dripping or flowing from ceiling
- Water stains larger than 2 feet in diameter
- Visible mold growth on or near ceiling water damage
- Ceiling materials cracking, crumbling, or falling
- Wet insulation visible through attic access
- Multiple rooms showing ceiling leak signs simultaneously
- Strong musty odors accompanying ceiling discoloration
- Recent flooding or severe weather events
Why immediate response matters: Professional water damage restoration companies provide 24/7 emergency services because timing is critical. Within the first 24-48 hours, restoration is possible. After 48 hours, mold growth begins, and structural damage worsens significantly.
✅ Ceiling Collapse Prevention: Proactive Steps
Protect your home with these preventive measures:
- Monthly visual inspections - Quick ceiling checks can catch problems early
- Annual roof maintenance - Professional roof inspections identify vulnerabilities before leaks occur
- Attic ventilation checks - Ensure proper airflow to prevent condensation buildup
- Plumbing maintenance - Address slow leaks before they become ceiling water damage
- Gutter cleaning - Clear gutters prevent water backup that can seep into ceilings
- HVAC servicing - Annual maintenance prevents condensate line backups
Frequently Asked Questions
How quickly does ceiling water damage turn into mold?
Can I just paint over a water stain on my ceiling?
Is ceiling water damage always an emergency?
How much does ceiling water damage repair typically involve?
What should I do while waiting for emergency services to arrive?
Categories
Need Restoration Services?
Our team is available 24/7 for emergency response. Call us today for a free phone consultation.

Questions About Restoration?
Our experts are ready to help. Contact us for a free consultation.