What You’ll Need
Tools:
- 🔧 Adjustable wrench
- 🔦 Flashlight or headlamp
- 📱 Smartphone camera (for before photos)
- 🪛 Screwdriver set (Phillips and flathead)
- 📏 Measuring tape
- 🧽 Cleaning cloths and bucket
Materials:
- Replacement hoses (braided steel recommended)
- Hose clamps (various sizes)
- Thread seal tape (Teflon tape)
- Zip ties or hose straps
- Notepad for recording dates and findings
Time Required:
⏱️ Washing Machine: 20-30 minutes
⏱️ Dishwasher: 15-20 minutes
⏱️ Water Heater: 30-45 minutes
⏱️ Other Appliances: 10-15 minutes each
⚠️ Safety First
Before you begin:
- Turn off water supply to appliances you’re inspecting
- Unplug appliances before touching electrical components
- Allow water heaters to cool for at least 2 hours before inspection
- Wear safety glasses when working under or behind appliances
- Have towels ready to catch any water from disconnected lines
- Never attempt repairs involving gas connections
- Keep emergency restoration services contact information readily available
Understanding Appliance Leak Prevention
Successful appliance leak prevention starts with knowing where failures typically occur. Most washing machine leaks happen at hose connections or from deteriorated supply lines. Dishwasher flooding usually results from door seal failures, clogged drain lines, or faulty float switches. Water heater maintenance focuses on tank corrosion, pressure relief valves, and connection points.
The key to effective appliance leak prevention is catching problems during their warning phase. Rubber hoses show cracking or bulging before they burst. Seals become stiff or show small drips before complete failure. Corrosion appears as rust stains or mineral deposits before tanks rupture. Regular inspections let you spot these warning signs.
Step-by-Step Appliance Inspection Guide
Washing Machine Leak Prevention
Step 1: Inspect Supply Hoses
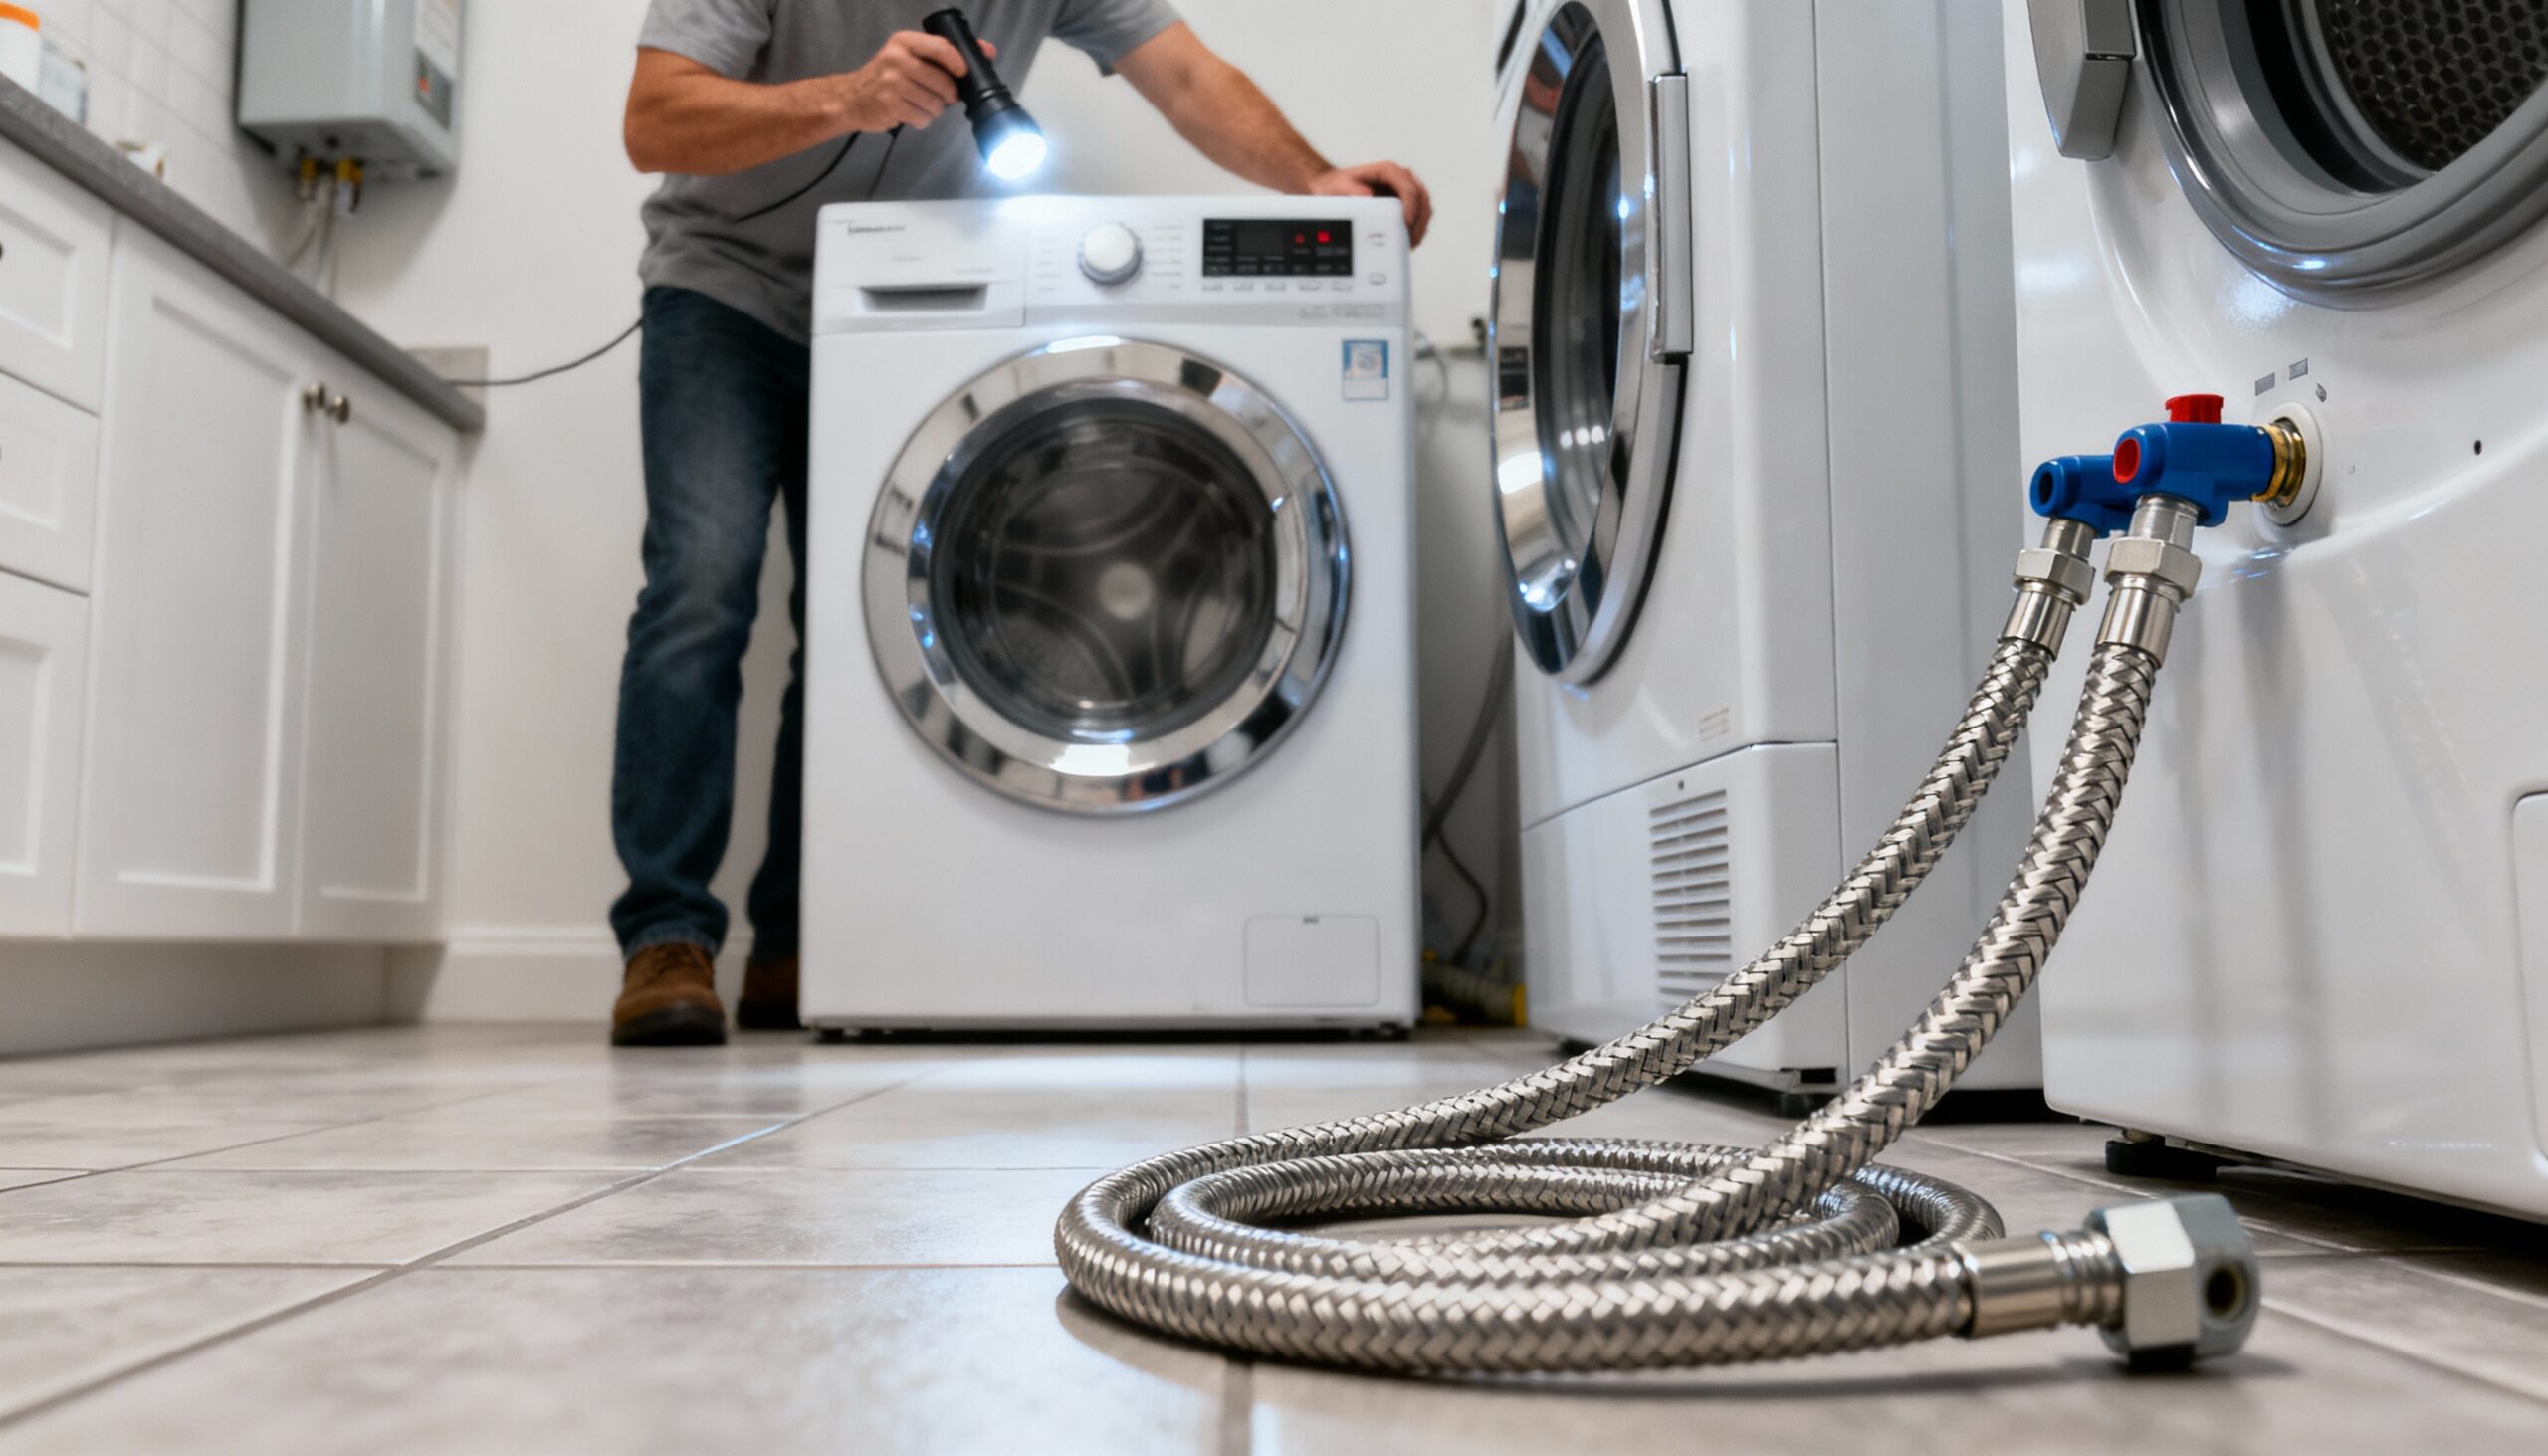
Turn off water supply valves behind the machine. Examine both hot and cold water hoses for cracks, bulges, or brittleness. This critical step in appliance leak prevention catches problems before they escalate. Rubber hoses typically last 3-5 years, while braided steel hoses last 5-10 years. Feel along the entire length for soft spots or weakness. Check connection points at both the wall and machine for moisture or mineral deposits.
💡 Why this matters: Burst washing machine hoses release 650 gallons per hour, enough to flood a room in minutes.
Step 2: Check Connection Tightness
Using an adjustable wrench, gently test each connection. They should be snug but not over-tightened. Look for any water stains, corrosion, or calcium buildup around threaded connections. These indicate slow leaks that will worsen over time.
Step 3: Examine Door Seal and Gasket
For front-loading machines, carefully inspect the rubber door gasket. Pull back folds to check for mold, debris, or tears. The gasket should be pliable, not stiff or cracked. Wipe it clean and ensure proper drainage from the gasket area.
Step 4: Test Drain Hose
Follow the drain hose from machine to standpipe or sink connection. Look for kinks, cracks, or loose clamps. The hose should be secured but not pinched. Ensure the standpipe height is correct (typically 30-40 inches) to prevent backflow.
✅ Success indicator: No moisture on hoses, tight connections, flexible gaskets, and clear drain path.
Dishwasher Flooding Prevention
Step 1: Inspect Door Seal
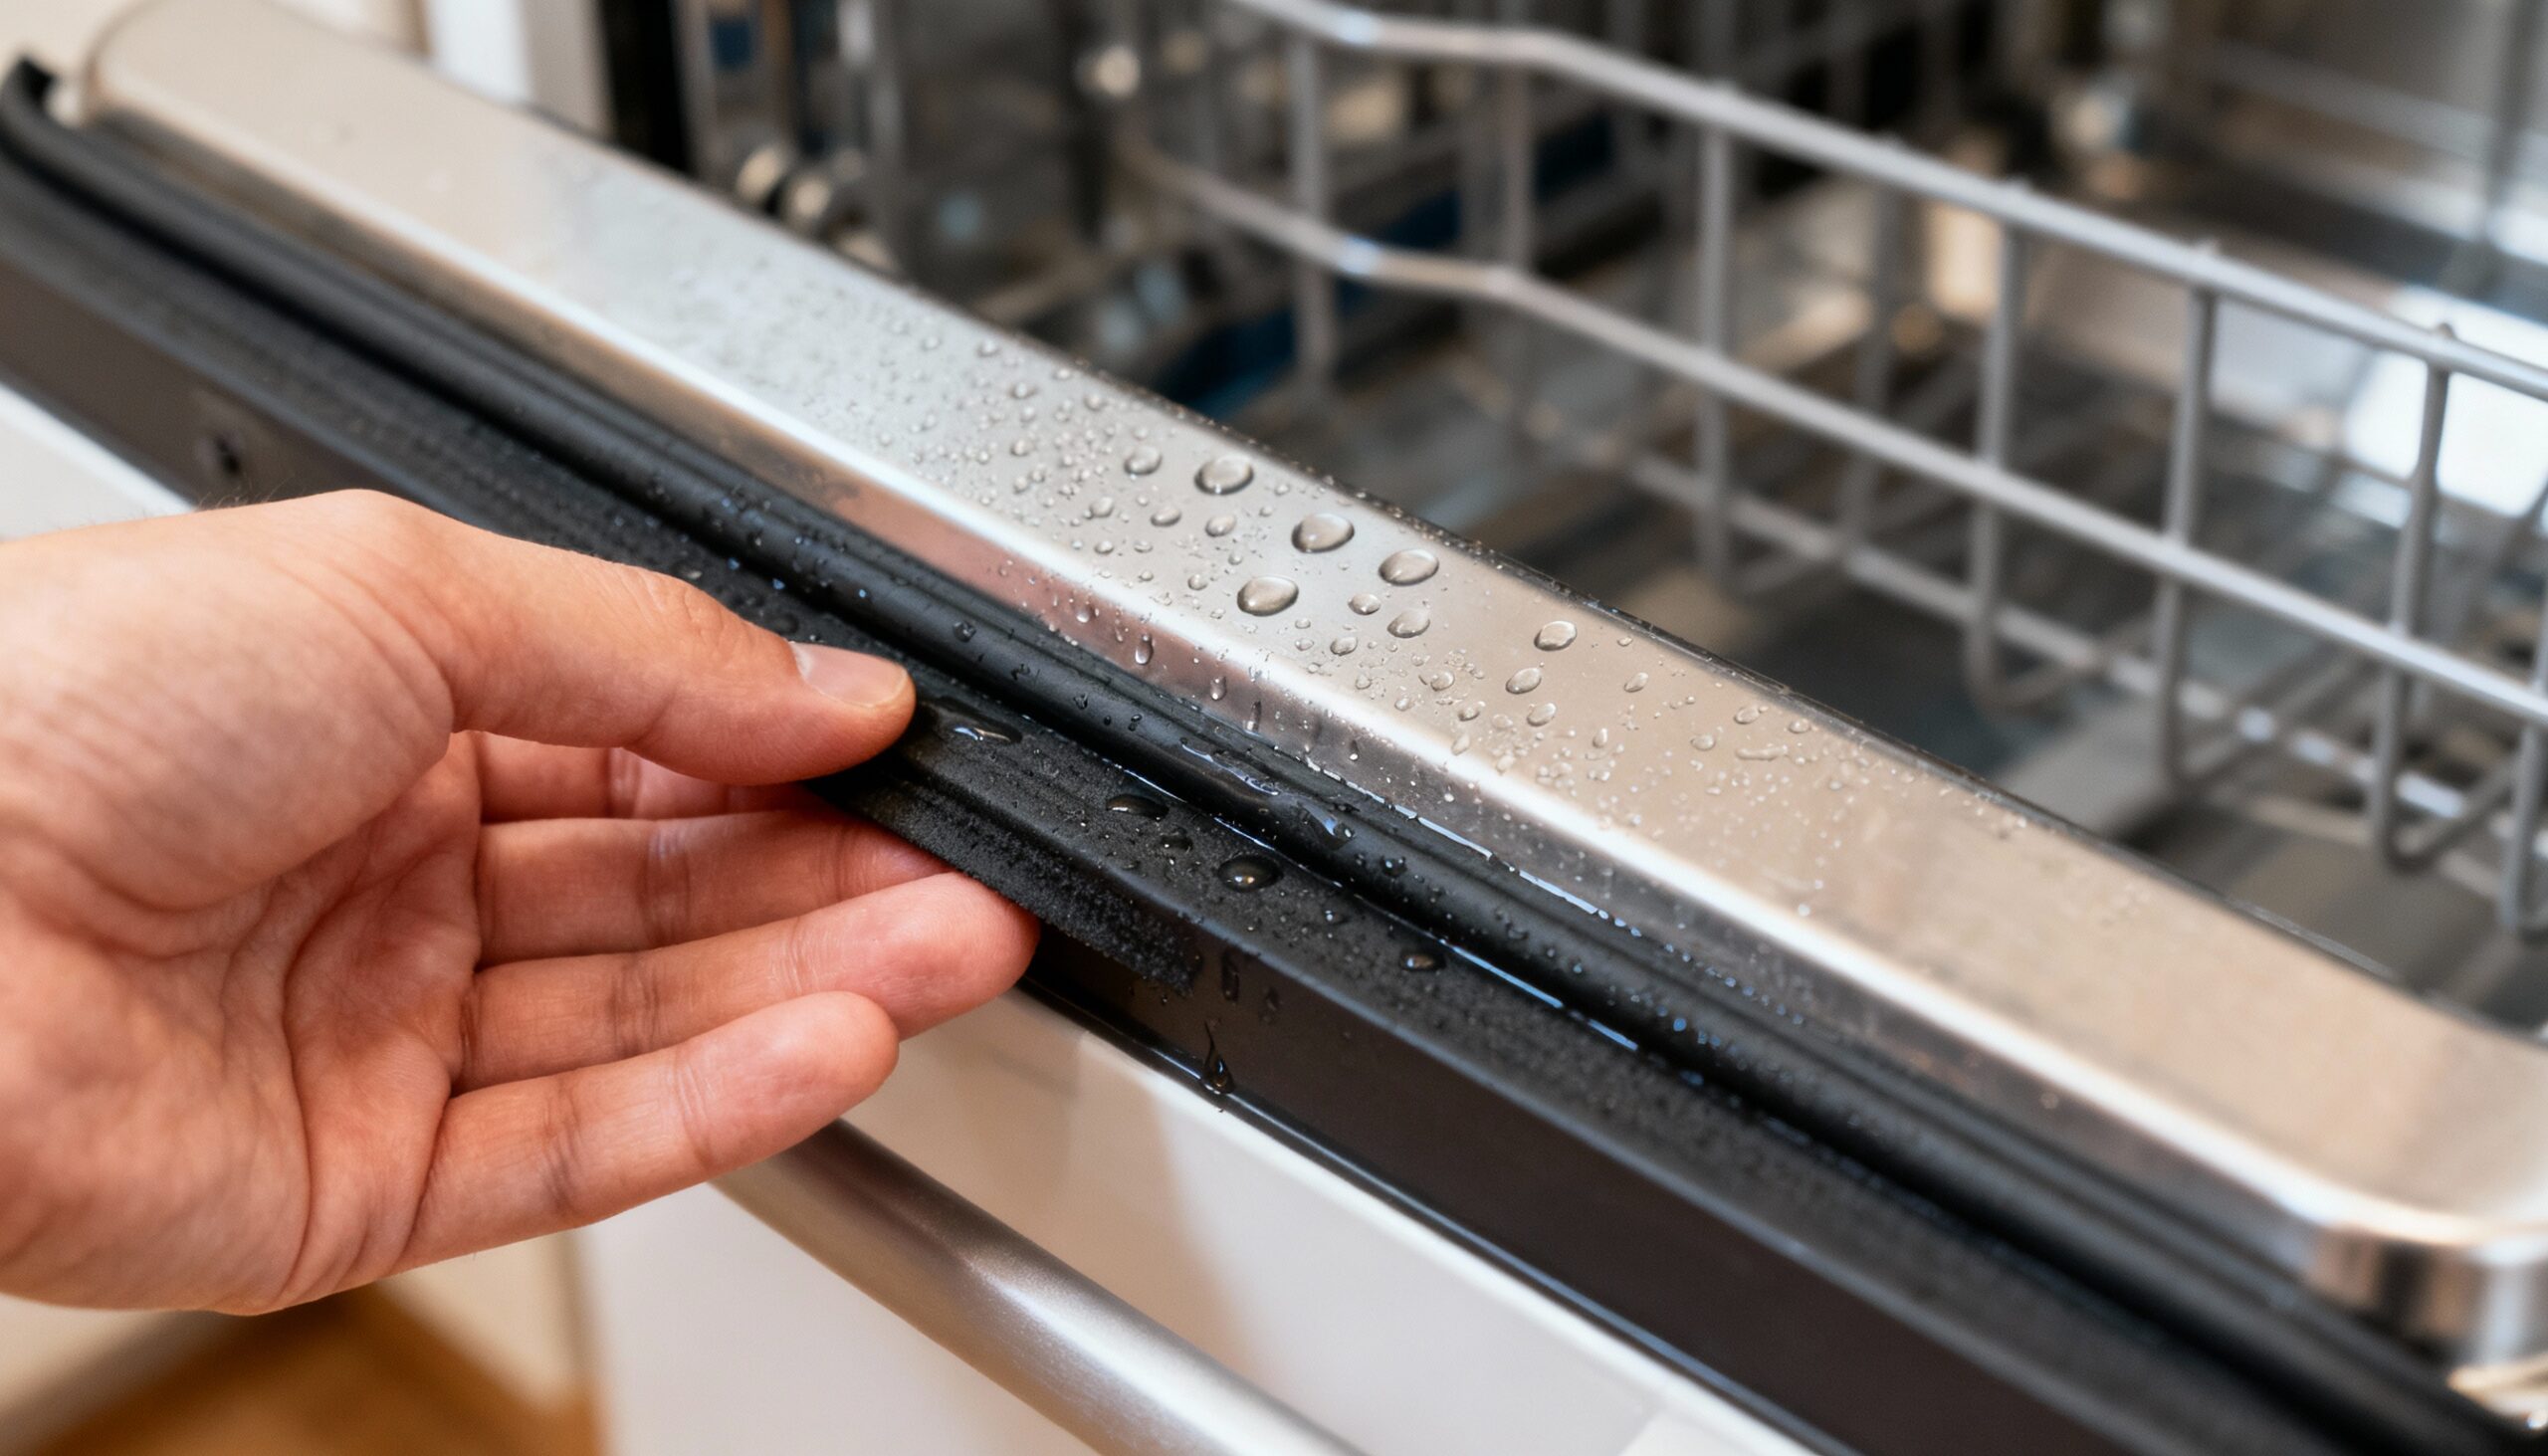
Open the dishwasher and examine the rubber seal running along the door edge. Press gently along its length checking for brittleness, gaps, or food debris. Clean the seal with mild soap and water. A failing seal often shows water spots on the floor after cycles.

Step 2: Check Water Supply Line
Locate the water supply line under your sink or behind the dishwasher. Look for any moisture, corrosion, or loose connections. The braided supply line should show no kinks or damage. Test the shutoff valve to ensure it operates smoothly.
Step 3: Examine Drain Connection
Check where the dishwasher drain hose connects to your garbage disposal or drain pipe. The connection should be secure with no signs of leakage. Ensure the drain hose has a high loop or air gap to prevent backflow from your sink.
Step 4: Clean and Test Float Switch
Remove the lower dish rack and locate the float assembly (typically in the front corner). Lift and release the float several times. It should move freely and spring back. Clean around the float housing to remove any debris that could prevent proper operation.
⚠️ Warning: If your float switch sticks or doesn’t move freely, dishwasher flooding can occur as the safety mechanism fails.
| Appliance | Inspection Frequency | Replacement Schedule | Warning Signs |
|---|---|---|---|
| Washing Machine Hoses | Every 3 months | Every 3-5 years | Cracks, bulges, brittleness |
| Dishwasher Seals | Every 3 months | As needed (5-7 years) | Stiffness, gaps, water spots |
| Water Heater Tank | Every 6 months | Every 10-15 years | Rust, corrosion, moisture |
| Supply Lines (All) | Every 3 months | Every 5-10 years | Discoloration, mineral buildup |
Water Heater Maintenance Essentials
Step 1: Visual Inspection
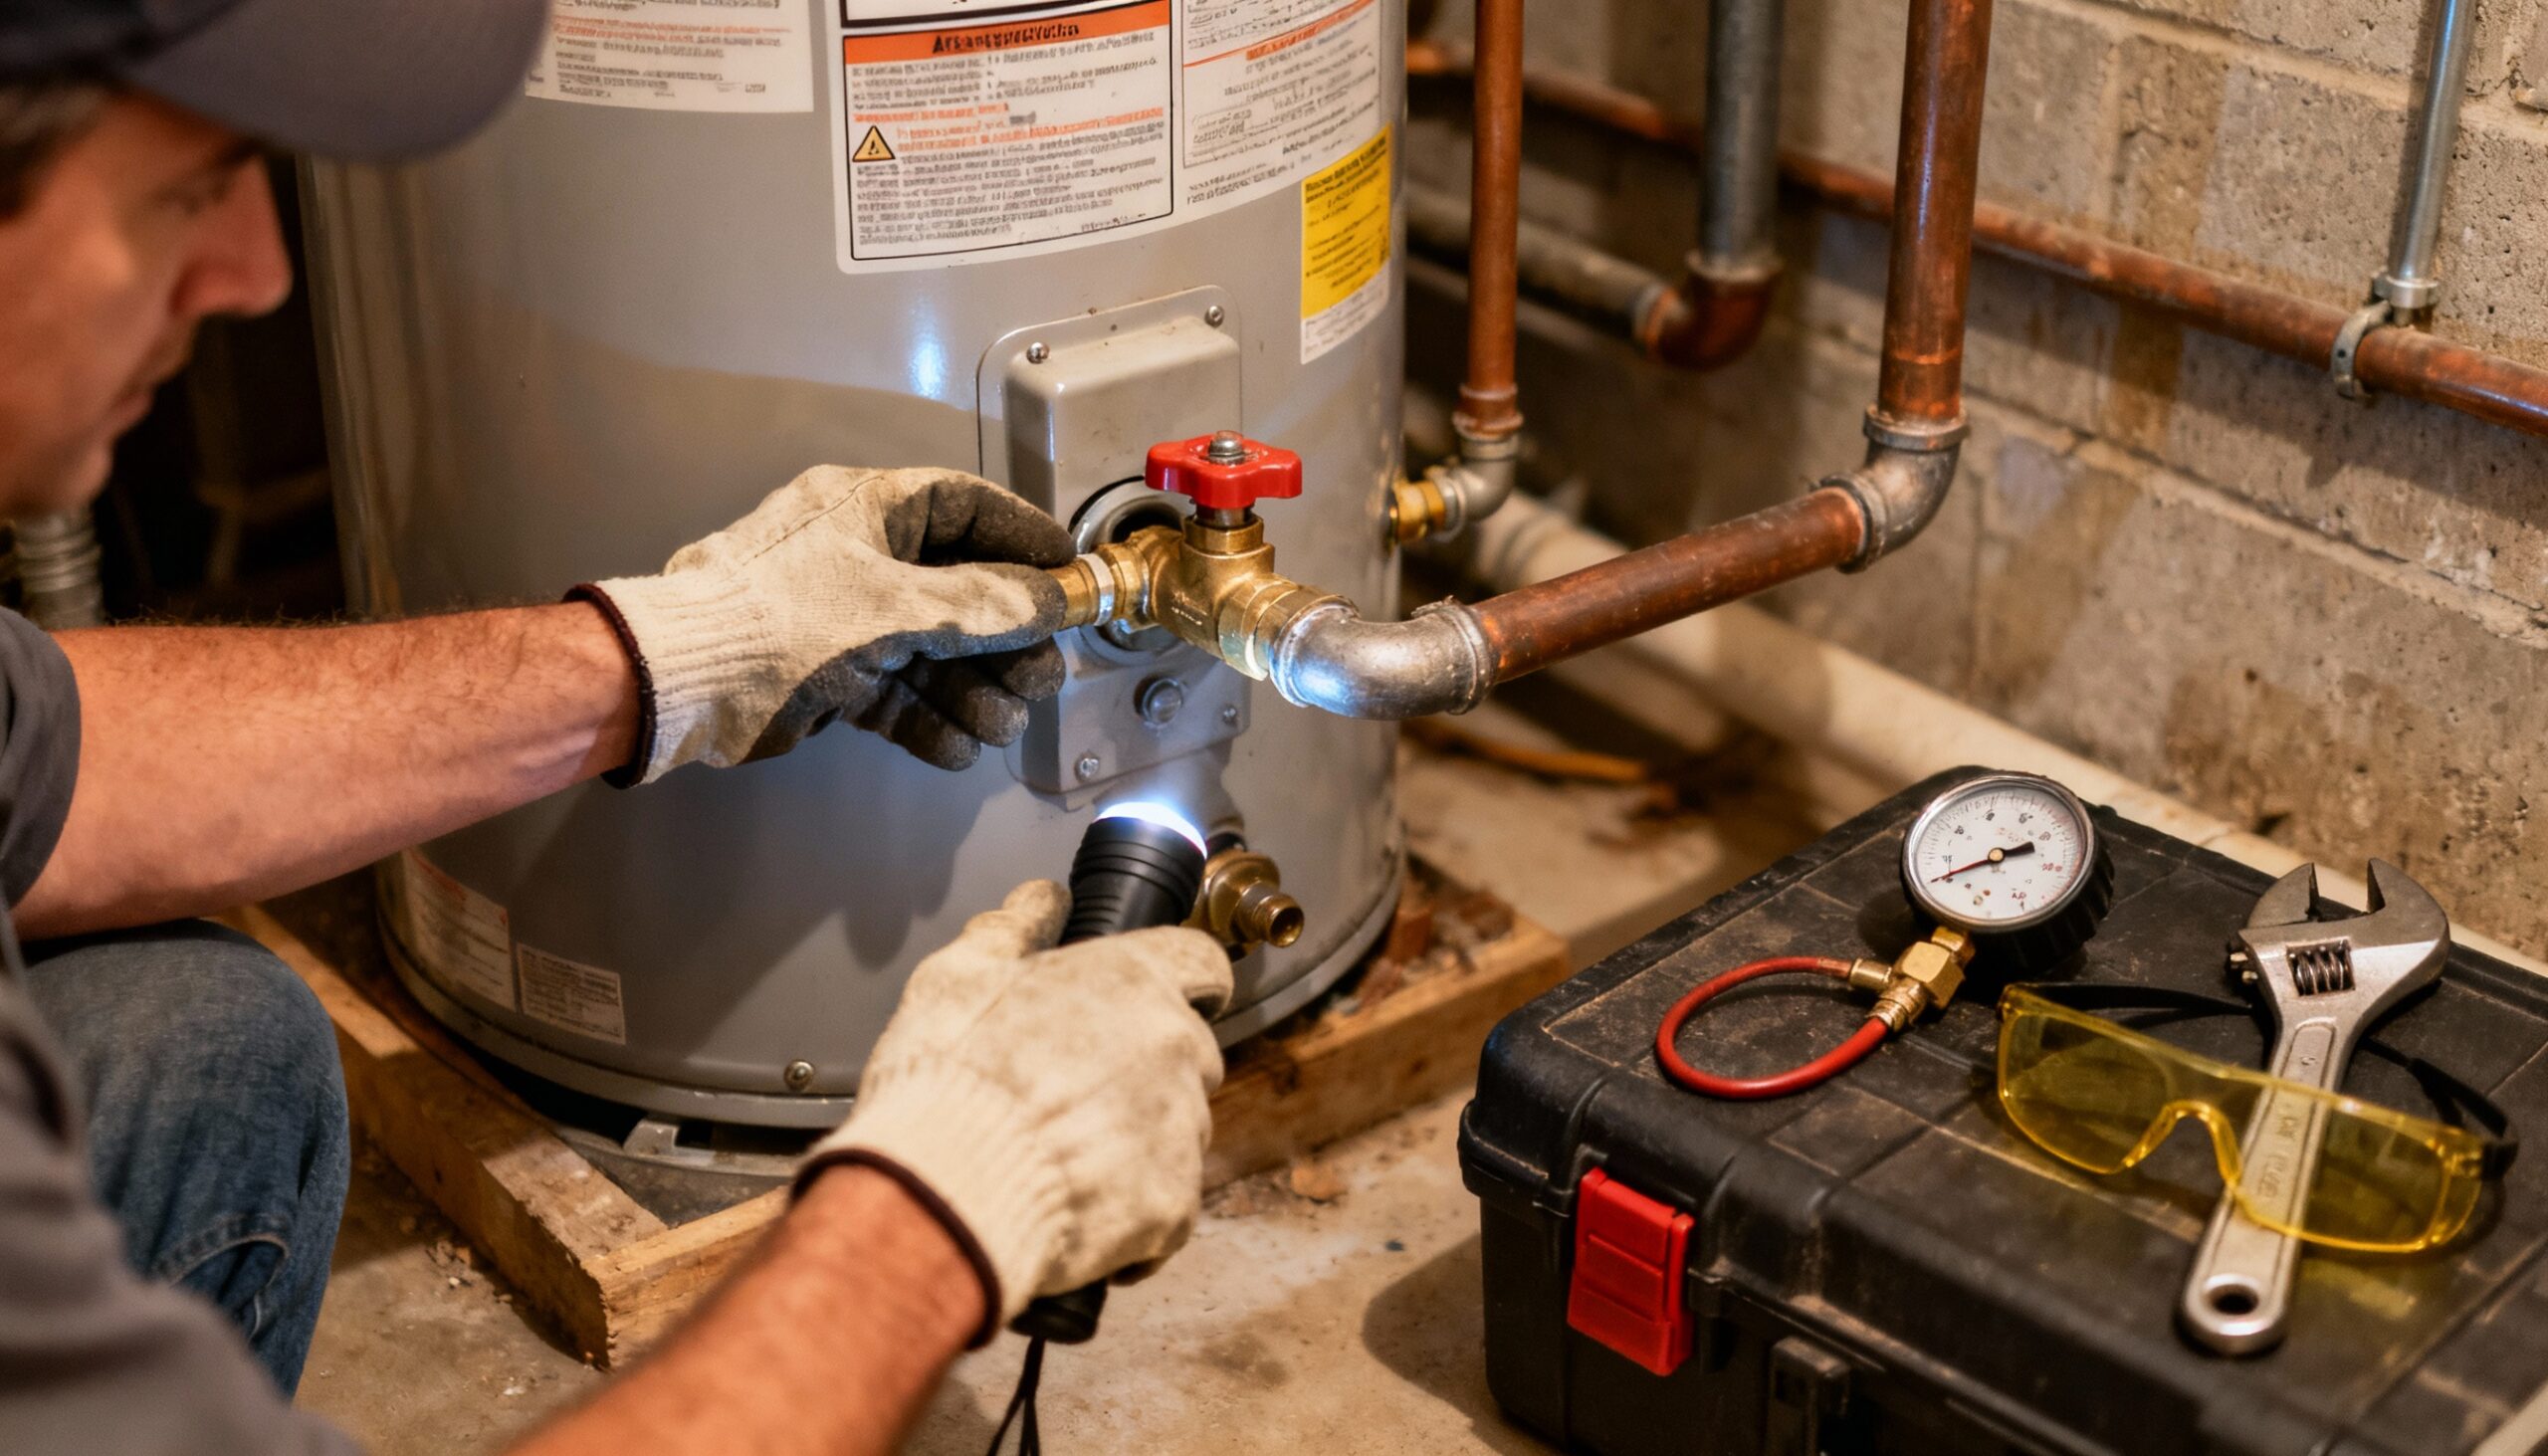
Look for rust stains, corrosion, or moisture around the tank base and all connections. Check the temperature and pressure (T&P) relief valve for signs of leakage or mineral buildup. Examine the cold water inlet and hot water outlet connections at the top of the tank.
Step 2: Test Pressure Relief Valve
Place a bucket under the T&P valve discharge pipe. Lift the valve lever briefly to allow a small amount of water to flow. The valve should snap shut cleanly when released. If water continues dripping or the valve won’t operate, replacement is needed.
💡 Important: This valve prevents dangerous pressure buildup and tank rupture. Never skip this test.
Step 3: Check Drain Valve
Locate the drain valve near the tank bottom. Look for any moisture or mineral deposits around the valve. If you see constant dripping, the valve may need replacement. This is also where you’ll drain sediment during annual maintenance.
Step 4: Inspect Expansion Tank (If Present)
Tap the expansion tank with your knuckle. It should sound hollow on top and dull on bottom. If the entire tank sounds dull, it’s waterlogged and needs replacement. Check the connection point for any leakage.
✅ Success indicator: Dry connections, functioning relief valve, no rust or corrosion visible, proper expansion tank pressure.

Troubleshooting Common Issues
Problem: Water stains but no active leak
Solution: This indicates an intermittent leak, often pressure-related. Run the appliance through a full cycle while monitoring connections. Tighten any loose fittings and replace worn washers. The leak may only occur under operating pressure.
Problem: Mineral deposits on connections
Solution: White or greenish crusty buildup indicates a slow leak and mineral-rich water. Clean deposits with vinegar, then tighten connections. If buildup returns quickly, replace washers and consider installing a water softener.
Problem: Hose feels soft or bulges
Solution: This indicates imminent failure. Replace the hose immediately, even if it’s not actively leaking. Weakened hoses can burst without warning, especially during high-pressure events.
Problem: Dishwasher door seal won’t stay clean
Solution: Mold and debris accumulation suggests moisture isn’t draining properly from the seal area. After each wash cycle, wipe the seal dry and leave the door slightly open for air circulation. Check that your dishwasher is level to ensure proper drainage. If you notice sewage odors or backflow issues, you may need professional sewage cleanup services.
Preventive Maintenance Schedule
Monthly Tasks:
- Quick visual check of all appliances for water spots or moisture
- Wipe down dishwasher and washing machine seals
- Check floor areas around appliances for dampness
- Document any changes in your appliance leak prevention log
Quarterly Tasks:
- Complete appliance leak prevention inspection following steps above
- Clean washing machine drain filter
- Test dishwasher float switch operation
- Document condition of all hoses and connections
Annual Tasks:
- Replace washing machine hoses if showing any wear
- Drain water heater to remove sediment buildup
- Replace water heater anode rod (extends tank life)
- Have professional inspect gas connections if applicable
🔴 When to Call a Professional
Stop and call a restoration professional if:
- You discover active water damage to floors, walls, or ceilings
- Water heater shows signs of tank failure or major leakage
- Mold or mildew is present around appliances requiring professional mold removal
- Gas connections need inspection or repair
- Electrical components show water damage or corrosion
- Structural damage is visible from previous leaks
- You smell gas or notice pilot light problems
- Water pressure issues affect multiple appliances
Professional water heater maintenance should include:
- Complete tank flushing and sediment removal
- Anode rod inspection and replacement
- Combustion chamber cleaning (gas units)
- Electrical element testing (electric units)
- Expansion tank pressure verification
- Temperature and pressure settings adjustment
Smart Prevention Strategies
Upgrade to Better Components
Replace rubber washing machine hoses with braided stainless steel versions. They cost slightly more but last twice as long and resist bursting. Install water hammer arrestors on washing machine supply lines to prevent pressure spikes that damage connections. These upgrades enhance your overall appliance leak prevention strategy.
Install Automatic Shutoff Devices
Consider installing flood sensors near appliances that trigger automatic water shutoff valves. These devices detect moisture on the floor and immediately stop water supply, preventing major flooding when you’re not home. Modern appliance leak prevention systems provide 24/7 protection.
Know Your Shutoff Locations
Every household member should know where individual appliance shutoffs are located and how to operate them. In an emergency, turning off water quickly can mean the difference between minor cleanup and major water damage.
Document Everything
Keep a maintenance log noting when you inspect, clean, or replace appliance components. Take photos of connections and model numbers. This documentation helps track component age and provides valuable information if professional service becomes necessary.
Emergency Response Plan
Despite best prevention efforts, failures can still occur. Create an emergency response plan:
- Know the location of your main water shutoff valve and individual appliance shutoffs
- Keep emergency contact numbers easily accessible (plumber, restoration company, insurance)
- Store emergency supplies (wet/dry vacuum, towels, plastic sheeting, dehumidifier)
- Review your homeowner’s insurance coverage for water damage
- Practice shutting off water supplies with all household members
- Save Advanced DRI’s contact information for immediate assistance
⚠️ Critical: If a major leak occurs, shut off water immediately, turn off electricity to affected areas, and call for professional help. Time is crucial in preventing permanent water damage.
Frequently Asked Questions
How often should I replace washing machine hoses even if they look fine?
Replace rubber washing machine hoses every 3-5 years regardless of appearance, as internal deterioration occurs before external signs appear. Braided stainless steel hoses last 5-10 years but should still be inspected quarterly. Always replace hoses immediately if you notice any bulging, cracking, or brittleness during inspections.
What’s the most common cause of dishwasher flooding?
Failed door seals cause most dishwasher flooding, followed by clogged drain lines and malfunctioning float switches. The door seal deteriorates from heat and detergent exposure over time. Regular cleaning and inspection of the seal, combined with ensuring proper float switch operation, prevents most dishwasher flooding incidents.
Can I do water heater maintenance myself or should I hire a professional?
You can safely perform basic water heater maintenance including visual inspections, testing the pressure relief valve, and draining sediment. However, hire a professional annually for complete maintenance including anode rod replacement, gas line inspection, and internal component checks. Never attempt gas connection repairs yourself due to safety risks.
What are the warning signs that an appliance is about to leak?
Key warning signs include water stains or moisture around connections, mineral deposits or corrosion on fittings, hoses that feel soft or show bulging, unusual noises during operation, and water spots on floors after use. Catching these early warning signs through regular appliance leak prevention inspections allows you to replace components before catastrophic failure occurs.
Should I turn off water to appliances when I’m away from home?
Yes, turning off individual appliance water supplies when leaving for extended periods (more than a few days) is excellent prevention practice. This eliminates risk of undetected leaks causing extensive damage while you’re away. Make this part of your vacation checklist along with adjusting your thermostat and checking that no appliances are running.

