What Causes Ice Dams to Form?
Understanding why ice dams develop is the first step toward effective ice dam prevention. The process begins with heat escaping from your home’s interior into the attic space. This warmth rises to your roof deck, melting the snow layer above it.
As this melted water flows down your roof, it reaches the eaves where the roof extends beyond your heated living space. These areas remain cold because they lack the heat from below. When the water reaches this cold zone, it refreezes, creating a dam of ice that grows larger with each freeze-thaw cycle.
The trapped water behind this dam has nowhere to go but under your shingles, into your roof deck, and eventually into your ceilings and walls. This is how winter roof damage leads to interior water damage, damaged insulation, and conditions perfect for mold growth.

Risk Factors That Increase Ice Dam Formation
| Risk Factor | Why It Matters | Prevention Priority |
|---|---|---|
| Inadequate attic insulation | Allows heat to escape through roof | High |
| Poor attic ventilation | Traps warm air against roof deck | High |
| Complex roof design | Creates more cold zones and valleys | Medium |
| North-facing roof sections | Receive less sunlight to melt ice naturally | Medium |
| Heavy snow accumulation | More snow means more meltwater | Variable |
| Recessed lighting in ceilings | Creates hot spots in attic floor | Medium |
What You’ll Need for Ice Dam Prevention
Tools:
- Roof rake with extension handle (15-20 feet recommended)
- Ladder (if safe ground-level access isn’t possible)
- Infrared thermometer (optional, for identifying heat loss)
- Caulk gun
- Staple gun
- Utility knife
Materials:
- Calcium chloride ice melt (never use rock salt on roofs)
- Old pantyhose or mesh tubes (for ice melt application)
- Weatherstripping and foam gaskets
- Expanding foam sealant
- Attic insulation (if adding)
Time Required:
⏱️ Snow Removal: 30-60 minutes per session
⏱️ Ice Melt Application: 30 minutes
⏱️ Air Sealing: 2-4 hours
⏱️ Insulation Assessment: 1 hour
⚠️ Safety First: Before You Begin
This task is safe for DIY if:
- You can work from the ground using a roof rake
- Weather conditions are stable (no active precipitation or high winds)
- You have proper footwear with good traction
- Someone knows you’re working outside
Do NOT attempt if:
- You need to climb onto the roof itself
- Ice has formed on your ladder or walkways
- Temperatures are extremely cold (frostbite risk)
- Power lines are near your work area
- You have any physical limitations that affect balance or strength
Step-by-Step Ice Dam Prevention Methods
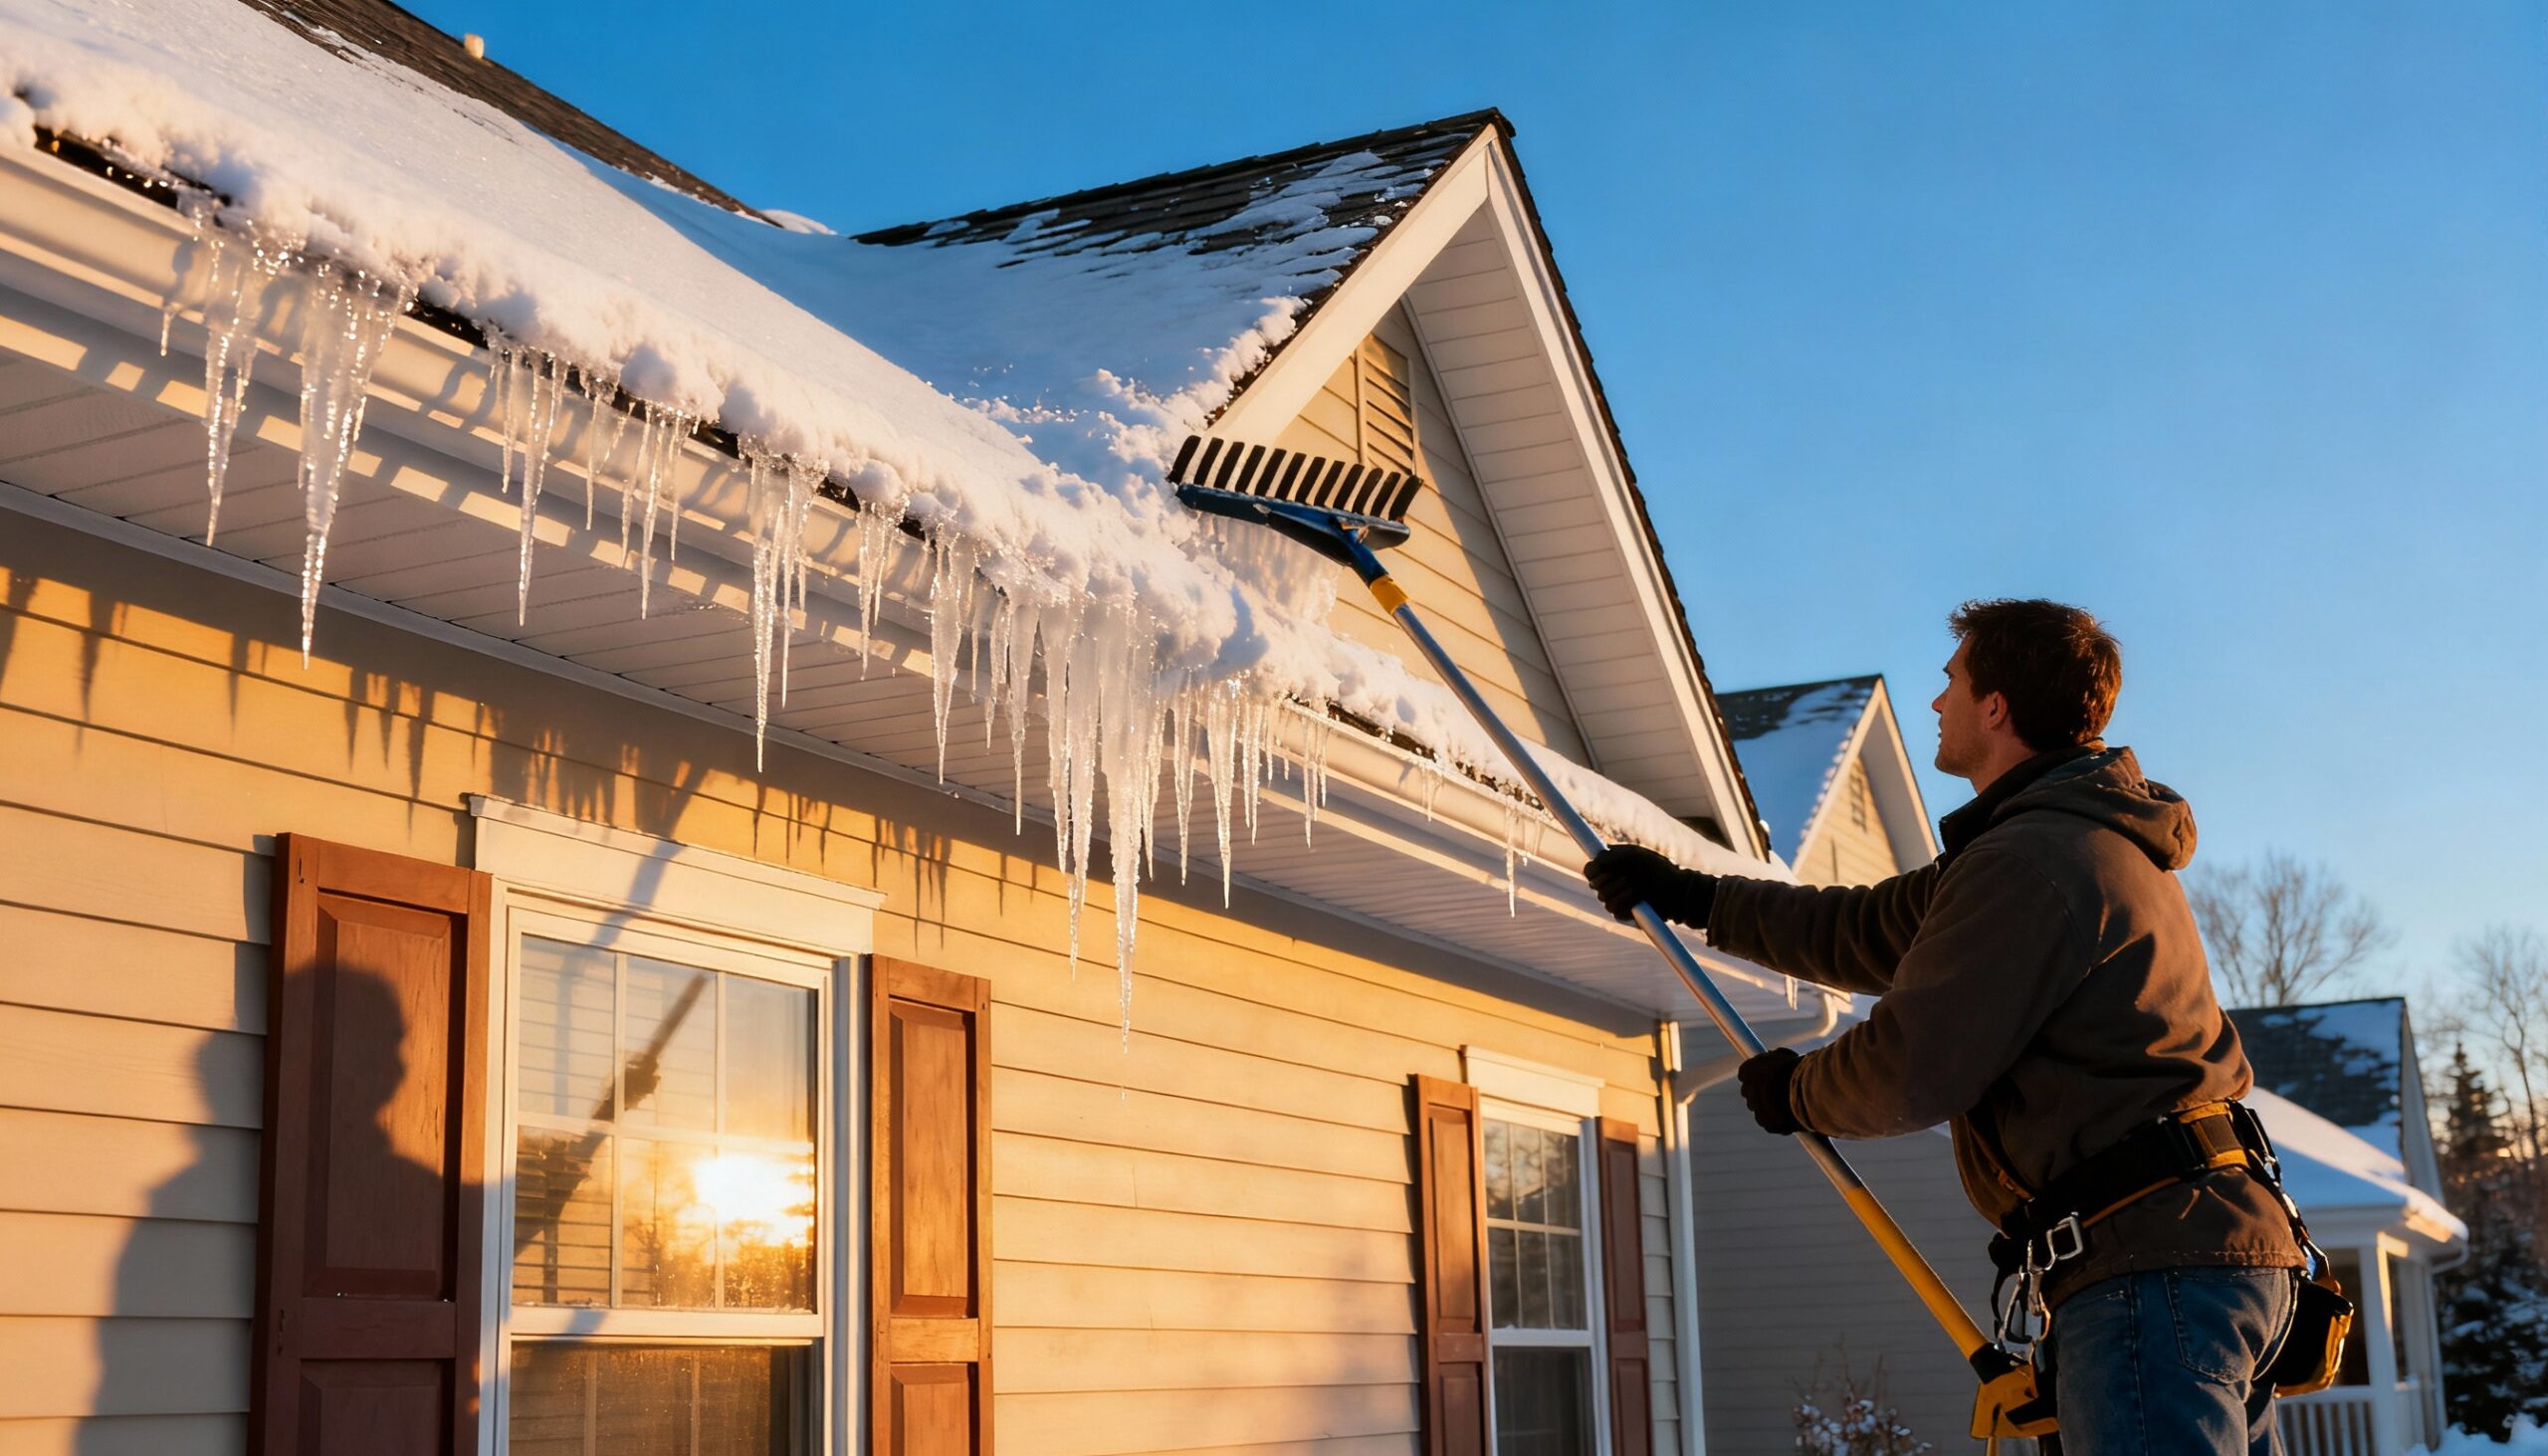
Step 1: Remove Snow After Every Major Storm
The single most effective ice dam prevention method is removing snow before it can melt and refreeze. Using a roof rake from the ground, pull snow off the lower 3-4 feet of your roof after each significant snowfall.
💡 Tip: Work in smooth, downward strokes. Avoid scraping the shingle surface, which can cause damage. You don’t need to remove every bit of snow—just enough to eliminate the insulating layer that contributes to melting.
✅ Success looks like: Visible shingles along your roof’s edge with snow remaining higher up on the roof.
Step 2: Create Channels for Drainage
If ice has already begun forming, you can create drainage channels using calcium chloride. Fill old pantyhose or mesh tubes with calcium chloride ice melt and lay them perpendicular to the ice dam, extending from the gutter up past the dam.
The ice melt will slowly create a channel through the ice, allowing trapped water to drain safely. This is a temporary solution for ice dam removal but can prevent immediate water intrusion while you address underlying causes.
⚠️ Warning: Never use rock salt (sodium chloride) on your roof. It can damage shingles, kill plants below, and corrode metal gutters and flashing.
Step 3: Seal Air Leaks in Your Attic
Long-term roof ice protection requires stopping warm air from escaping into your attic. Common leak points include areas around light fixtures, plumbing vents, electrical wires, exhaust fans, and the attic hatch.
Using expanding foam sealant and weatherstripping, seal any gaps where warm air could escape from your living space into the attic. Pay special attention to recessed lighting fixtures, which are notorious for leaking heat.
✅ Success looks like: A draft-free attic where the temperature remains close to the outdoor temperature (ideally within 10 degrees on cold days).
Step 4: Assess and Improve Attic Insulation
Adequate insulation is your primary defense against winter roof damage. The Department of Energy recommends R-38 to R-60 insulation for attics in cold climates—that’s approximately 10-14 inches of fiberglass or cellulose insulation.
If you can see your attic floor joists when looking at your insulation, you likely need more. Adding insulation is an intermediate DIY project, but ensures you don’t compress existing insulation or block soffit vents.
💡 Tip: Install insulation baffles at each rafter bay before adding insulation. These maintain the air channel from your soffit vents to the attic space, which is essential for proper ventilation.
Step 5: Verify Proper Attic Ventilation
Your attic needs both intake vents (usually in the soffits) and exhaust vents (at the ridge or near the peak). This creates a natural airflow that keeps the roof deck cold and prevents the uneven warming that causes ice dams.
Check that your soffit vents aren’t blocked by insulation, debris, or ice. Ensure your ridge or gable vents are functioning properly. The balanced flow of cold air prevents winter roof damage by keeping your entire roof surface at a consistent temperature.
Safe Ice Dam Removal Techniques
If an ice dam has already formed, you need to act carefully to prevent damage to your roof and injury to yourself. Here are the safest approaches to ice dam removal that homeowners can attempt:
Method 1: Calcium Chloride Application
Fill a mesh tube or old pantyhose leg with calcium chloride and place it vertically across the ice dam, with one end in the gutter. The chemical will melt through the ice, creating drainage paths. Multiple tubes may be needed for large dams.
This method takes 24-48 hours to work fully but is the safest approach for homeowners. Monitor the progress and add additional tubes as needed until water begins draining freely.

Method 2: Warm Water Application (Small Dams Only)
For minor ice buildups, you can carefully apply warm (not boiling) water from the ground using a hose with a spray attachment. This method works best on sunny days when temperatures are near or above freezing.
⚠️ Warning: This creates slippery conditions on the ground. Work slowly and watch for falling ice chunks. Never use this method in freezing temperatures—the water will simply refreeze and worsen the problem.
What NOT to Do
Many common ice dam removal methods can cause serious damage to your roof or result in injury:
- ❌ Never chop ice with axes, hammers, or picks—this damages shingles and can crack the roof deck
- ❌ Never use a power washer on ice dams—water pressure can force water under shingles
- ❌ Never use open flames or heat guns on your roof—fire hazard and can damage roofing materials
- ❌ Never climb onto an icy roof—fall risk is extremely high
🔴 When to Call a Professional
Stop and call a restoration professional if:
- Water is actively leaking into your home through ceilings or walls
- Ice dams are larger than 2-3 inches thick and extend several feet up the roof
- You notice sagging in your ceiling or walls
- Multiple areas of your roof show ice dam formation
- You cannot safely access the area from the ground
- Previous attempts at removal have been unsuccessful
- You suspect damage to your roof structure
Professional restoration teams have specialized equipment including steamers designed specifically for safe ice dam removal without damaging roofing materials. If water has already entered your home, professional water extraction and drying services can prevent secondary damage and mold growth.
Preventing Future Ice Dams: Long-Term Solutions
While emergency ice dam removal addresses immediate problems, permanent solutions require addressing the root causes. Consider these upgrades for lasting roof ice protection:
Professional Improvements to Consider
- Ice and water shield membrane: Applied during roof replacement, this self-adhesive barrier extends 3-6 feet up from the eaves
- Heated cables: Installed along eaves and gutters, these prevent ice formation in problem areas
- Improved attic ventilation: A professional assessment can identify ventilation inadequacies
- Spray foam insulation: Provides both insulation and air sealing in one application
Seasonal Ice Dam Prevention Checklist
| Season | Prevention Task | Time Needed |
|---|---|---|
| Fall | Clean gutters and downspouts thoroughly | 2-3 hours |
| Fall | Inspect and seal attic air leaks | 2-4 hours |
| Fall | Check insulation depth and add if needed | 4-8 hours |
| Fall | Verify soffit vents are clear | 30 minutes |
| Winter | Rake snow after each 6+ inch snowfall | 30-60 minutes |
| Winter | Monitor for icicle and ice dam formation | Ongoing |
| Spring | Inspect roof for winter damage | 30 minutes |
Troubleshooting Common Ice Dam Problems
Ice Keeps Reforming After Removal
If ice dams return quickly after removal, the underlying cause hasn’t been addressed. Check for warm air leaks in your attic and verify your insulation is adequate. Heat bypasses from recessed lights, bathroom fans, and attic hatches are common culprits.
Ice Dams Form Only in Certain Areas
Localized ice dams often indicate specific problem spots. Look for heat sources below those areas such as exhaust ducts, furnace flues, or areas where ductwork runs through the attic. These hot spots cause localized melting that leads to ice dams.
Gutters Are Pulling Away from the House
Heavy ice in gutters can damage the gutter system and fascia boards. While proper ice dam prevention reduces ice formation, damaged gutters need repair or replacement before next winter. This ensures proper drainage and prevents winter roof damage from water pooling.
Water Stains Appearing on Ceilings
Ceiling stains indicate that water has already penetrated your roof system. This requires immediate professional attention. Contact a water damage restoration company to assess the damage, extract any standing water, and properly dry the affected areas before mold can develop.
Frequently Asked Questions
Are ice dams covered by homeowners insurance?
Most homeowners insurance policies cover sudden water damage caused by ice dams, including interior repairs and contents restoration. However, policies typically don’t cover the roof repairs needed to prevent future ice dams, as this is considered maintenance. Check your specific policy and document all damage with photos before making repairs.
How often should I rake snow off my roof for ice dam prevention?
Rake your roof after every snowfall of 6 inches or more, and before temperatures fluctuate significantly. In heavy snow seasons, you may need to rake every few days. Consistency is key for effective ice dam prevention—waiting until snow accumulates creates more work and higher risk.
Can I install heating cables myself for roof ice protection?
While heating cable kits are available at hardware stores, professional installation is recommended. Improper installation can create fire hazards, damage shingles, or prove ineffective. A professional can assess your specific needs and ensure cables are installed safely for lasting roof ice protection.
What’s the biggest mistake homeowners make with ice dam removal?
The most damaging mistake is using sharp tools to chip away ice. This almost always damages shingles, cracks flashing, and can puncture the roof deck. Patience with chemical melting methods or calling professionals with steam equipment is always better than aggressive ice dam removal that creates new problems.
Will adding attic insulation completely prevent ice dams?
Insulation alone won’t prevent ice dams—you also need proper air sealing and ventilation. The three work together: air sealing stops warm air from entering the attic, insulation reduces heat transfer through the ceiling, and ventilation keeps the roof deck cold. Address all three for effective winter roof damage prevention.