What You’ll Need for Effective Humidity Control for Mold
Tools:
- Digital hygrometer (measures relative humidity—available at hardware stores)
- Flashlight (for inspecting hidden areas)
- Notepad or smartphone (for tracking readings)
Equipment Options:
- Dehumidifier (portable or whole-house system)
- Exhaust fans (bathroom and kitchen)
- Air conditioner (also removes moisture)
- Ventilation fans (attic and crawl space)
Time Required:
⏱️ Assessment: 20 minutes
⏱️ Equipment Setup: 30-45 minutes
⏱️ Daily Monitoring: 5 minutes
Understanding Optimal Indoor Humidity Levels
The Environmental Protection Agency recommends maintaining indoor humidity levels between 30% and 50% for optimal mold prevention humidity management. This range creates an environment where mold struggles to grow while keeping your home comfortable for occupants.
| Humidity Level | Mold Risk | Comfort Level | Recommended Action |
|---|---|---|---|
| Below 30% | Very Low | Too Dry—irritation possible | Add moisture if needed |
| 30-50% | Low | Ideal Range | Maintain current levels |
| 50-60% | Moderate | Acceptable but monitor | Increase ventilation |
| Above 60% | High | Uncomfortable, clammy | Immediate action required |
Seasonal changes affect your approach to humidity control for mold prevention. Summer months typically bring higher outdoor humidity, making dehumidification more challenging. Winter heating can dry indoor air excessively, though condensation on cold windows still creates localized moisture problems that require attention.
⚠️ Safety First: Before You Begin
This task is safe for DIY if:
- You’re monitoring and adjusting humidity levels only
- No visible mold growth exceeds 10 square feet
- You have no respiratory conditions that mold exposure could worsen
- Electrical connections for equipment are accessible and dry
Do NOT attempt if:
- Large areas of visible mold already exist
- Musty odors persist despite cleaning efforts
- Water damage from flooding or leaks hasn’t been professionally addressed
- Anyone in your household has severe mold allergies or compromised immunity
Step-by-Step Guide to Humidity Control for Mold Prevention
Step 1: Assess Your Current Indoor Humidity Levels
Place your digital hygrometer in the main living area at least 3 feet from exterior walls, windows, and heating/cooling vents. Let it stabilize for 30 minutes before recording your first reading. This baseline measurement reveals whether you need to increase or decrease moisture control efforts.
✅ What success looks like: You have an accurate reading of your current relative humidity percentage.
Step 2: Identify Problem Areas in Your Home
Move your hygrometer to different rooms throughout the day, checking bathrooms, basements, kitchens, and laundry areas. These spaces typically show higher humidity due to water use. Note any readings consistently above 50%, as these areas need targeted humidity control for mold intervention.
💡 Tip: Basements and crawl spaces often harbor hidden moisture problems. If you notice musty smells or see condensation on pipes, these areas need immediate attention through proper water cleanup and extraction services.
Step 3: Improve Ventilation Throughout Your Home
Open windows when outdoor humidity is lower than indoor levels (typically mornings and evenings). Run bathroom exhaust fans during and for 30 minutes after showers. Use your kitchen range hood when cooking, especially when boiling water. Proper ventilation is fundamental to mold prevention humidity management.
✅ What success looks like: Bathroom mirrors clear within 10-15 minutes after showering; no lingering steam in the kitchen after cooking.
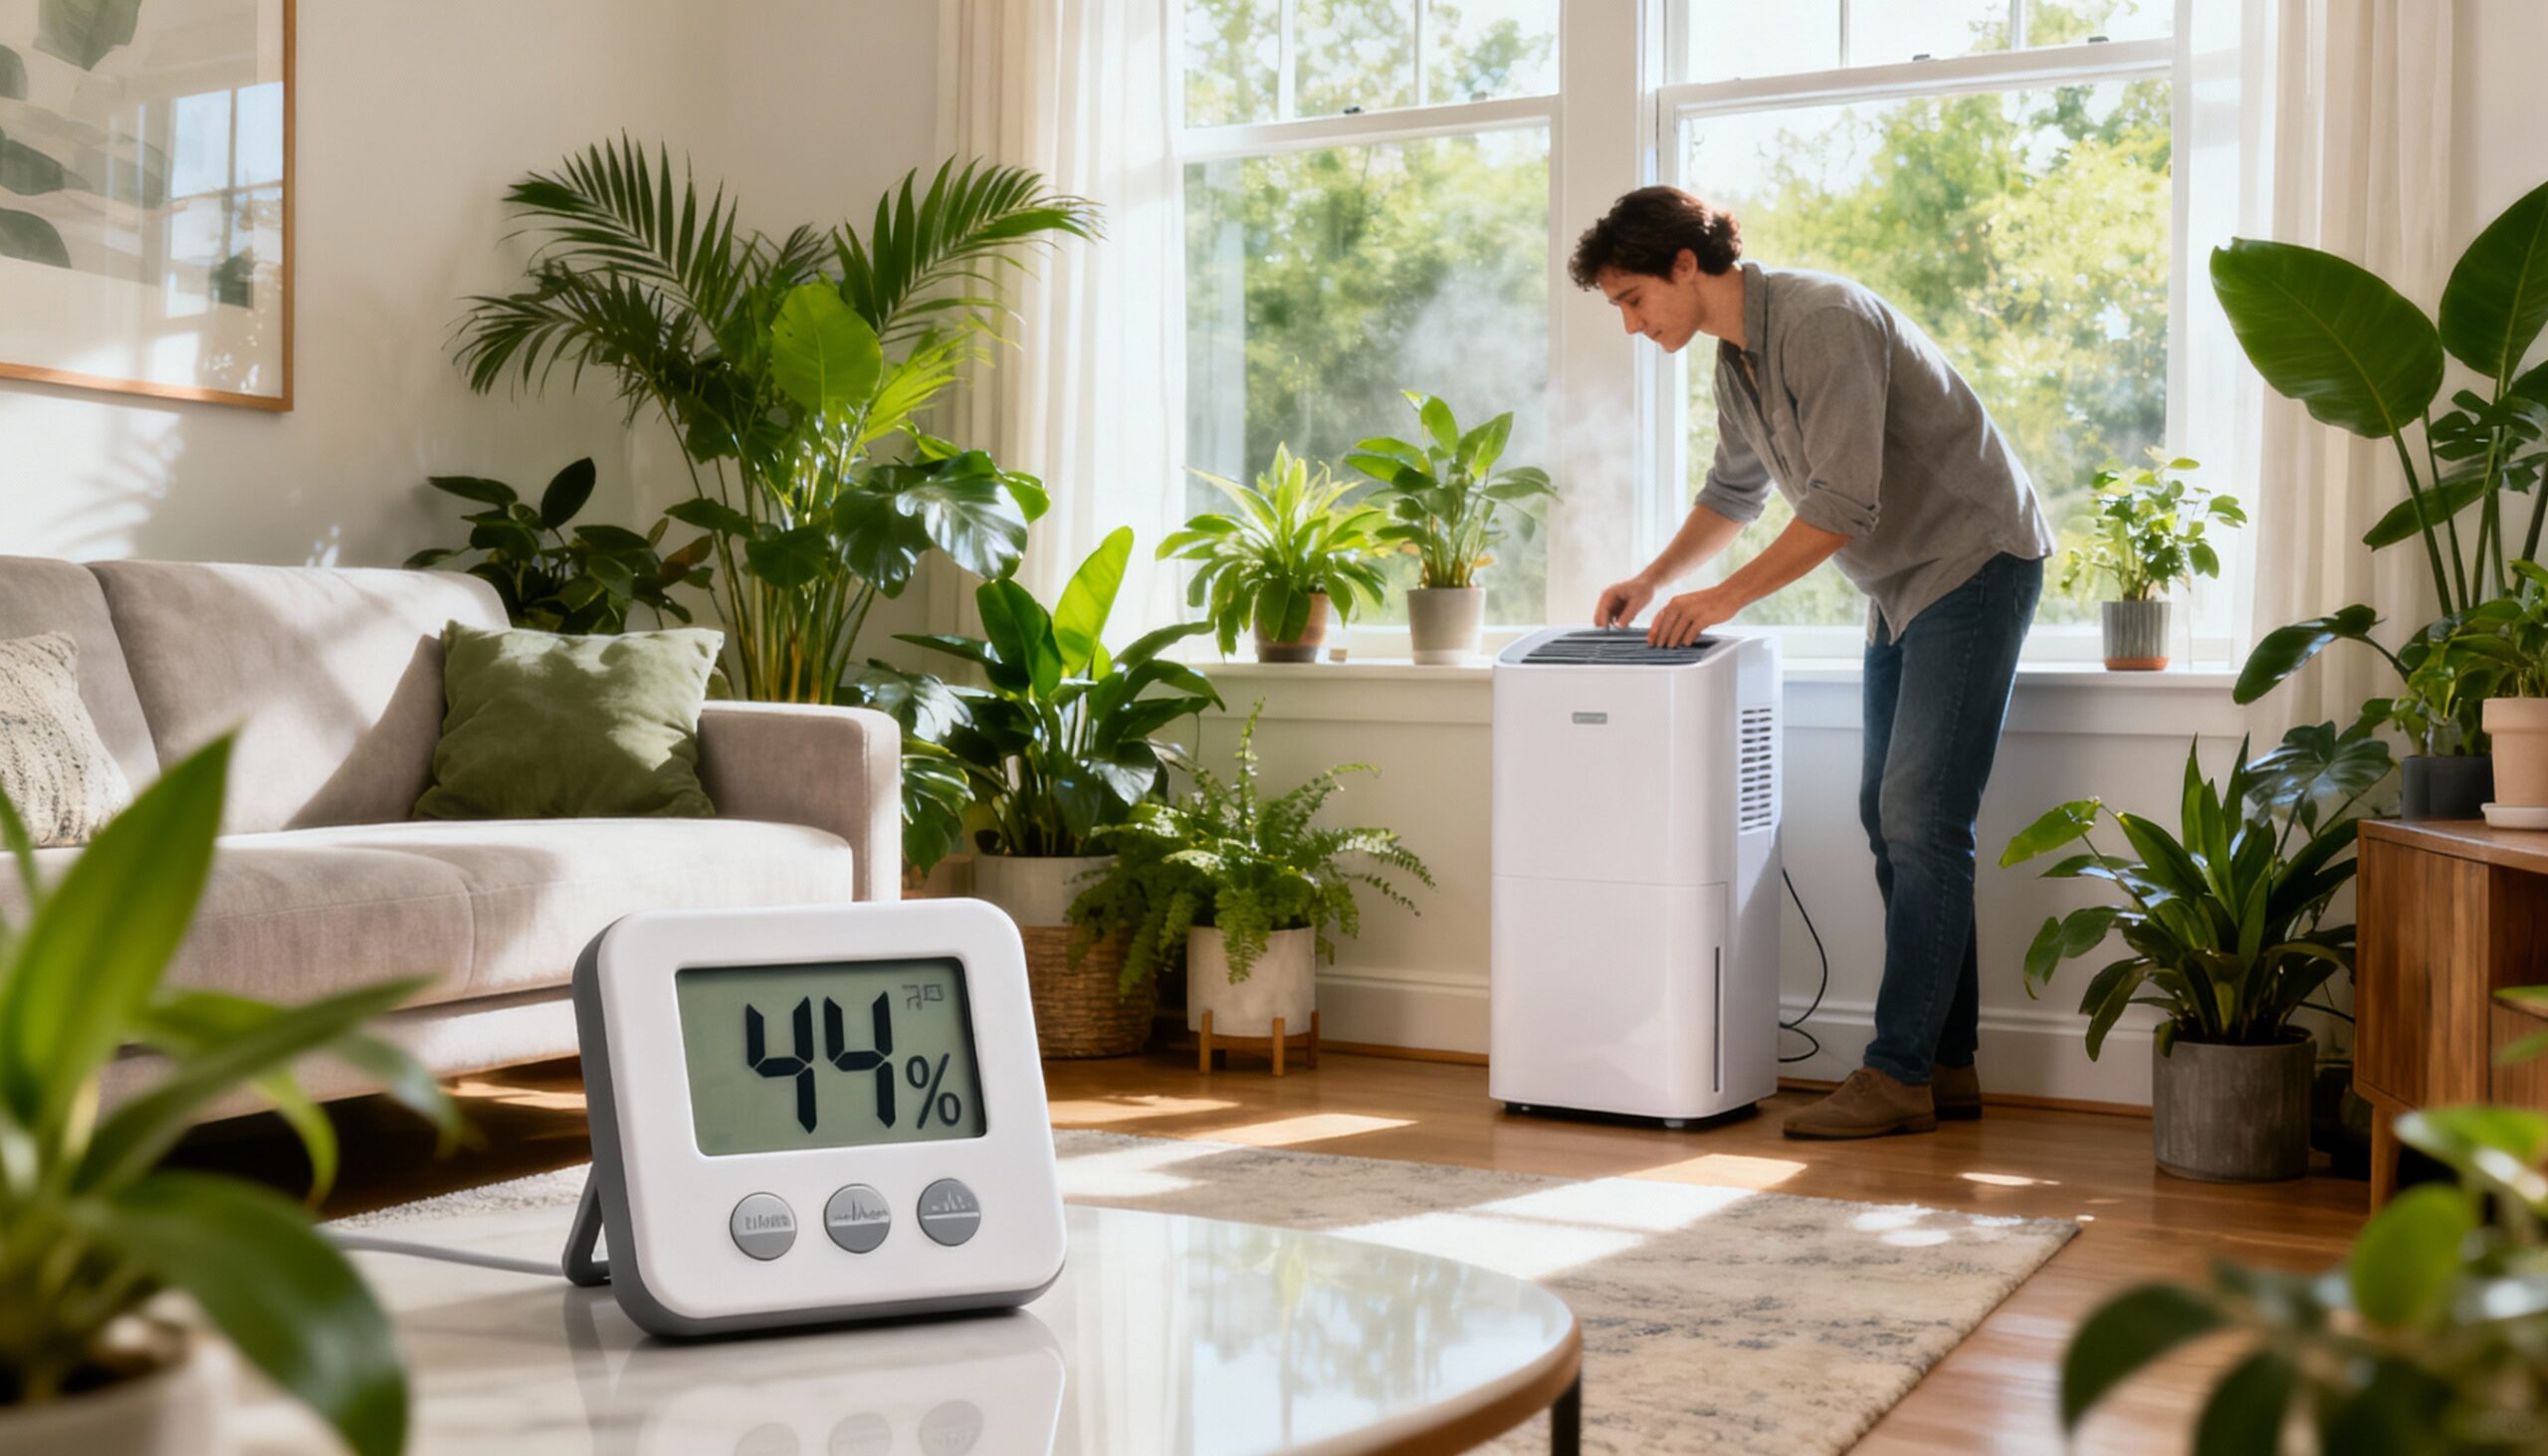
Step 4: Set Up Your Dehumidifier Correctly
Position your dehumidifier in the area with the highest humidity readings, away from walls and furniture to allow proper airflow. Set the target humidity between 30-50%. Empty the collection tank regularly or connect a drain hose for continuous operation. For larger spaces or severe moisture issues, consider professional-grade equipment rental options.
⚠️ Warning: Never place dehumidifiers in enclosed spaces without proper drainage, as overflow can create additional moisture problems and potential water damage.
Step 5: Address Moisture Sources Directly
Fix leaking pipes, faucets, and appliances immediately. Ensure your clothes dryer vents directly outside—not into your attic or garage. Direct downspouts away from your foundation, extending them at least 6 feet from your home. After storm damage, inspect your roof and siding for any breaches that could allow moisture intrusion. Eliminating water intrusion is essential for long-term humidity control for mold success.
Step 6: Maintain Your HVAC System
Your air conditioning system naturally removes humidity as it cools. Replace filters monthly during peak usage and schedule professional maintenance annually. A properly functioning HVAC system is your first line of defense for maintaining optimal indoor humidity levels year-round.
✅ What success looks like: Your HVAC system cycles normally without running continuously; you feel comfortable without the air feeling clammy.
Step 7: Create a Monitoring Routine
Check your hygrometer at the same time daily, recording readings to identify patterns. Note weather conditions and household activities that affect humidity. This data helps you anticipate problems and adjust your moisture control strategy proactively before mold can develop.
Room-by-Room Humidity Control for Mold Strategies
Bathroom Moisture Control
Bathrooms generate more humidity per square foot than any other room. Run exhaust fans for 20-30 minutes after bathing. Wipe down shower walls and doors after use. Keep bathroom doors open when not in use to allow moisture to dissipate. Consider installing a timer on your exhaust fan for automatic humidity control for mold prevention.

Kitchen Humidity Management
Use lids on pots while cooking to reduce steam release. Run your range hood on high when boiling water or using the dishwasher. Fix any leaks under the sink promptly. Proper kitchen moisture control prevents mold from developing in cabinets and behind appliances where it often goes unnoticed.
Basement and Crawl Space Solutions
These below-grade spaces require special attention for mold prevention humidity management. Install a dedicated dehumidifier rated for the square footage. Ensure proper grading around your foundation directs water away from your home. Consider encapsulation for crawl spaces with persistent moisture issues.

Troubleshooting Common Humidity Problems
Problem: Humidity Stays High Despite Running Dehumidifier
Solution: Check that your dehumidifier is appropriately sized for the space. Clean or replace the filter. Ensure the unit isn’t placed near a heat source, which reduces efficiency. If problems persist, you may have hidden water intrusion requiring professional assessment.
Problem: Condensation on Windows
Solution: Increase air circulation near windows using ceiling fans or standing fans. Consider upgrading to double-pane windows if condensation is chronic. Ensure proper ventilation in rooms with excessive window condensation to improve humidity control for mold.
Problem: Musty Odors in Certain Areas
Solution: Musty smells indicate existing mold growth. Inspect the area carefully with a flashlight. Small patches on hard surfaces can be cleaned with appropriate solutions, but larger areas or porous materials require professional mold remediation.
🔴 When to Call a Professional
Stop DIY efforts and contact a restoration professional if:
- Visible mold covers more than 10 square feet
- Mold has infiltrated HVAC systems or ductwork
- Water damage from flooding, sewage, or major leaks exists
- Mold returns repeatedly despite humidity control for mold efforts
- Anyone experiences persistent health symptoms (respiratory issues, headaches, allergic reactions)
- Mold contamination involves biohazard materials such as sewage or contaminated water
- Mold is found behind walls, under flooring, or in other hidden locations
Professional mold removal and remediation services use specialized equipment and containment procedures to safely eliminate mold without spreading spores throughout your home. They also identify underlying moisture sources that may not be apparent to homeowners.
Preventive Maintenance Tips for Long-Term Success
Maintaining proper humidity control for mold prevention requires consistent effort throughout the year. Clean gutters seasonally to prevent overflow near your foundation. Inspect caulking around windows, tubs, and showers annually, replacing any cracked or missing sections. Check washing machine hoses for bulges or cracks that could lead to sudden leaks. Consider developing a disaster planning strategy that includes moisture monitoring protocols.
Consider investing in a whole-house dehumidifier if you live in a humid climate or have a large home. These systems integrate with your HVAC and provide consistent moisture control without the hassle of emptying portable units. Smart hygrometers can alert you to humidity spikes when you’re away from home.
Regular contents cleaning of upholstered furniture, curtains, and carpets helps prevent mold from taking hold in fabrics. Pay special attention to items stored in basements, attics, or closets where air circulation may be limited.
Frequently Asked Questions
What humidity level causes mold to grow?
Mold typically begins growing when indoor humidity levels exceed 60% for extended periods. Most mold species thrive between 70-90% relative humidity. Keeping your home between 30-50% humidity provides a safe margin for effective humidity control for mold prevention.
How often should I check my home’s humidity levels?
Check humidity daily during humid seasons and after any water-related activities like showering or cooking. During stable weather, weekly monitoring is sufficient. Consistent tracking helps you identify patterns and adjust your moisture control strategy accordingly.
Can I handle mold removal myself or do I need a professional?
Small mold patches under 10 square feet on hard surfaces can often be cleaned with proper precautions. Larger areas, mold in HVAC systems, or growth on porous materials requires professional mold remediation to ensure complete removal and prevent spread.
What size dehumidifier do I need for mold prevention?
Choose a dehumidifier based on room size and humidity severity. For moderately damp spaces, plan for 10 pints per 500 square feet. Very wet areas or basements may need 12-14 pints per 500 square feet for effective mold prevention humidity management.
What’s the most common mistake in humidity control for mold?
The biggest mistake is only addressing symptoms rather than sources. Running a dehumidifier while ignoring a leaky pipe or poor ventilation creates an endless battle. Successful humidity control for mold requires identifying and fixing all moisture sources first.