What You’ll Need
Tools:
- 🔧 Flashlight – For inspecting dark corners and crevices
- 🔧 Putty knife or scraper – To remove old caulk and sealant
- 🔧 Caulk gun – For applying new sealant
- 🔧 Utility knife – For precise cutting of materials
- 🔧 Level – To check window alignment
- 🔧 Spray bottle – For water testing
- 🔧 Painter’s tape – To protect surfaces during repair
- 🔧 Clean rags – For wiping and drying surfaces
Materials:
- 📦 Exterior-grade silicone caulk – Choose paintable or clear based on your needs
- 📦 Backer rod – For filling large gaps before caulking
- 📦 Rubbing alcohol or caulk remover – For surface preparation
- 📦 Weather stripping – If seals around operable windows are damaged
- 📦 Paper towels – For cleanup and surface prep
Time Required:
⏱️ Inspection: 30-45 minutes per window
⏱️ Simple Repairs: 1-2 hours per window
⏱️ Drying Time: 24-48 hours for caulk to fully cure
⚠️ Safety First
Before you begin:
- ⚠️ Work on dry days when possible for accurate testing
- ⚠️ Use a sturdy ladder if accessing upper-floor windows from outside
- ⚠️ Wear safety glasses when scraping old caulk or working overhead
- ⚠️ Ensure proper ventilation when using caulk or sealants
- ⚠️ Never lean out of upper-floor windows during inspection
Step 1: Visual Inspection for Window Leak Detection
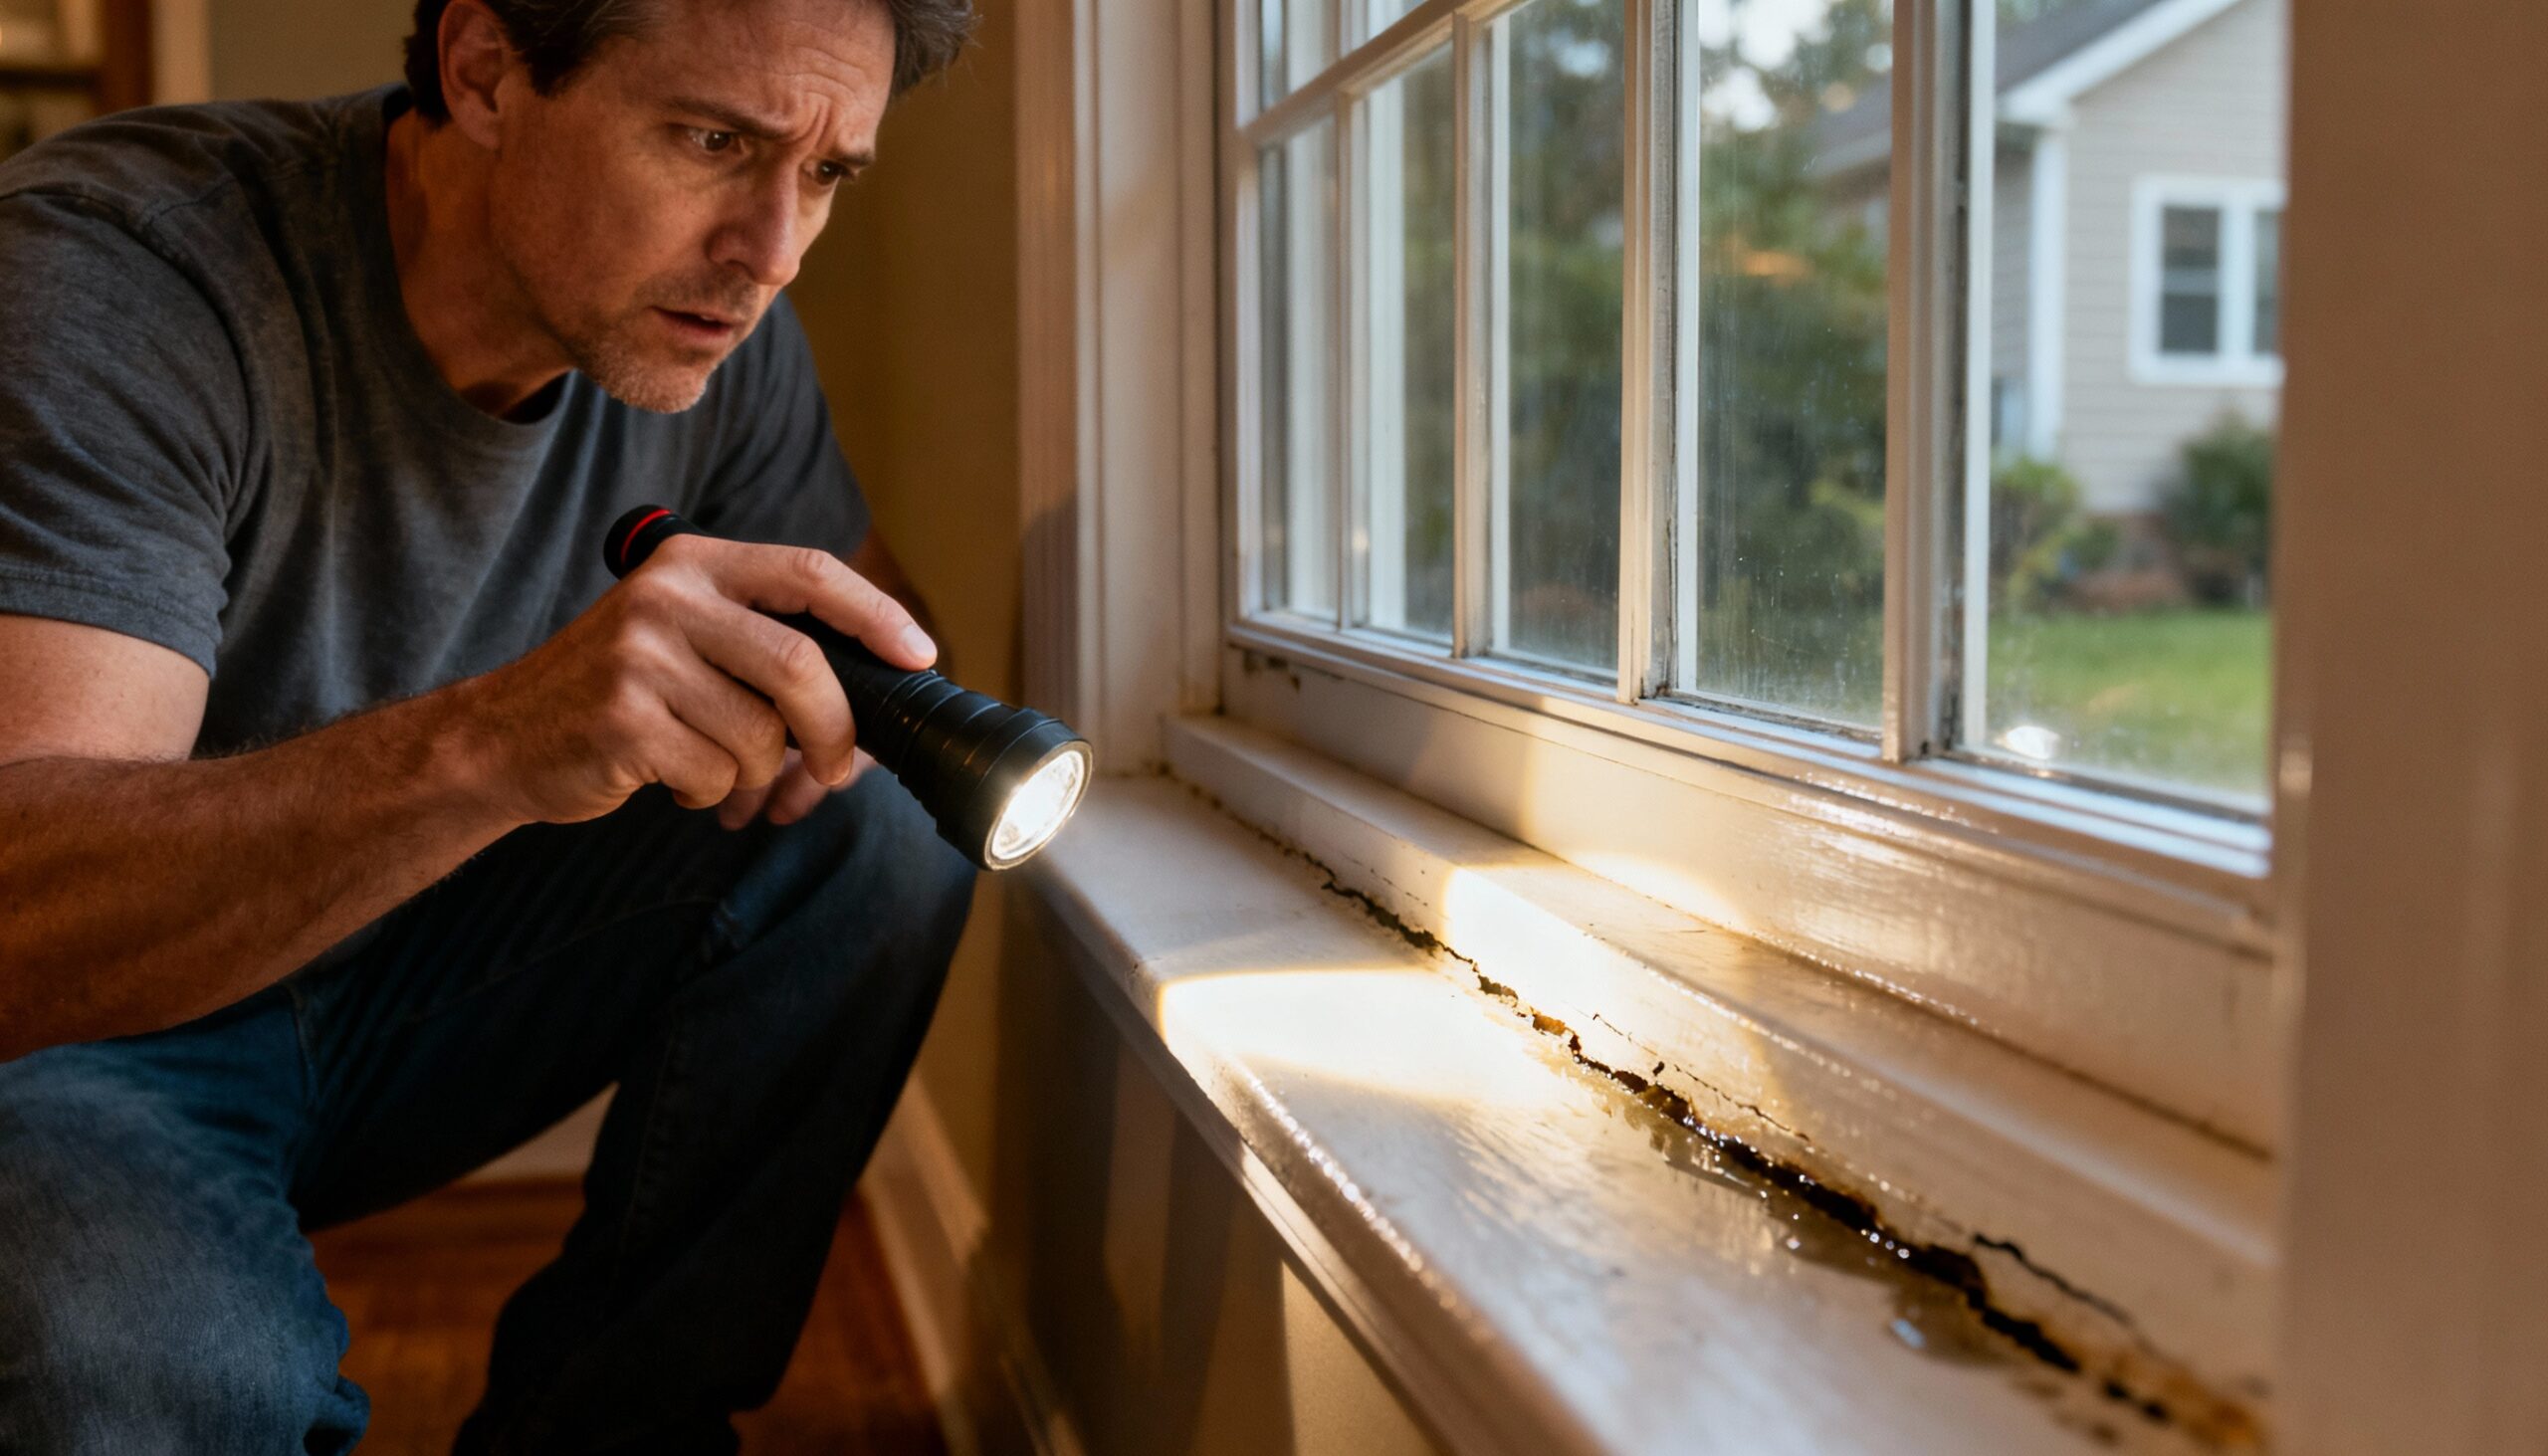
Start your window leak detection process with a thorough visual inspection both inside and outside. Look for obvious signs of window water damage that indicate active or past leaks.
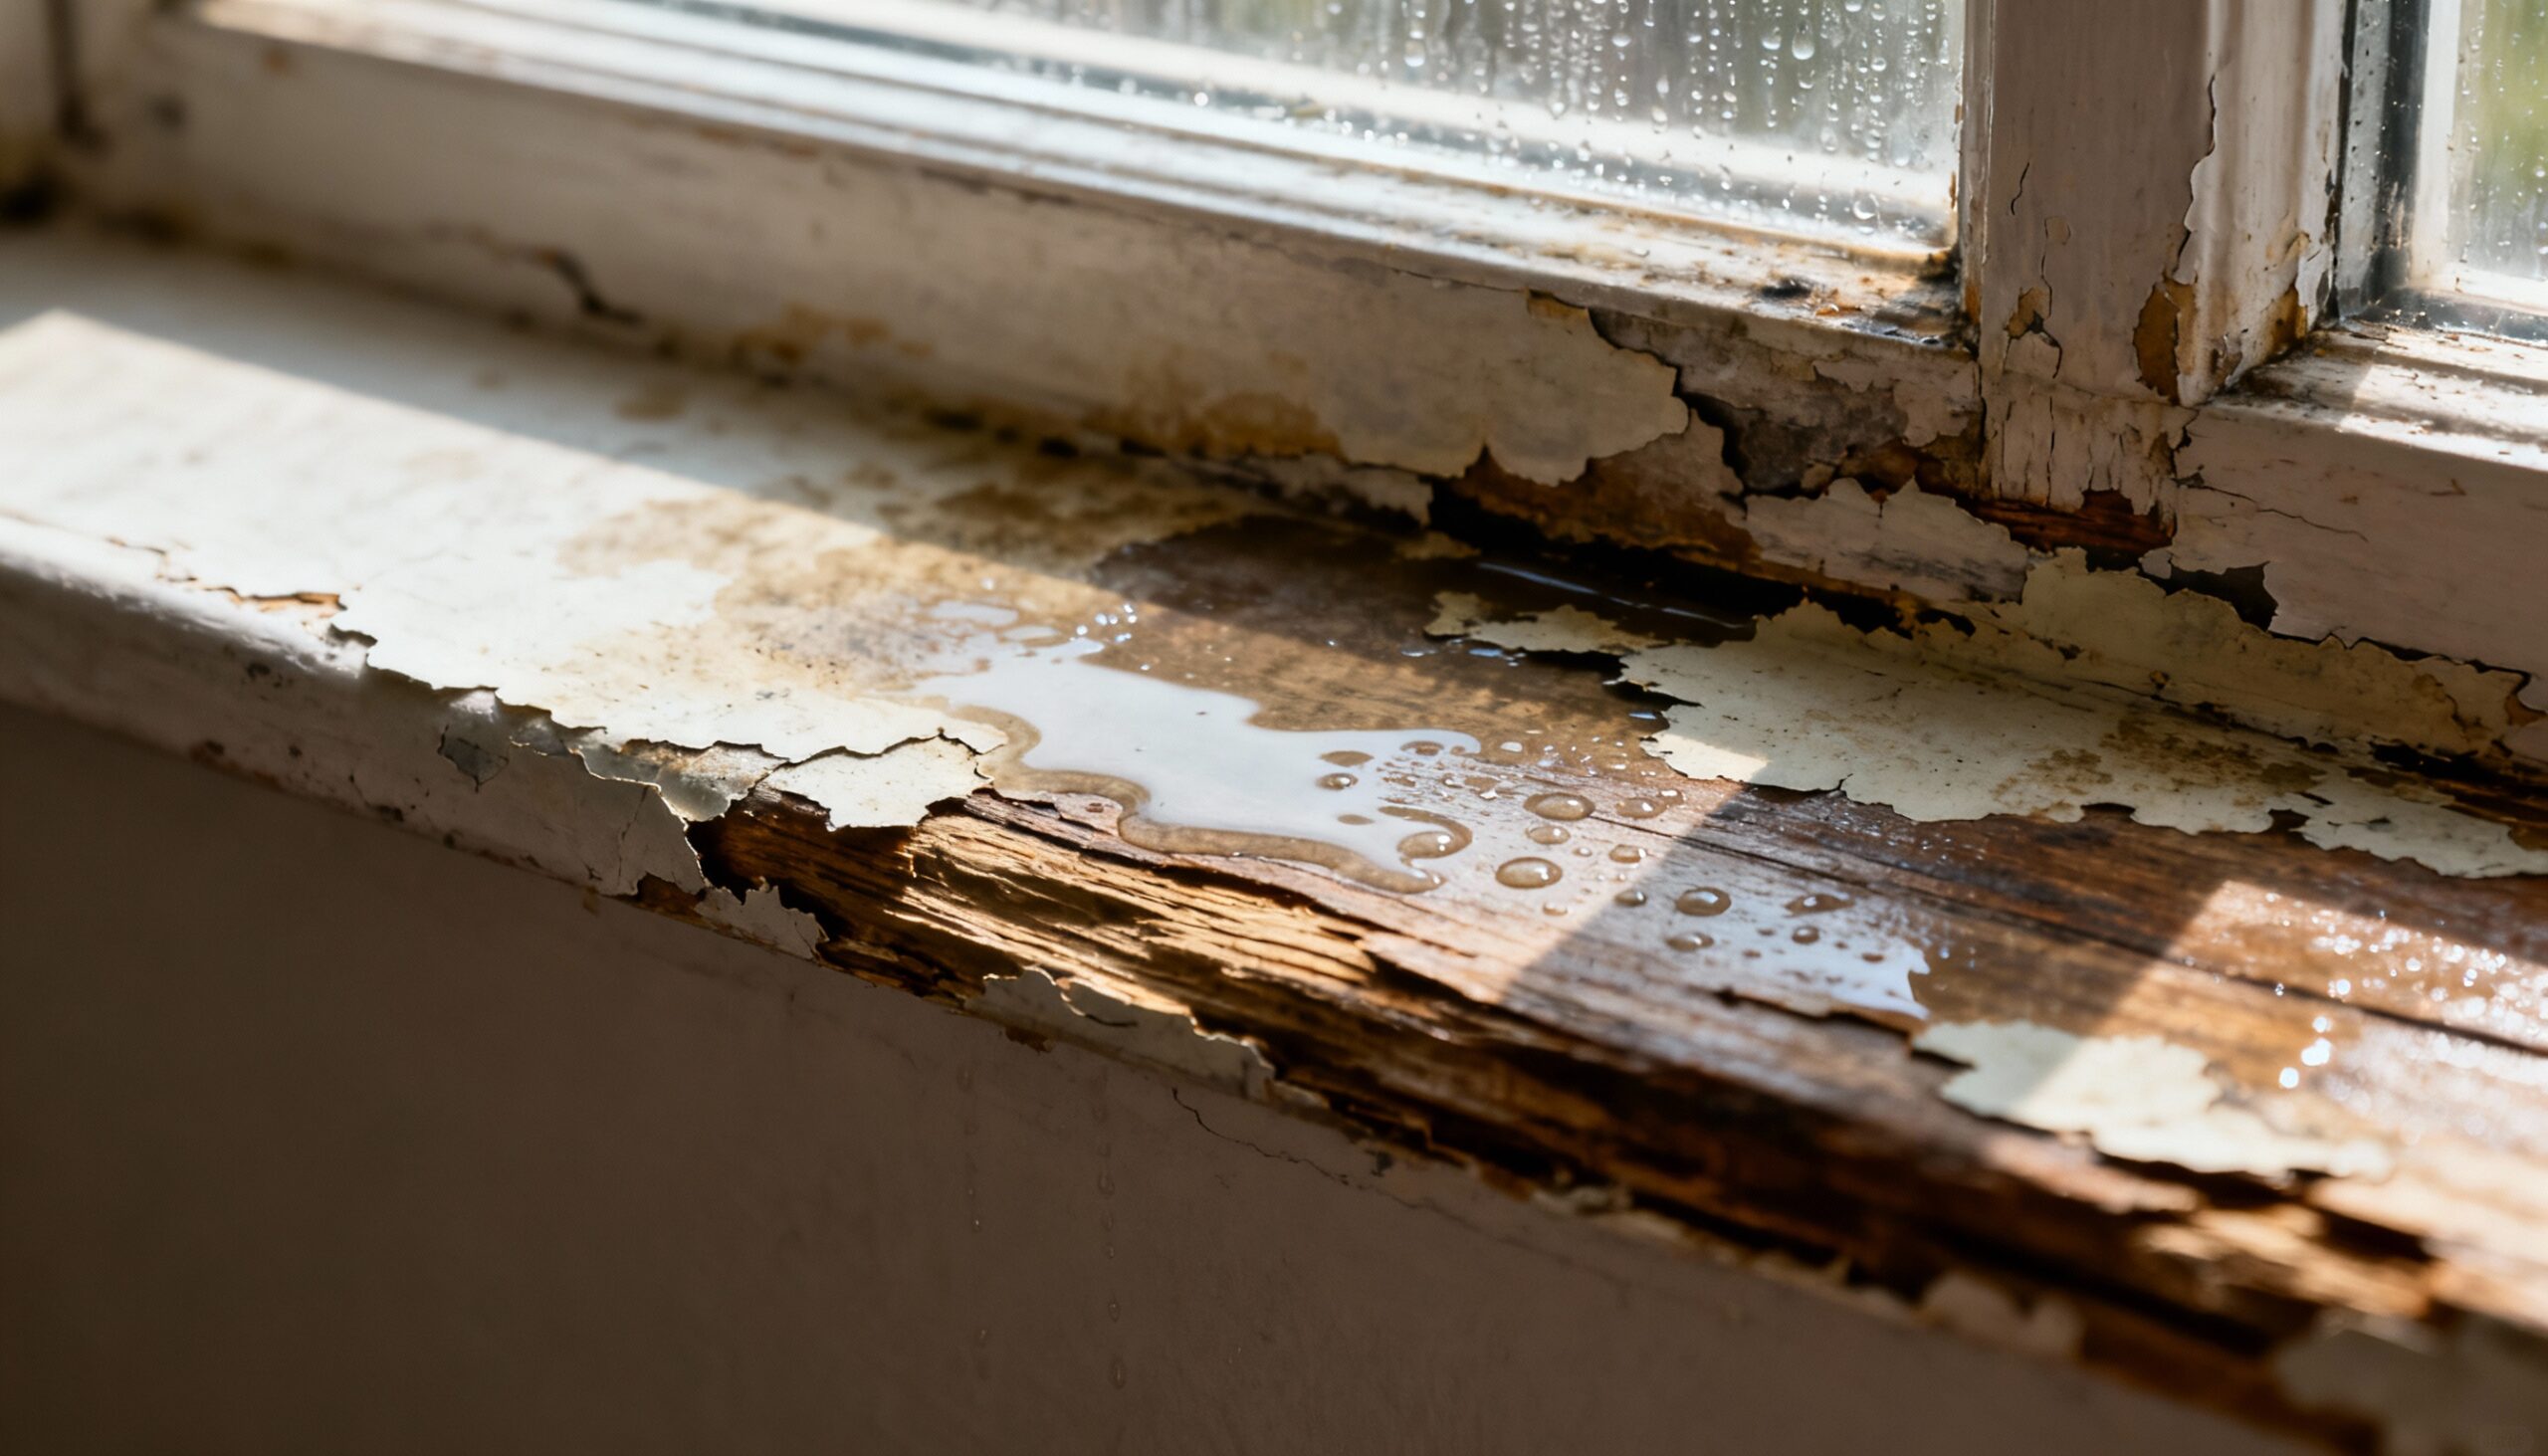
Inside inspection: Examine the window frame, sill, and surrounding wall for water stains, discoloration, bubbling paint, or soft spots in the wood or drywall. Check the bottom corners of the window frame where water typically pools first. Run your hand along the window perimeter on a windy day to feel for drafts, which often indicate gaps where water can enter.
Outside inspection: Look at the exterior caulking around the window frame. Cracks, gaps, or areas where caulk has pulled away from the frame are prime entry points for water. Check the condition of the window sill and any trim pieces. Examine the wall above the window for proper flashing installation.
💡 Pro Tip: Take photos of problem areas for reference during repairs and to track improvements over time.

Step 2: Perform the Water Test
The water test is the most reliable method for window leak detection because it simulates rain conditions and reveals the exact entry point of water.
How to conduct the test: Fill a spray bottle with water and have a helper stationed inside the house. Start spraying water at the top of the window and work your way down in sections, spending 5-10 minutes on each area. Your helper should watch for water penetration inside, paying close attention to the corners and bottom sill where leaks first appear.
Testing sequence: Begin with the area above the window, then move to each side, and finally test the bottom sill area. This systematic approach helps identify whether the leak source is the window itself, the surrounding caulk, or an issue with the wall above.
✅ What success looks like: You’ll clearly identify where water enters, whether through gaps in caulking, around the frame, or through damaged window seals.
Step 3: Check Window Operation and Alignment
Windows that don’t close properly or have shifted over time create gaps that allow water intrusion. This step is crucial for preventing future window water damage.
Test the operation: Open and close the window several times, noting any sticking, gaps when closed, or difficulty latching. Use a level to check if the window frame is still square and plumb. Windows that have settled or shifted may no longer seal properly even if the hardware appears functional.
Inspect the weather stripping: For operable windows, examine the weather stripping around the sash. Press your finger against it to check if it’s still soft and pliable. Hardened, cracked, or missing weather stripping won’t create a proper seal and should be replaced.
Step 4: Remove Old, Damaged Caulk
Proper window seal repair requires completely removing old, failed caulk before applying new sealant. This is the most time-consuming step but essential for long-lasting repairs.
Removal process: Use a utility knife or putty knife to cut along both edges of the old caulk bead, then peel or scrape it away. Be careful not to gouge the window frame or siding. Remove all traces of old caulk, silicone, and loose paint to ensure proper adhesion of new materials.
Surface preparation: After removing old caulk, clean the area thoroughly with rubbing alcohol or a caulk remover product. This removes residual oils, dirt, and old sealant that could prevent new caulk from bonding. Allow the surface to dry completely before proceeding.
⚠️ Warning: If you discover wood rot or extensive damage during this process, stop and consult a professional. Cosmetic caulking won’t solve structural problems.
Step 5: Apply New Caulk for Water Intrusion Prevention
Applying new caulk is the primary method for water intrusion prevention around windows. Quality application makes all the difference in creating a lasting seal.
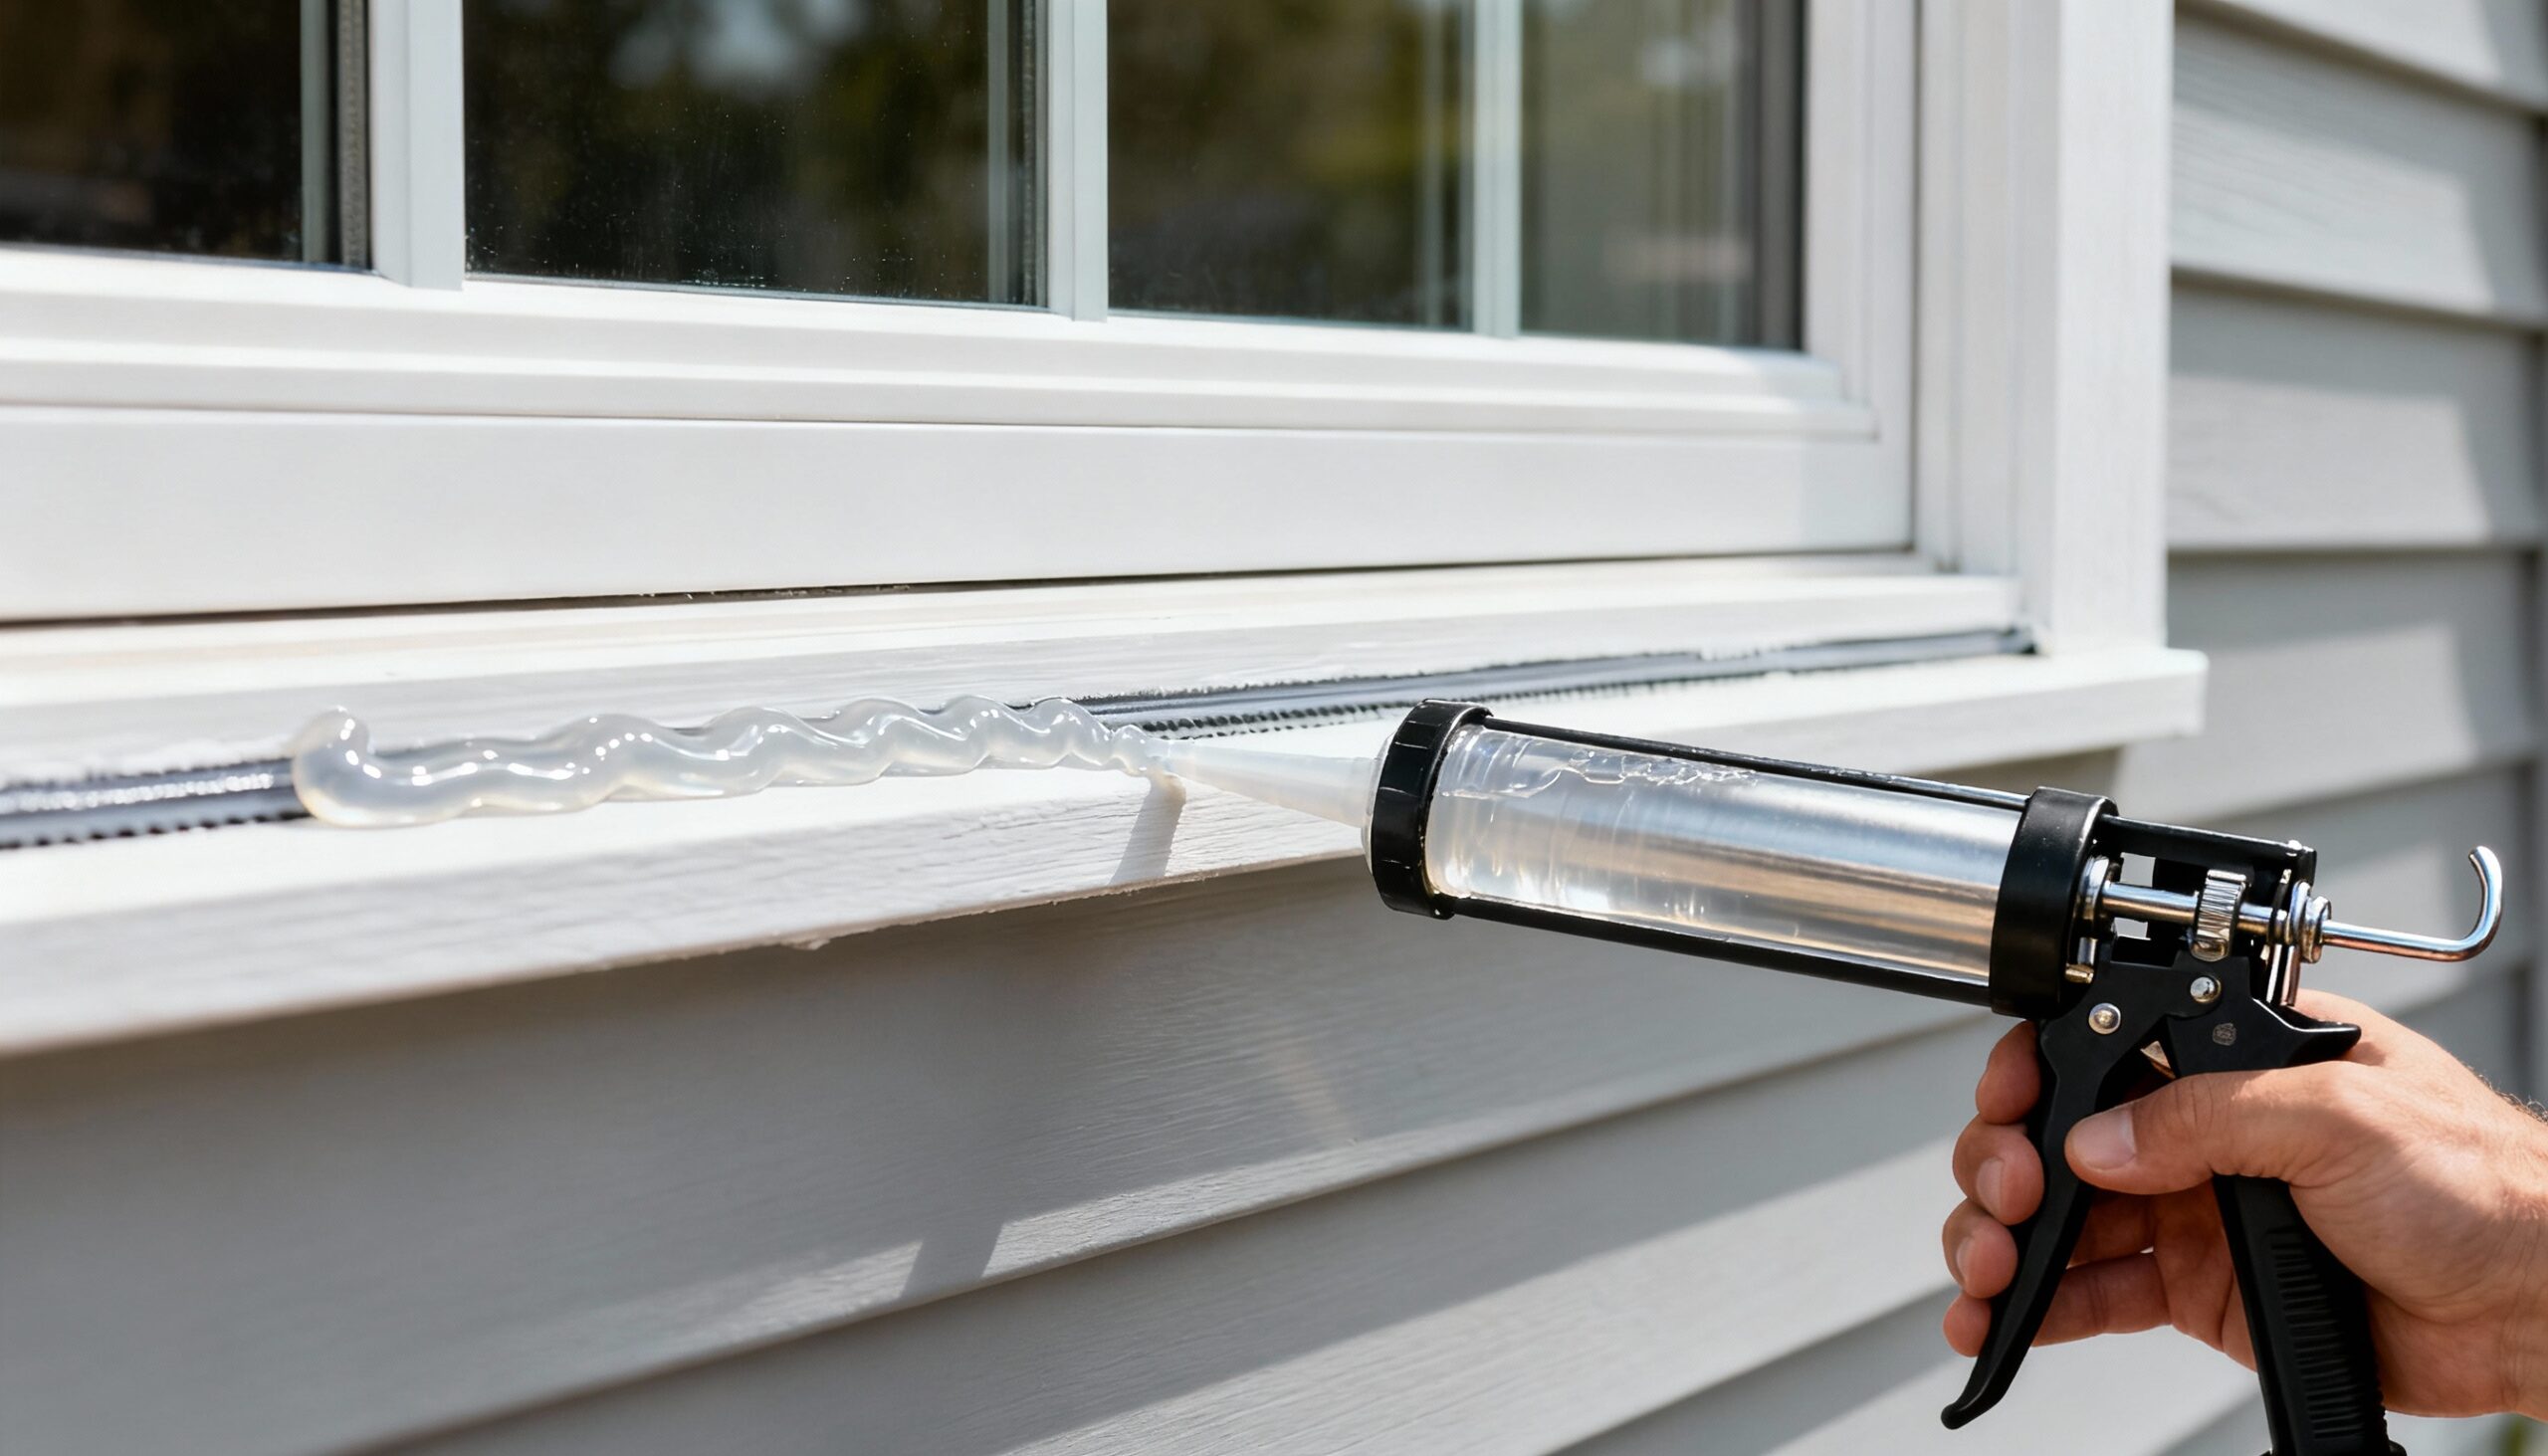
Application technique: Cut the caulk tube tip at a 45-degree angle, creating an opening about 1/4 inch wide. Hold the caulk gun at a consistent angle and apply steady pressure while moving smoothly along the joint. Apply caulk to all exterior gaps between the window frame and the house, including the top, sides, and anywhere the frame meets siding or trim.
Tooling the bead: Immediately after application, smooth the caulk with a wet finger, small spoon, or caulking tool. This pushes the caulk into the gap and creates a neat, concave profile that sheds water effectively. Keep a damp rag handy to wipe your finger or tool clean between passes.
💡 Pro Tip: Never caulk the bottom of the exterior window frame. This area needs to remain open for drainage and ventilation to prevent moisture from being trapped inside the wall.

Step 6: Replace Weather Stripping if Needed
For operable windows, damaged weather stripping is a common cause of leaks during wind-driven rain. Replacing it is straightforward and significantly improves your water intrusion prevention efforts.
Removal and replacement: Peel off the old weather stripping and clean any adhesive residue from the channel. Measure the length needed and cut new weather stripping to size. Most modern weather stripping has a peel-and-stick backing—simply remove the protective paper and press firmly into place, starting at one corner and working your way around.
Testing the fit: Close the window and check that it seals properly without being too tight to latch. You should see slight compression of the weather stripping when the window is closed, indicating a good seal.
Step 7: Interior Repairs and Protection
Once exterior window leak detection and repairs are complete, address any interior damage to prevent future problems and restore appearance.
Minor damage repair: Sand down water-stained or bubbling paint until smooth. Apply a stain-blocking primer to prevent discoloration from bleeding through, then repaint to match your interior. For small areas of soft drywall, apply joint compound, let it dry, sand smooth, and paint. If you discover mold growth during your inspection, it’s important to contact professional mold remediation specialists to ensure safe and complete removal.
Monitoring: Check the repaired areas after the next several rainstorms to confirm the leak is resolved. It’s normal to see some residual staining fade over time as the area dries completely.
Troubleshooting Common Issues
| Problem | Likely Cause | Solution |
|---|---|---|
| Water appears only during heavy wind | Failed weather stripping or gaps in caulk | Replace weather stripping and reapply caulk to all exterior joints |
| Water runs down wall above window | Missing or damaged flashing | Call a professional to inspect and replace flashing |
| Condensation between window panes | Failed seal in double-pane window | Window unit replacement required—contact window specialist |
| Water pools on interior sill | Caulk preventing drainage on exterior | Remove caulk from bottom exterior edge to allow water escape |
| Smoke or fire damage around windows | Previous fire incident affecting window integrity | Contact fire damage restoration specialists for comprehensive assessment |
Preventive Maintenance for Long-Term Protection
Regular maintenance is key to water intrusion prevention and avoiding costly window water damage. Inspect your windows twice yearly—once in spring and once in fall before harsh weather arrives.
Annual maintenance checklist: Clean window tracks and drainage holes with a vacuum and damp cloth. Check caulk for cracks or separation and touch up as needed. Inspect weather stripping for compression, cracks, or gaps. Test window operation and adjust hardware if windows don’t close tightly. Clear debris from exterior window wells and ensure ground slopes away from the foundation.
Seasonal considerations: Before winter, check that all windows close and latch properly to prevent ice dam water from finding entry points. Before summer storm season, perform the spray test on any windows that showed minor issues during the previous year.
🔴 When to Call a Professional
Stop DIY efforts and contact a restoration or window specialist if:
- 🔴 You discover wood rot, mold growth, or structural damage around the window
- 🔴 Water is entering from above the window, indicating a flashing or roofing issue
- 🔴 The window frame has shifted, settled, or is no longer square
- 🔴 Multiple windows are leaking, suggesting a systemic installation or house settling problem
- 🔴 You’ve attempted repairs but leaks persist
- 🔴 Extensive interior damage indicates water has been present for a long time
- 🔴 The window unit itself is damaged or the seal between panes has failed
- 🔴 Severe storm damage requires immediate protection through emergency board-up services
Professional window contractors have specialized tools for window leak detection, including thermal imaging cameras and moisture meters that can identify hidden water damage in walls. They can also properly install flashing, repair structural issues, and replace windows when necessary.
Frequently Asked Questions
How often should I inspect my windows for leaks?
Inspect windows for potential leaks twice per year—in spring and fall. Additionally, check windows after any severe storms or if you notice water stains, drafts, or changes in how the window operates. Regular window leak detection helps catch small problems before they become major issues requiring extensive repairs.
Can I perform window leak detection and repairs in cold weather?
While you can inspect windows year-round, most exterior caulks require temperatures above 40°F to properly adhere and cure. If you discover a leak during winter, you can apply temporary interior caulk or weatherization film until spring, when permanent exterior repairs should be completed for effective water intrusion prevention.
What’s the difference between interior condensation and an actual leak?
Condensation appears as uniform moisture across the glass surface and occurs primarily in cold weather when indoor humidity is high. Actual leaks create water that runs down in specific paths, pools on the sill, or appears as water stains on surrounding walls. Leaks also occur during or after rain, while condensation happens regardless of weather conditions and can often be resolved by improving ventilation.
How long does window caulk typically last?
Quality exterior silicone caulk typically lasts 5-10 years when properly applied, though this varies based on sun exposure, temperature extremes, and building movement. South-facing windows often need caulk replacement more frequently due to UV damage. Regular inspection helps identify failing caulk before it leads to window water damage, and prompt window seal repair extends the life of your windows and surrounding structures.
Should I caulk the bottom of my window on the exterior?
Never caulk the bottom exterior edge of a window frame. This area must remain open to allow any moisture that enters the wall cavity to drain out and allow air circulation. Sealing this area can trap water inside your walls, leading to rot, mold, and structural damage—the opposite of good water intrusion prevention. Only seal the top and sides of the exterior frame.

