What You’ll Need
Tools:
- 🔦 Flashlight or headlamp (hands-free is better)
- 📏 Tape measure
- 🌡️ Hygrometer (measures humidity – available at hardware stores)
- 🔧 Screwdriver (for vent covers)
- 📱 Camera (document conditions and problem areas)
- 🪜 Sturdy ladder
Materials (as needed):
- N95 mask (protect yourself from dust and spores)
- Gloves
- Weather stripping (for gaps)
- Insulation baffles (maintain airflow)
- Caulk or foam sealant (for small penetrations)
Time Required:
⏱️ Initial Inspection: 30-45 minutes
⏱️ Minor Improvements: 1-2 hours
⏱️ Ongoing Monitoring: 15 minutes quarterly
⚠️ Safety First
Before beginning any attic mold prevention work, your safety must be the top priority. Attics present unique hazards that require proper precautions.
Before you begin:
- ✅ Ensure your attic access is safe and stable
- ✅ Only step on joists or solid flooring, never insulation
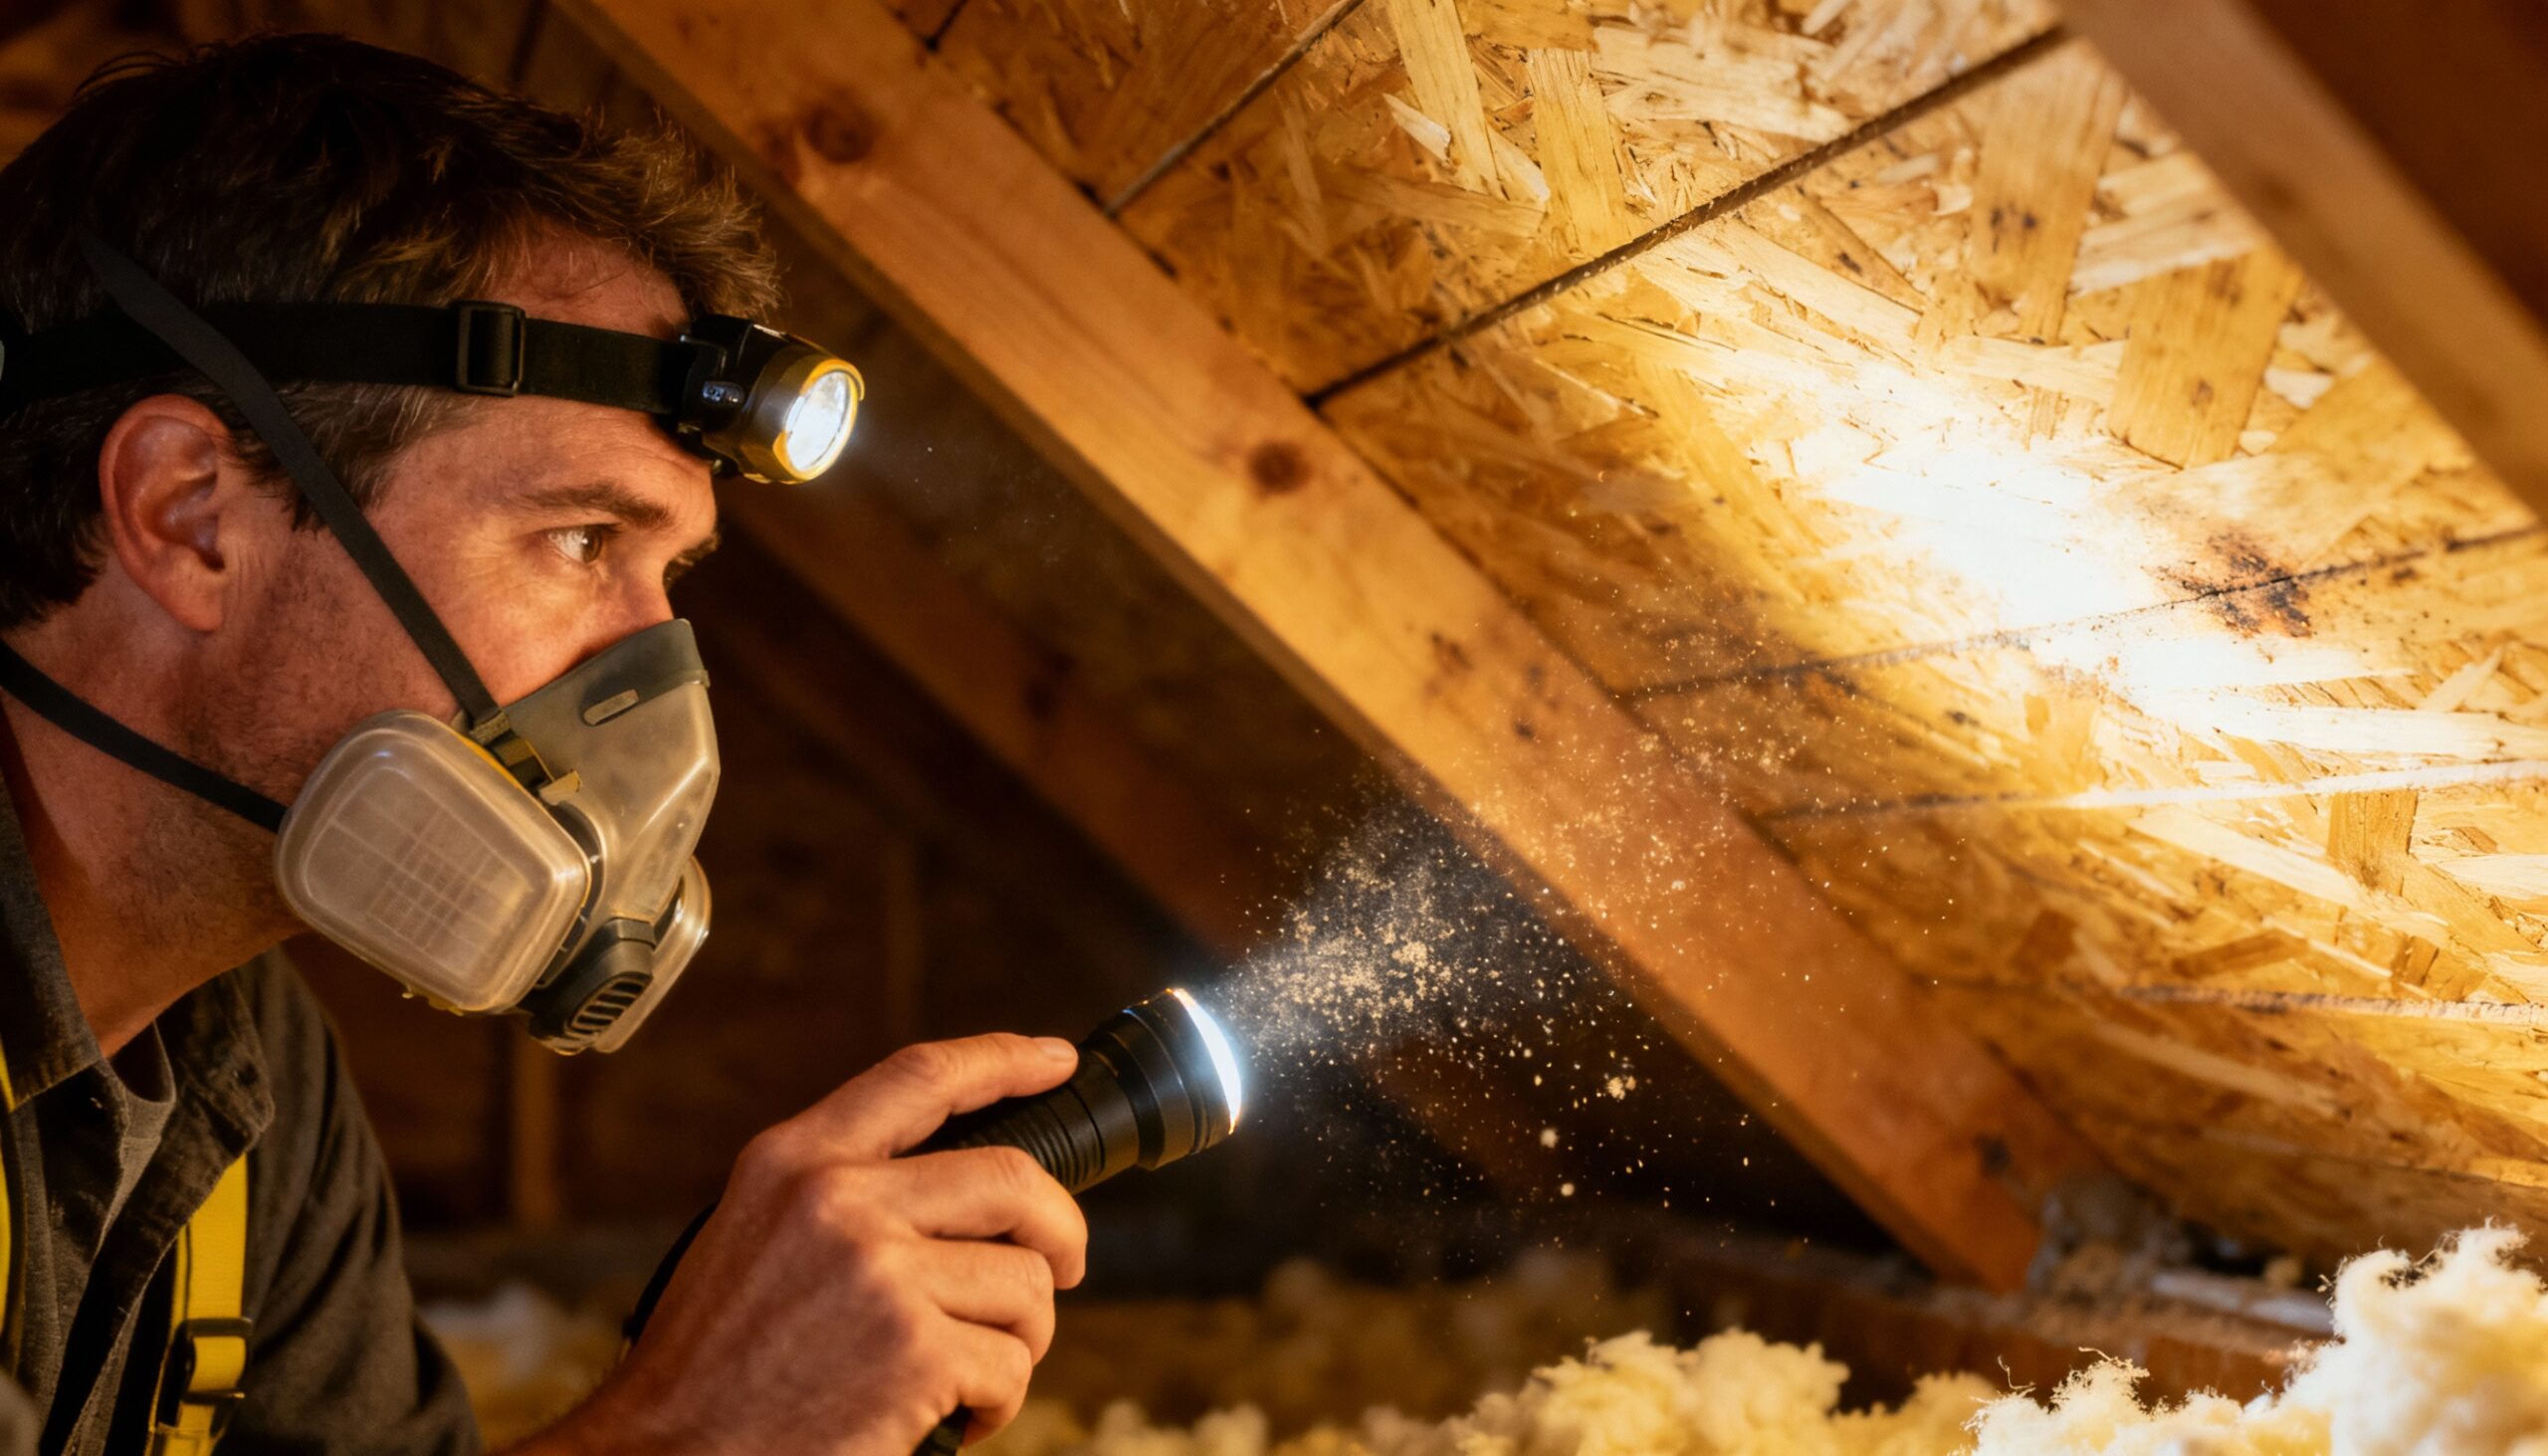
- ✅ Wear a mask to avoid breathing dust, insulation particles, or mold spores
- ✅ Avoid attics during extreme heat (temperatures can exceed 150°F in summer)
- ✅ Tell someone you’re going into the attic
- ✅ Watch for nails protruding through the roof decking
- ✅ Be cautious around electrical wiring and junction boxes
🔴 Do NOT enter your attic if:
- You see or smell significant mold growth (more than 10 square feet)
- There’s active water leaking
- You’re not physically able to navigate safely
- You have respiratory conditions without proper protection
Step 1: Conduct a Thorough Attic Inspection
Why this matters: You can’t prevent what you don’t understand. A proper inspection is the foundation of effective attic mold prevention. This reveals moisture sources, ventilation problems, and early warning signs before mold takes hold.
What to do:
- Check for existing mold or water stains. Look at roof decking (underside of roof), rafters, and any stored items. Mold appears as black, green, or white discoloration. Water stains show as dark marks or rings.
- Measure humidity levels. Place your hygrometer in the attic for 24 hours. Ideal levels are 30-50%. Anything above 60% creates conditions favorable for mold growth.
- Inspect insulation. Look for compressed, wet, or discolored insulation. Check that insulation isn’t blocking soffit vents.
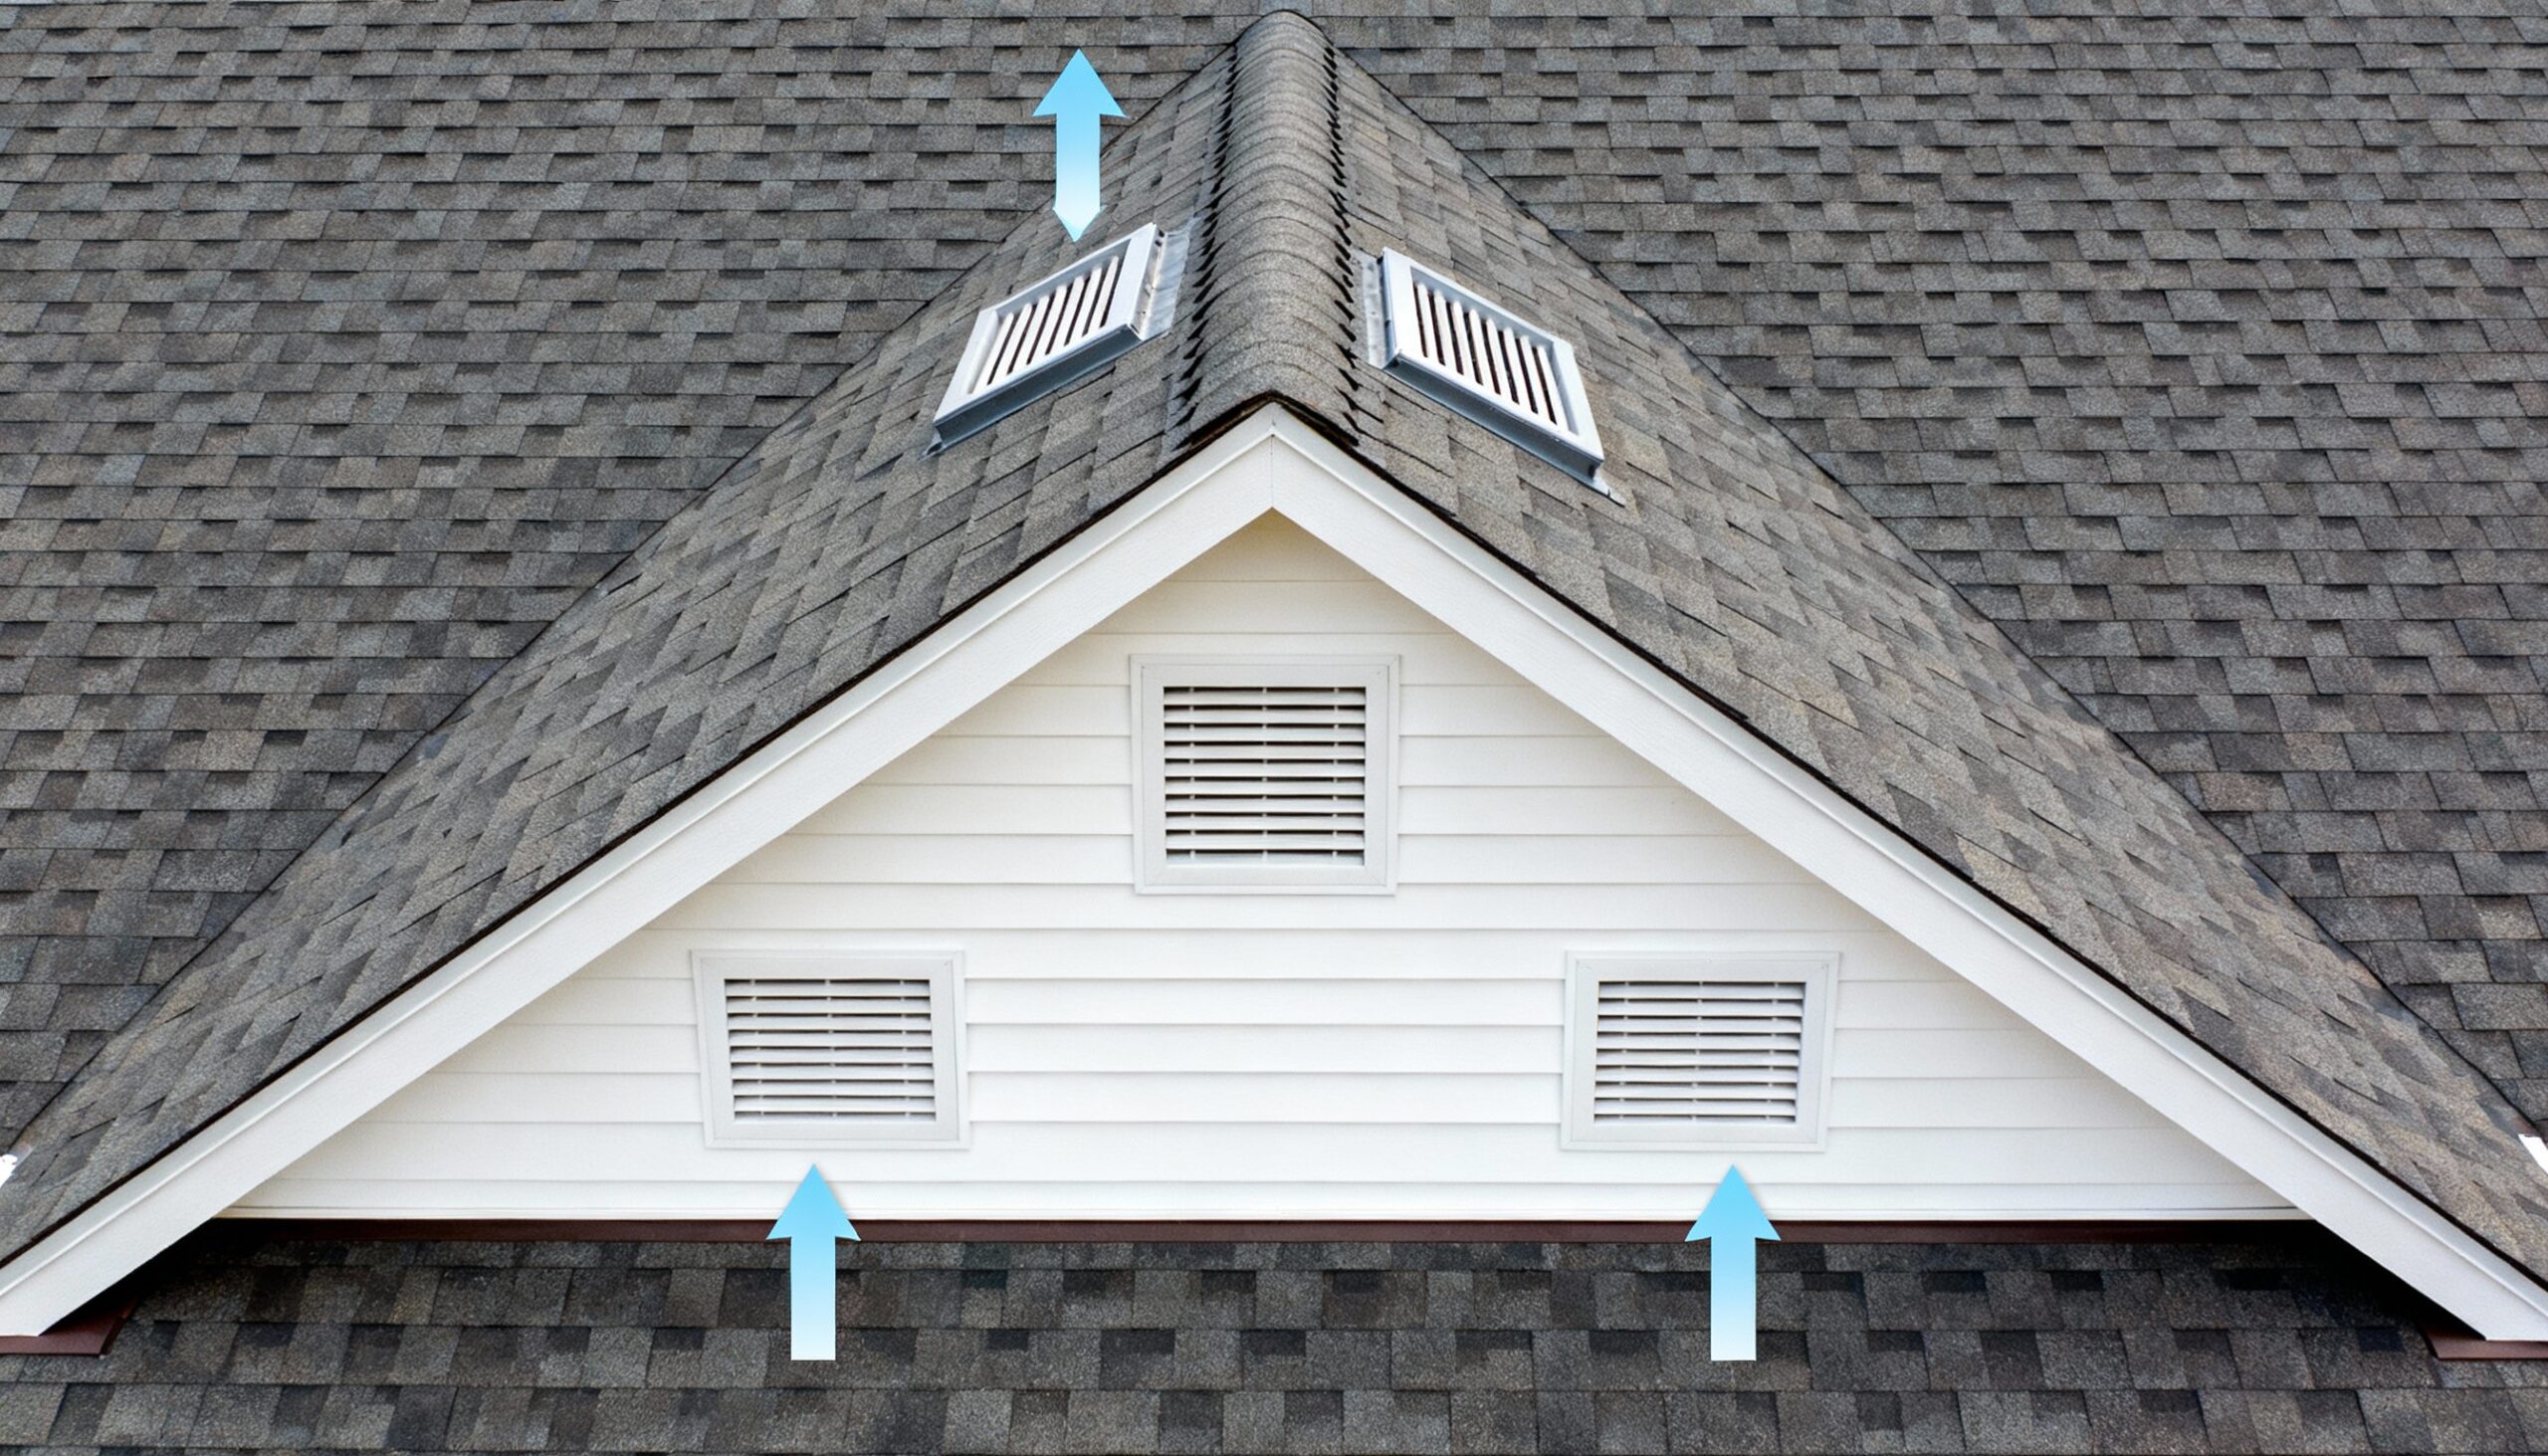
- Examine ventilation. Count your vents (soffit, ridge, gable, or roof vents). Make sure they’re not blocked by insulation, debris, or paint.
- Look for light penetration. In daylight, turn off your flashlight. Any light coming through indicates gaps where moisture can also enter.
- Check exhaust systems. Verify that bathroom fans, kitchen vents, and dryer vents exhaust OUTSIDE, not into the attic.
✅ Success looks like: A detailed list of problem areas with photos, humidity readings, and a clear understanding of your attic’s current condition.

Step 2: Improve Attic Ventilation
Why this matters: Proper attic ventilation is your primary defense against moisture buildup and central to attic mold prevention. Air circulation removes humid air before condensation occurs, preventing the conditions mold needs to grow.
What to do:
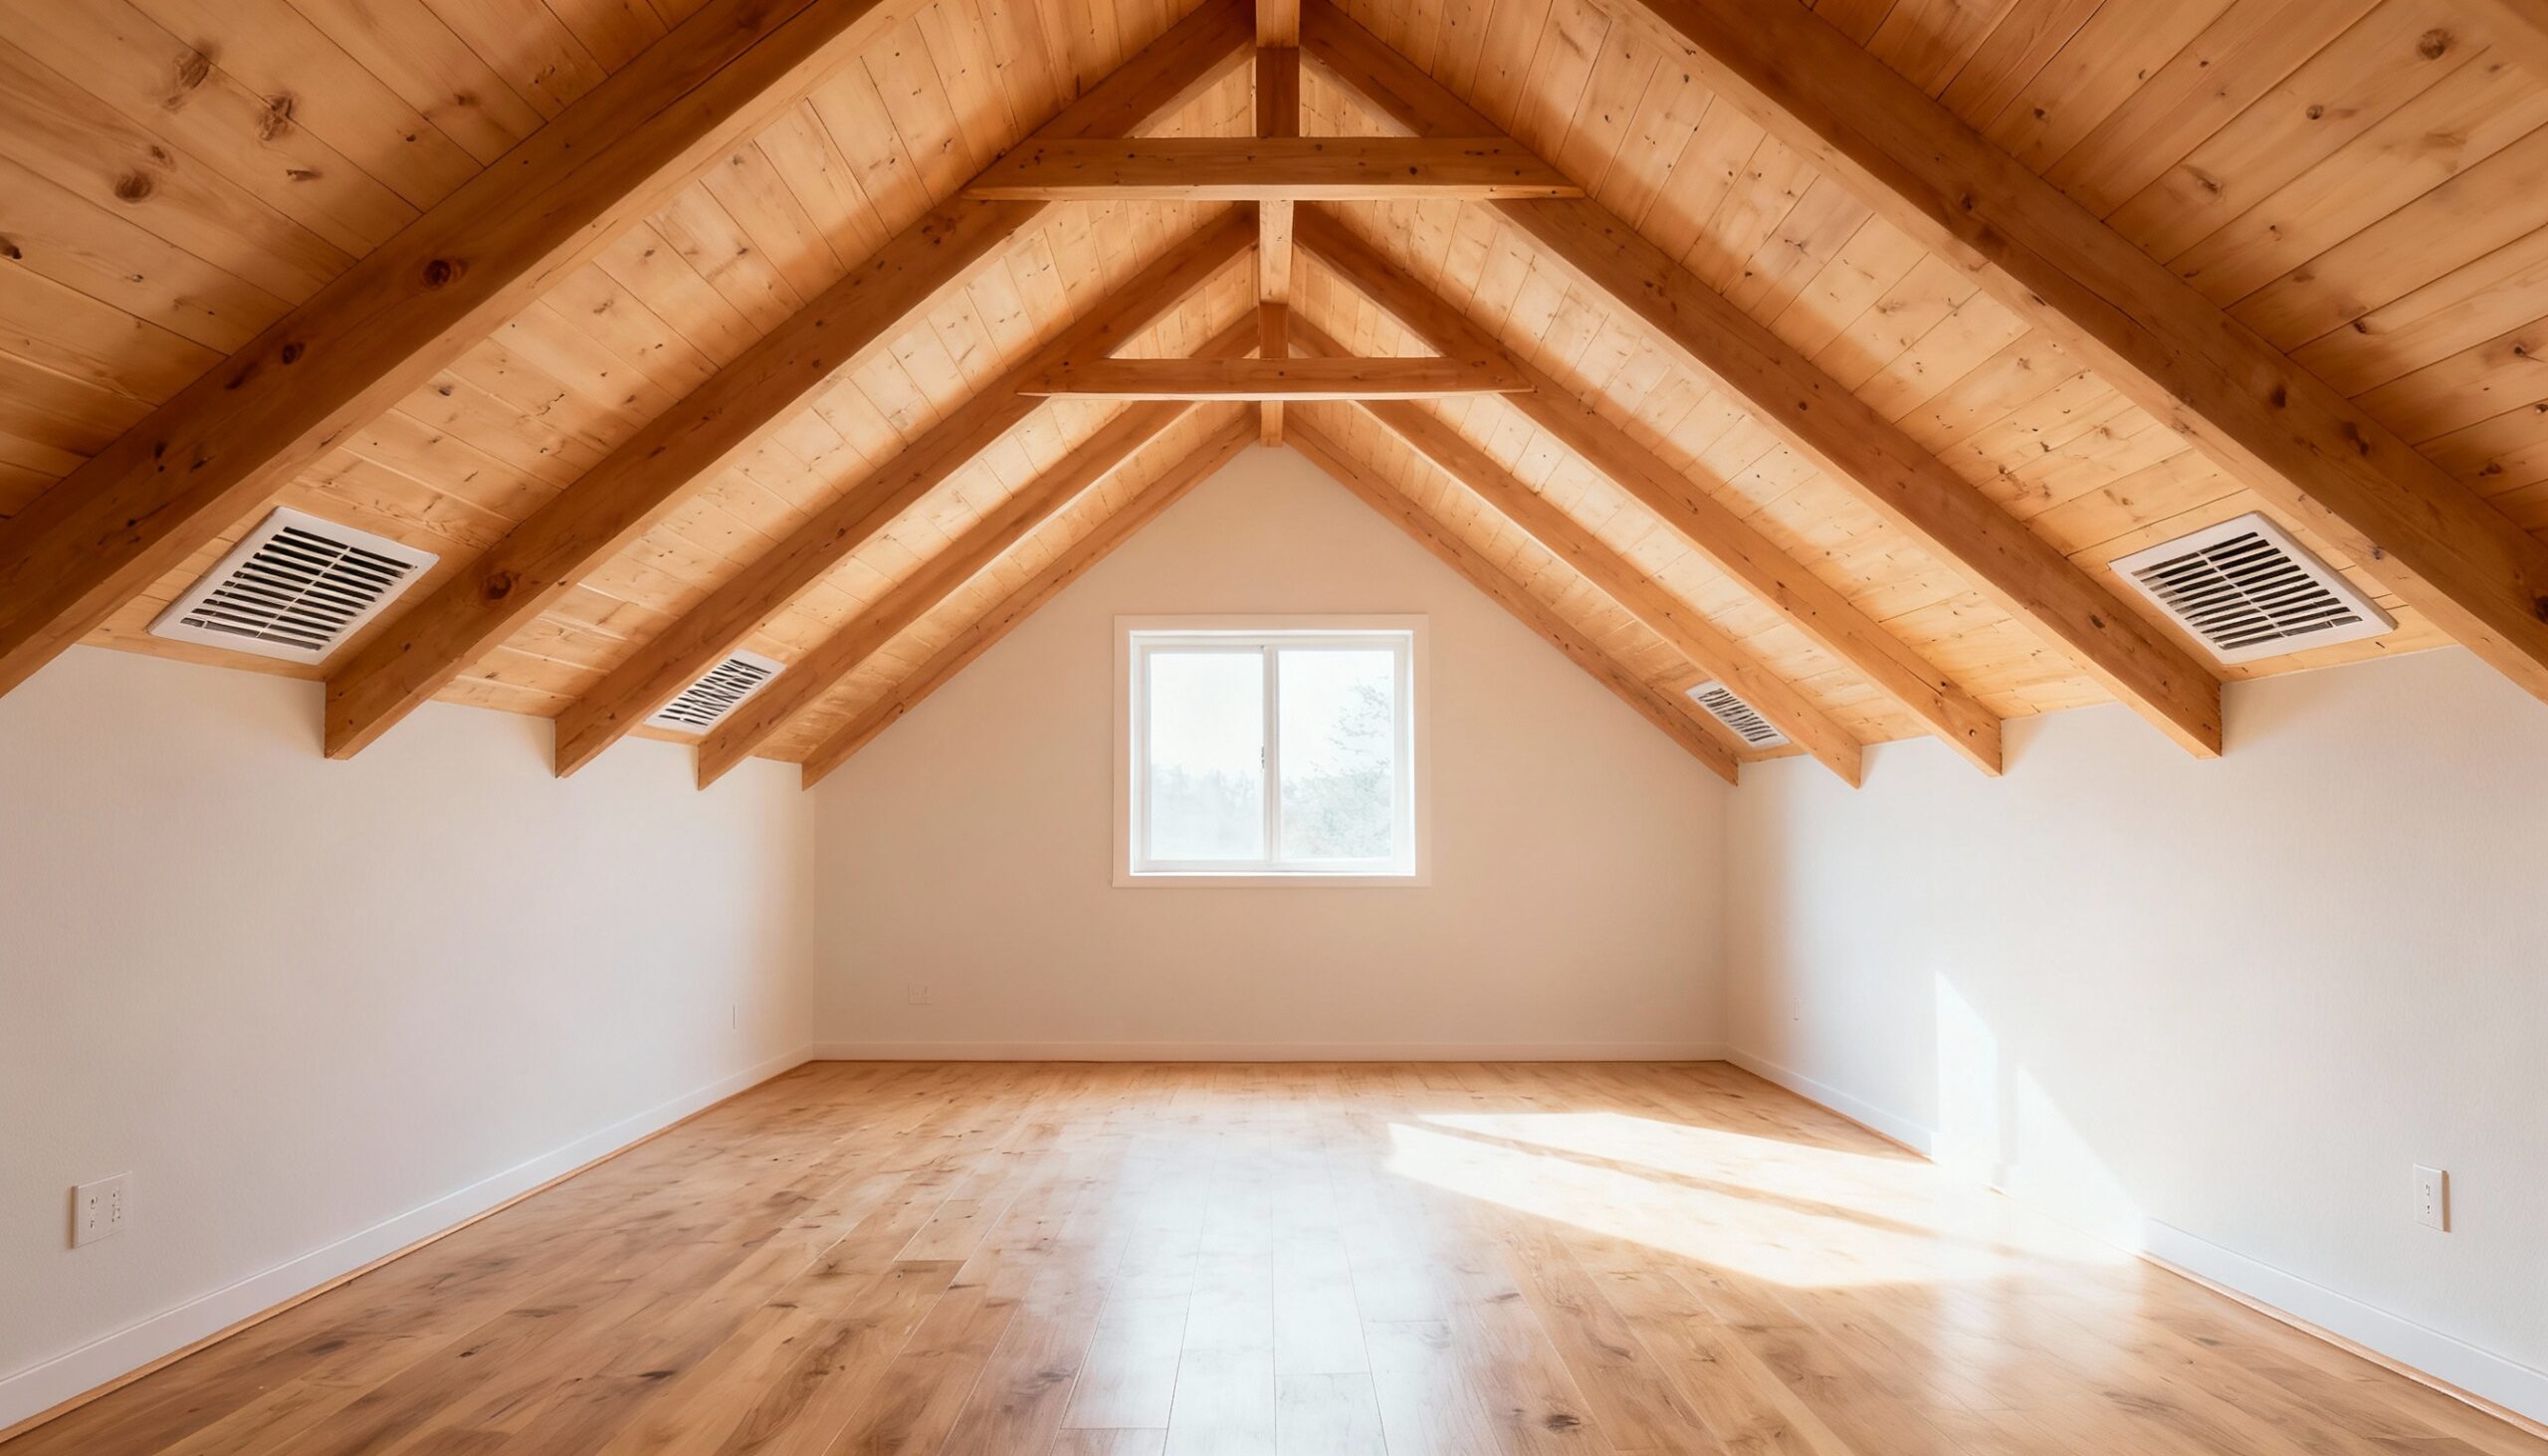
- Clear existing vents. Remove any debris, insulation, or blockages from soffit vents (under eaves) and ridge vents (roof peak). Use your hands or a small brush to clear openings.
- Install insulation baffles. These foam or cardboard channels keep insulation from blocking soffit vents while maintaining airflow. Staple them between rafters at the eaves.
- Verify the 1:300 rule. You need 1 square foot of ventilation for every 300 square feet of attic space (1:150 if you have vapor barriers). Measure your attic and check if you have enough vents.
- Balance intake and exhaust. Soffit vents (low) should equal ridge or gable vents (high) for proper air circulation. Air enters low, exits high, carrying moisture out.
- Clean vent screens. Remove dust and debris from vent screens that can restrict airflow.
💡 Pro Tip: The best attic ventilation system for attic mold prevention combines continuous soffit vents with a ridge vent running the length of your roof peak. This creates consistent airflow across the entire attic.
✅ Success looks like: Clear airflow paths from soffit to ridge, no blocked vents, and noticeably improved air movement when you’re in the attic.

Step 3: Control Attic Moisture Control Sources
Why this matters: Even perfect ventilation can’t overcome major moisture sources. Attic moisture control means eliminating ways that humid air enters your attic space in the first place.
What to do:
- Seal air leaks from below. Use caulk or expanding foam to seal around pipes, wires, light fixtures, and the attic hatch. These penetrations let warm, humid air from your living space rise into the attic.
- Insulate the attic hatch. Add weather stripping around the hatch perimeter and attach rigid foam insulation to the back of the hatch cover.
- Redirect exhaust vents. If bathroom fans or dryer vents terminate in the attic, this is a major moisture problem. These MUST vent outside. You may need professional help to reroute them.
- Check for roof leaks. Look for water stains, soft spots, or daylight coming through the roof. Small leaks become big mold problems quickly. If you discover active leaks, professional water cleanup services can help address the damage before mold develops.
- Install a vapor barrier (if needed). In cold climates, a vapor barrier on the warm side of insulation prevents moisture from reaching cold surfaces. This is typically a professional installation.
⚠️ Warning: Never seal your attic completely. You’re sealing leaks from living spaces, not eliminating attic ventilation. The attic still needs to breathe to the outside.
✅ Success looks like: No visible air leaks, all exhaust vents properly terminated outside, and a noticeable reduction in humidity readings after improvements.
Step 4: Monitor and Maintain Regularly
Why this matters: Attic mold prevention isn’t a one-time task. Regular monitoring catches problems early, before minor issues become expensive remediation projects.
What to do:
- Establish a quarterly inspection schedule. Check your attic every three months, plus after major storms or temperature extremes.
- Track humidity levels. Keep a log of readings. Seasonal changes are normal, but trends toward higher humidity indicate problems.
- Watch for condensation. During winter, check for frost or ice on the underside of the roof decking. This indicates excessive moisture.
- Inspect after weather events. Heavy rain, ice dams, or high winds can compromise your roof and create new leak sources.
- Clear debris seasonally. Remove leaves and debris from gutters and around vents to maintain proper drainage and airflow.
- Document changes. Take photos during each inspection to track conditions over time.
📅 Seasonal Checklist:
| Season | Key Tasks | What to Check | Warning Signs |
|---|---|---|---|
| Spring | Post-winter inspection, clean vents | Ice dam damage, condensation marks | Water stains, soft insulation |
| Summer | Verify ventilation effectiveness | Excessive heat, humidity levels | Humidity above 60%, musty smell |
| Fall | Clear gutters, check seals | Leaf buildup, vent blockages | Blocked vents, air leaks |
| Winter | Monitor for ice dams, frost | Condensation, frost buildup | Ice on roof decking, icicles |
✅ Success looks like: A consistent inspection routine, documented conditions, and early detection of any moisture or ventilation problems.
Understanding Roof Mold vs. Attic Mold
Roof mold specifically refers to mold growth on your roof’s exterior surface (shingles) or the underside of roof decking inside your attic. Understanding these differences is important for effective attic mold prevention. While exterior roof mold (those black streaks) is primarily cosmetic, mold on the underside of decking indicates serious moisture problems that require immediate attention.
Key differences:
- Exterior roof mold: Usually algae or lichen, doesn’t threaten structure, mainly aesthetic
- Interior roof decking mold: Indicates moisture problems, threatens structural integrity, requires professional assessment
- Attic mold (general): Can appear on any surface, insulation, stored items, or wood framing
💡 Prevention tip: Good attic ventilation prevents interior roof mold by keeping roof decking dry—a key strategy in comprehensive attic mold prevention. Exterior algae growth is prevented by roof material choice and sunlight exposure.
Troubleshooting Common Attic Mold Prevention Problems
Problem: High humidity even with good ventilation
Solution: Check for hidden moisture sources like bathroom vents terminating in attic, or condensation from AC ducts. You may need a professional to assess and redirect these properly for effective attic mold prevention.
Problem: Frost on roof decking in winter
Solution: This indicates warm, humid air escaping from below. Focus on sealing air leaks around the attic hatch, light fixtures, and penetrations. Add insulation if levels are below R-38.
Problem: Mold only in certain areas
Solution: Look for localized issues like roof leaks, concentrated air leaks below, or blocked ventilation in that specific area. The problem is likely structural, not whole-attic.
Problem: Musty smell but no visible mold
Solution: Mold may be hidden under insulation or in hard-to-see areas. Use your nose to track the strongest smell, then carefully investigate. Consider professional inspection with moisture meters.
Problem: Condensation on windows below but not in attic
Solution: This actually suggests your attic sealing is working—humidity isn’t escaping upward. Focus on whole-house humidity control with proper ventilation and dehumidification in living spaces.
🔴 When to Call a Professional
Stop and call a restoration professional if:
- You discover mold growth larger than 10 square feet (roughly 3×3 feet)
- Mold is growing on roof decking or structural members
- You find active water leaks or extensive water damage
- Your attic has a strong musty or moldy smell
- Insulation is extensively wet or compressed
- You need to reroute bathroom fans, kitchen vents, or dryer exhausts
- Your ventilation system needs substantial upgrades (adding vents to existing roof)
- You suspect your HVAC system is contributing to moisture problems
- Ice dams repeatedly form on your roof
- You’re unable to safely access or navigate your attic
Professional restoration experts have specialized equipment to measure moisture levels accurately, identify hidden problems, and safely remediate existing mold according to industry standards. Professional mold removal services can also assess whether your ventilation system meets building codes and recommend structural improvements.
Preventive Maintenance Tips
Beyond the basics, these preventive measures help maintain optimal attic conditions year-round and strengthen your overall attic mold prevention strategy:
- Use bathroom and kitchen exhaust fans. Run them during and for 15 minutes after showering or cooking to remove moisture at the source before it migrates upward. This simple habit is crucial for attic mold prevention.
- Maintain proper indoor humidity. Keep your home between 30-50% humidity. Levels above 60% in living spaces mean excess moisture will find its way to your attic.
- Trim overhanging branches. Trees touching your roof block sunlight (which helps keep attics dry), drop debris on your roof, and hold moisture against shingles.
- Keep gutters clean. Clogged gutters cause water to back up under shingles and into attic spaces. Clean them twice yearly at minimum.
- Address ice dams promptly. Ice dams force water under shingles. Improve attic insulation and ventilation to prevent them, and remove them carefully if they form. For emergency roof protection, consider professional board-up and tarping services.
- Never store damp items in the attic. Only store completely dry items in sealed plastic containers. Even slightly damp cardboard becomes a mold magnet.
- Insulate properly. Adequate insulation (R-38 to R-60 depending on climate) prevents warm air from reaching cold roof surfaces where condensation forms. Proper insulation is a critical component of year-round attic mold prevention.
Frequently Asked Questions
How often should I check my attic for mold prevention?
Inspect your attic quarterly (every three months) and after major weather events. Spring and fall are critical times to check for winter damage and prepare for temperature extremes. A 15-minute inspection four times per year catches problems early before they become expensive mold remediation projects.
Can I remove small amounts of attic mold myself?
Small areas (less than 10 square feet) on non-structural surfaces can be cleaned by homeowners using proper safety equipment, including an N95 mask and gloves. However, mold on roof decking, rafters, or extensive growth requires professional remediation. Never disturb large mold colonies, as this releases spores throughout your home. Contact restoration professionals for assessment of any concerning mold growth.
What humidity level prevents mold in attics?
Keep attic humidity between 30-50% year-round to prevent mold growth. Levels consistently above 60% create ideal conditions for mold. Use a hygrometer to monitor levels, especially during humid summer months and in winter when warm indoor air can cause condensation on cold attic surfaces. Maintaining proper humidity is a cornerstone of effective attic mold prevention.
Is attic ventilation more important in summer or winter?
Attic ventilation is critical year-round but for different reasons. Summer ventilation removes extreme heat and moisture from humidity. Winter ventilation prevents warm indoor air from condensing on cold roof surfaces and creating frost or ice. Both scenarios lead to mold growth, so proper ventilation is a four-season requirement for successful attic mold prevention.
What’s the biggest mistake homeowners make with attic moisture control?
The most common mistake is allowing bathroom fans, dryer vents, or kitchen exhausts to terminate in the attic instead of venting outside. This pumps gallons of moisture directly into your attic daily, undermining all attic mold prevention efforts. The second biggest mistake is blocking soffit vents with insulation, which prevents the airflow necessary to remove moisture. Both issues create perfect mold-growing conditions.
Take Control of Your Attic Health Today
Effective attic mold prevention protects your home’s structure, your family’s health, and your investment. The steps outlined in this guide—proper inspection, improved ventilation, moisture control, and regular monitoring—create an environment where mold simply cannot thrive.
Start with a thorough inspection this weekend. Armed with a flashlight, hygrometer, and this guide, you’ll quickly identify any issues. Most improvements take just a few hours and use basic tools you already own. The small investment of time now prevents thousands in remediation costs later.
Remember, while many attic mold prevention tasks are DIY-friendly, don’t hesitate to call professionals when you encounter active mold growth, structural concerns, or complex ventilation issues. Your safety and your home’s integrity are worth expert assessment.

