What You’ll Need
Tools:
- 🔧 Moisture meter (digital hygrometer for accurate readings)
- 🔧 Flashlight or headlamp (for crawl space inspection)
- 🔧 Utility knife
- 🔧 Tape measure
- 🔧 Heavy-duty stapler (for vapor barrier installation)
- 🔧 Caulking gun
- 🔧 Work gloves and knee pads
Materials:
- 📦 Vapor barrier (6-mil or thicker polyethylene sheeting) – Available at home improvement stores
- 📦 Waterproof tape or mastic – For sealing seams
- 📦 Foam board insulation (if insulating foundation walls)
- 📦 Dehumidifier (sized appropriately for your crawl space)
- 📦 Drainage materials (gravel, French drain components if needed)
Time Required:
⏱️ Initial Inspection: 30-60 minutes
⏱️ Basic Vapor Barrier Installation: 4-6 hours
⏱️ Dehumidifier Setup: 1-2 hours
⏱️ Professional Encapsulation: 1-3 days
⚠️ Safety First
Before you begin:
- ⚠️ Wear protective clothing, gloves, and a dust mask—crawl spaces can contain mold, fiberglass, and other irritants
- ⚠️ Ensure adequate ventilation if working in the space
- ⚠️ Check for pest infestations before entering
- ⚠️ Never work alone—have someone know you’re in the crawl space
- ⚠️ Watch for electrical wiring, plumbing, and HVAC components
- ⚠️ If you see extensive mold, structural damage, or standing water, call a professional immediately
Understanding Crawl Space Moisture Problems
Before diving into solutions, it’s important to understand where crawl space moisture comes from. Foundation moisture typically enters through three main sources: ground moisture evaporation, exterior water infiltration, and condensation from humid air. Identifying your specific moisture source will help you choose the most effective solution.
Common signs of crawl space moisture include:
- ✓ Musty odors that permeate your home
- ✓ Visible mold or mildew growth on floor joists
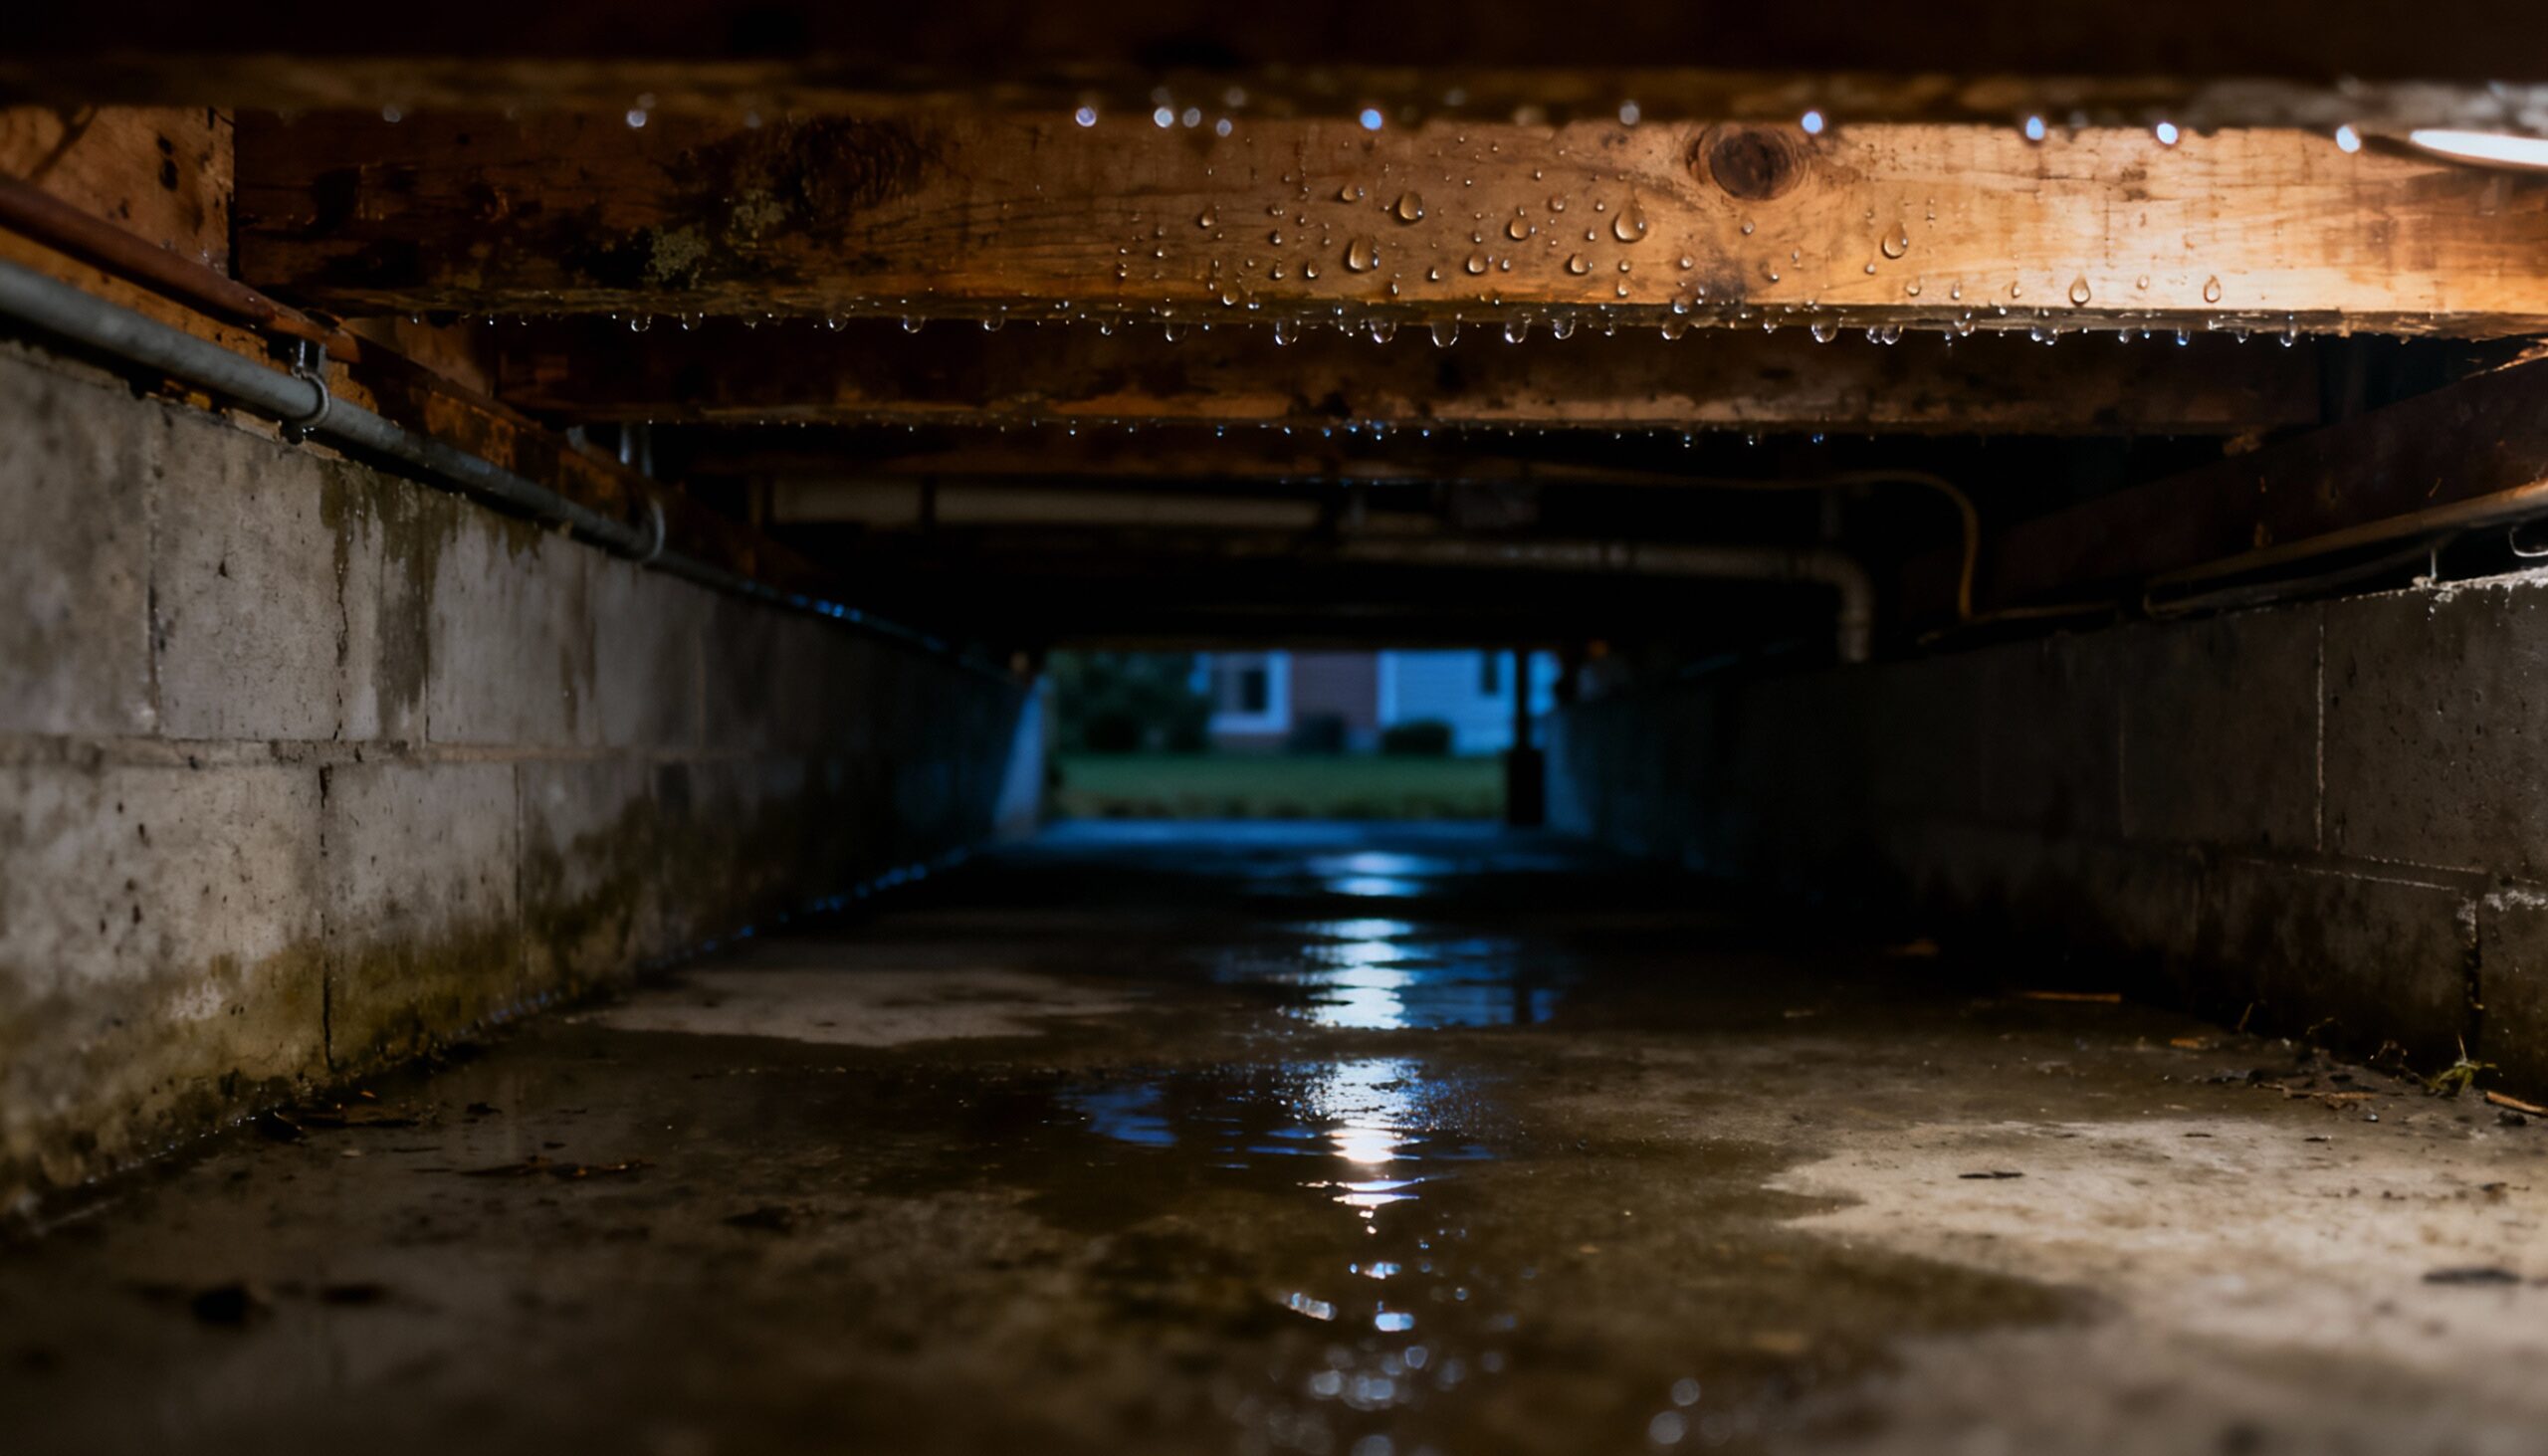
- ✓ Condensation on pipes or ductwork
- ✓ Buckled or warped wood flooring above
- ✓ Increased pest activity (termites, carpenter ants)
- ✓ High humidity readings (above 60%)
Step-by-Step Moisture Control Techniques
Step 1: Conduct a Thorough Inspection
1. Enter your crawl space safely and perform a complete visual inspection. Look for standing water, damp soil, condensation on surfaces, and signs of previous water damage. Use your moisture meter to check humidity levels—readings above 60% indicate a moisture problem that needs addressing.
Why this matters: Understanding the extent and source of your moisture problem determines which solutions will be most effective. Different moisture sources require different approaches.
What success looks like: You have a clear picture of moisture sources, problem areas, and current humidity levels documented for comparison after implementing solutions.
Step 2: Improve Exterior Drainage
2. Walk around your home’s perimeter and check that gutters are clean and downspouts direct water at least 6 feet away from your foundation. The ground should slope away from your home at a minimum 6-inch drop over 10 feet. If water pools near your foundation, regrade the soil or install extensions on downspouts.
Why this matters: Most crawl space moisture problems start with poor exterior drainage. Preventing water from reaching your foundation is the first line of defense against foundation moisture.
What success looks like: After rainfall, water flows away from your home rather than pooling near the foundation. Your gutters channel water effectively away from the structure.
Step 3: Address Crawl Space Ventilation
3. Evaluate your current crawl space ventilation system. Traditional vented crawl spaces have foundation vents that allow outside air to circulate. However, modern building science often recommends a conditioned, sealed crawl space approach. If you have a vented crawl space in a humid climate, you may actually be introducing more moisture rather than removing it.
Vented Approach: Ensure vents are unobstructed and functioning properly (one square foot of ventilation per 150 square feet of crawl space). This works best in dry climates.
Sealed Approach: Close foundation vents and treat the crawl space as conditioned space. This prevents humid outdoor air from entering and is more effective in most climates.
Why this matters: The right crawl space ventilation strategy depends on your climate. In humid regions, outdoor air often contains more moisture than the crawl space, making traditional ventilation counterproductive.
💡 Pro Tip: Most moisture experts now recommend sealed crawl spaces with controlled humidity rather than passive ventilation, especially in humid climates.
Step 4: Install a Vapor Barrier (DIY-Friendly)
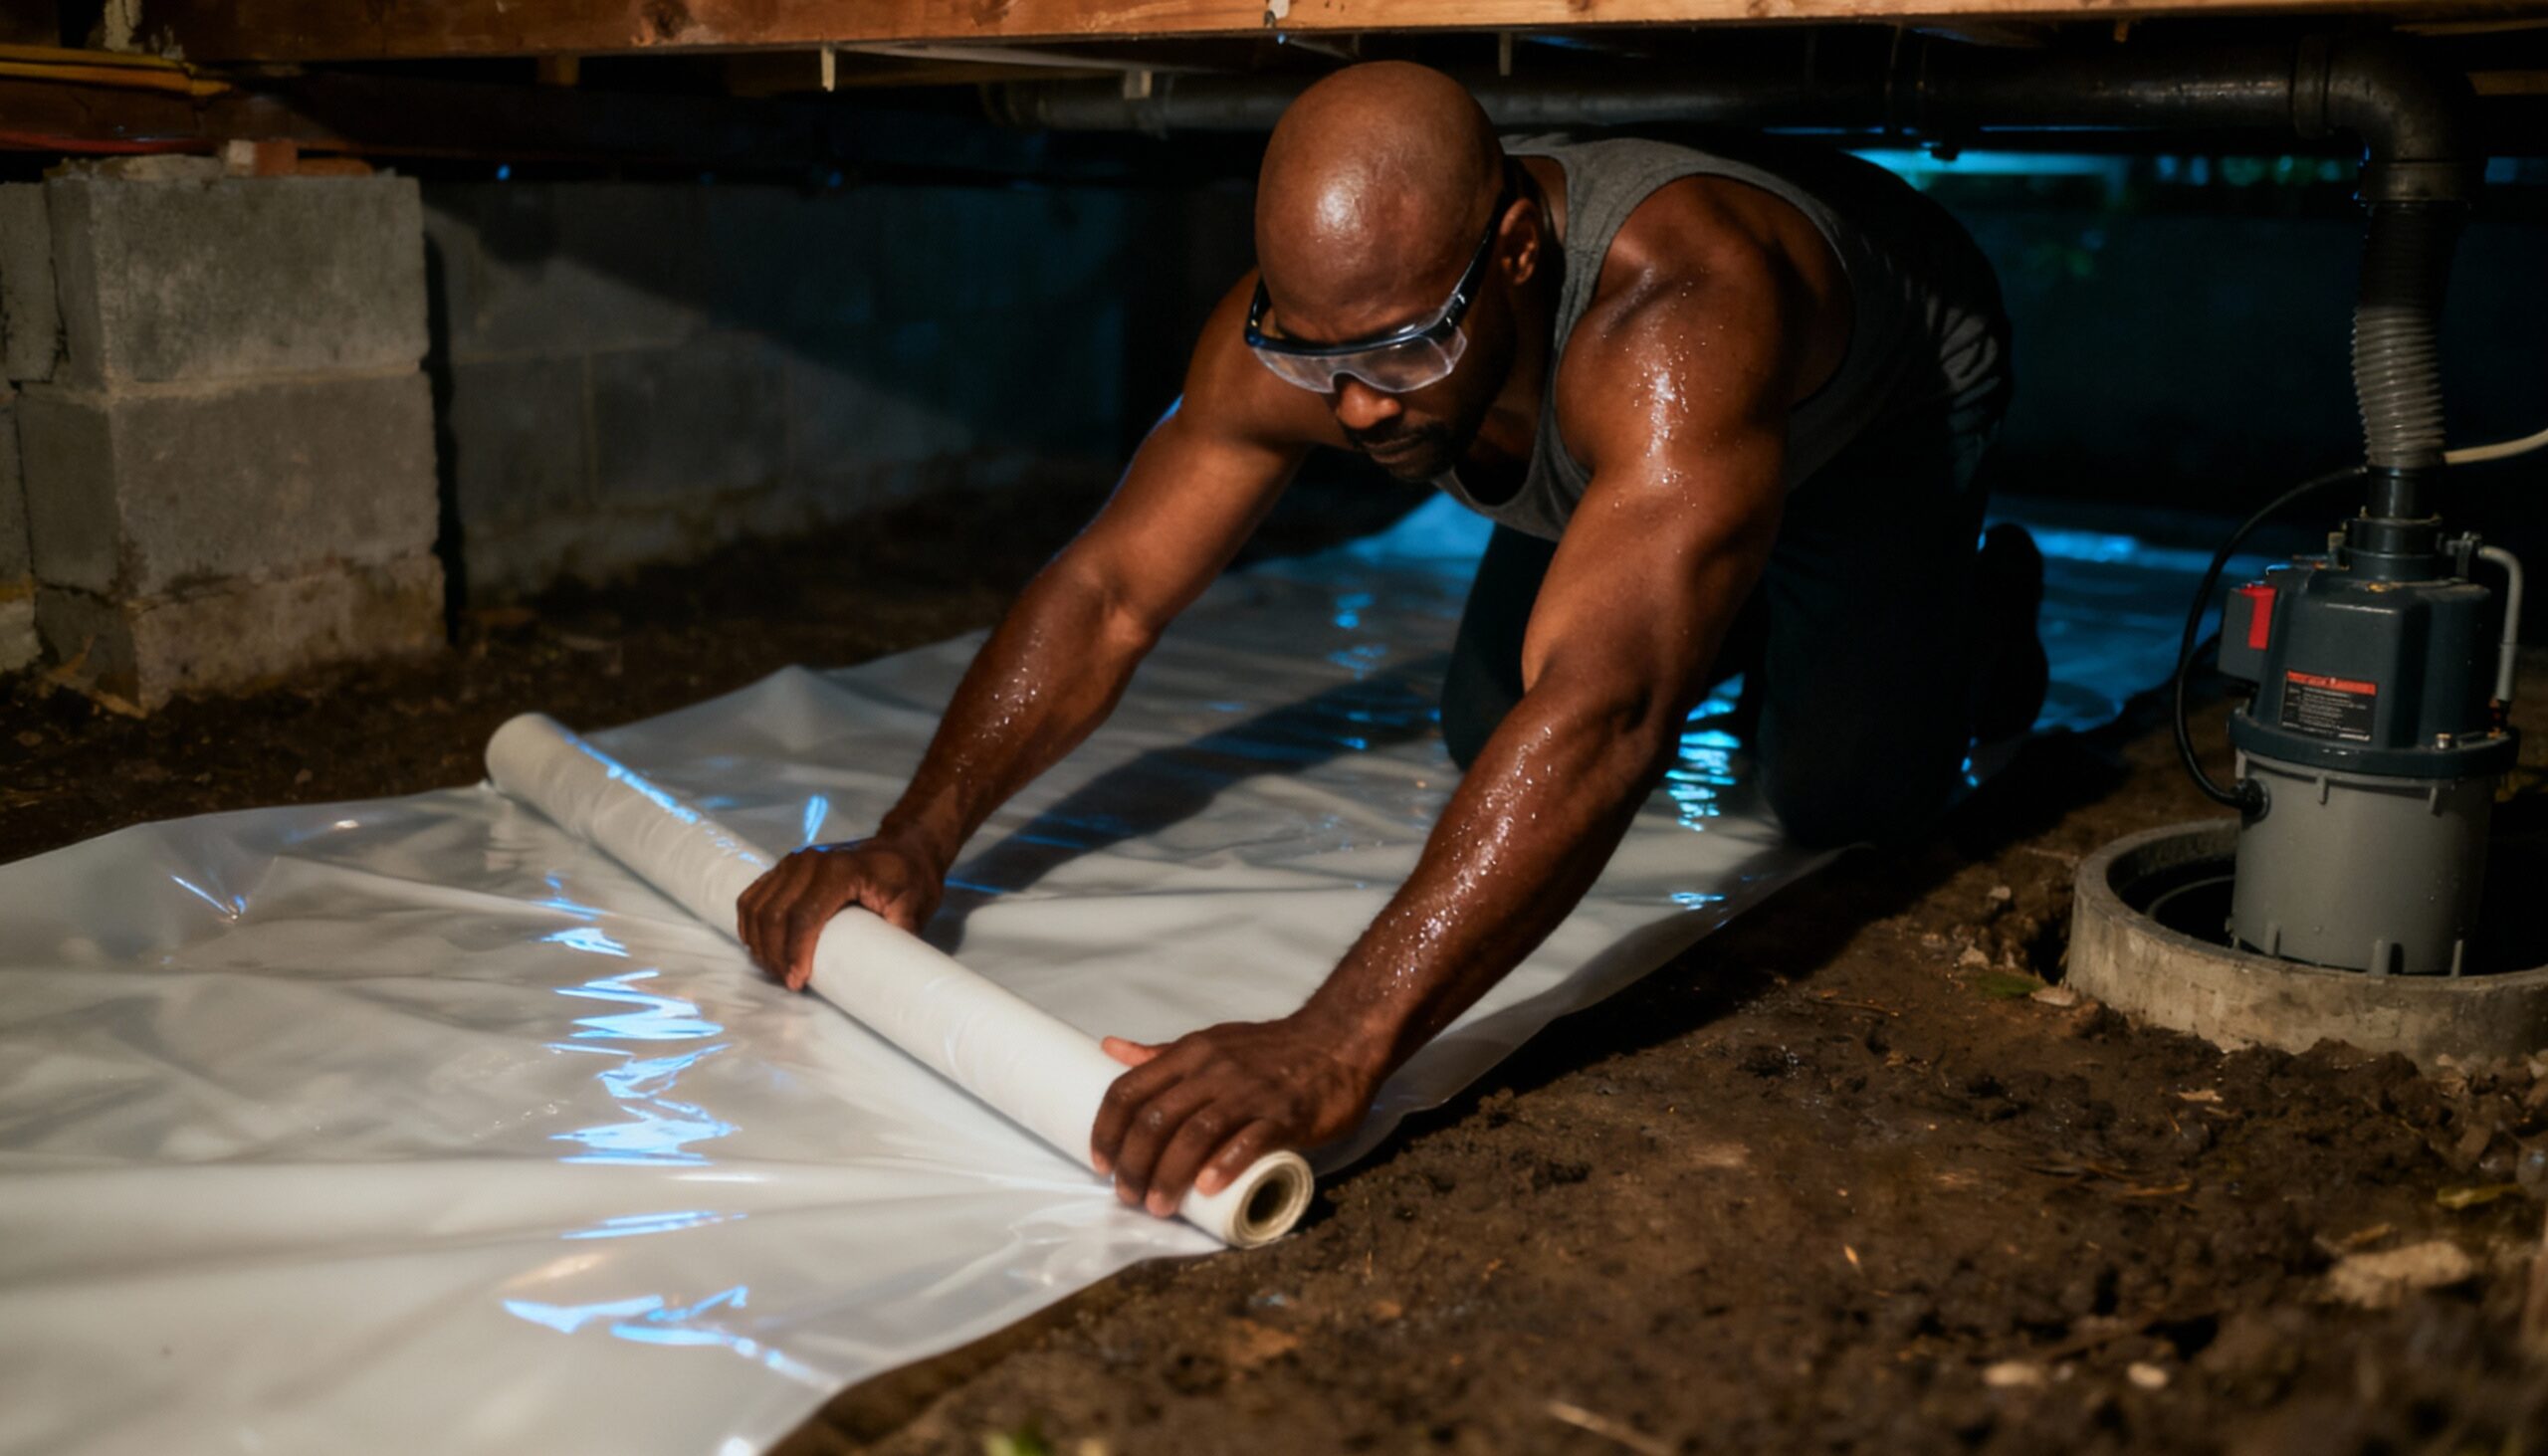
4. Begin installing a vapor barrier by cleaning the crawl space floor of debris and sharp objects. Roll out 6-mil (or thicker) polyethylene sheeting across the entire floor, overlapping seams by at least 12 inches. Extend the barrier 6-8 inches up the foundation walls and secure with waterproof tape or mastic.
5. Seal all seams with waterproof tape, ensuring no gaps remain. Pay special attention to areas around piers and supports. The goal is to create a continuous moisture barrier between the ground and your living space.
Why this matters: A properly installed vapor barrier blocks ground moisture from evaporating into your crawl space, eliminating one of the primary sources of foundation moisture.
What success looks like: The entire crawl space floor is covered with sealed sheeting, with no tears, gaps, or unsealed seams visible. The barrier extends up walls and is securely attached.
⚠️ Caution: If you have standing water or active leaks, address these issues before installing a vapor barrier. Trapping water beneath the barrier can lead to worse problems.

Step 5: Install a Crawl Space Dehumidifier
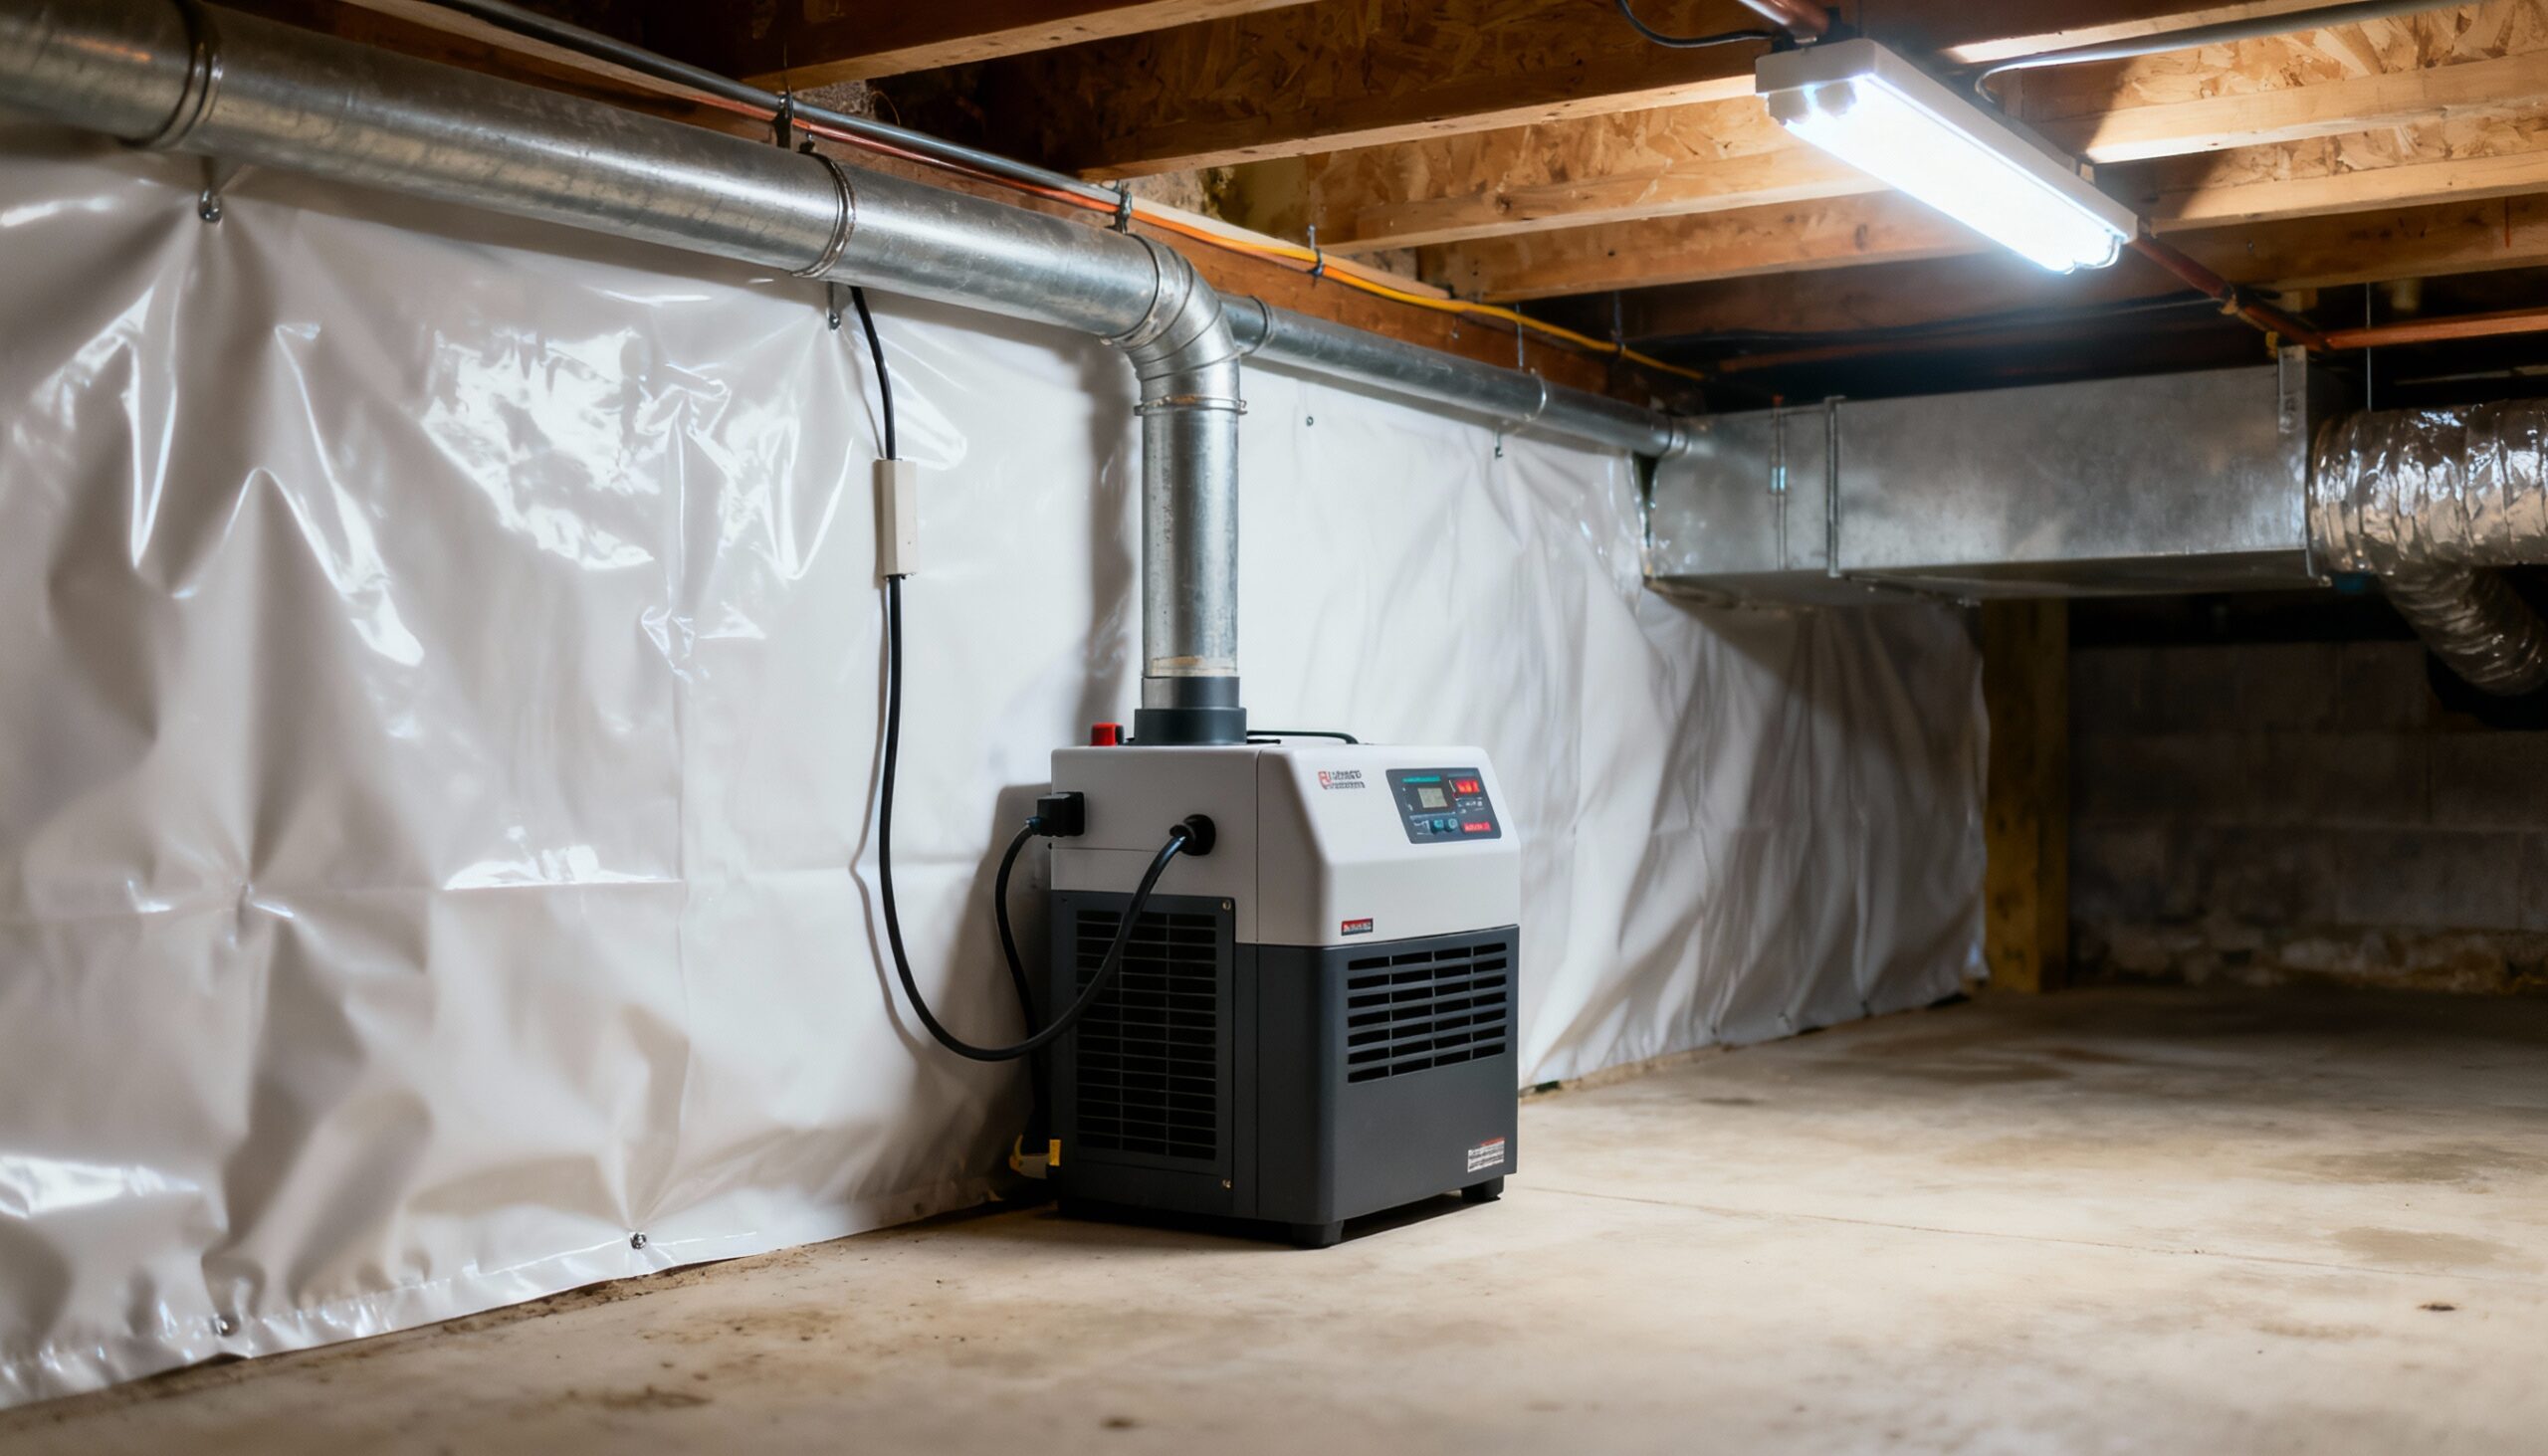
6. Choose a dehumidifier specifically designed for crawl spaces (not a standard household unit). These are built to handle the cooler temperatures and higher moisture loads found in crawl spaces. Size the unit appropriately—generally, you need about 1 pint of capacity per 50 square feet of space.
7. Position the dehumidifier in a central location on concrete blocks or a platform to keep it off the ground. Connect the drainage hose to a sump pump or gravity drain so you don’t have to manually empty the reservoir. Set the unit to maintain humidity between 45-55%.
Why this matters: Even with vapor barriers and proper drainage, some moisture will remain in your crawl space. A dehumidifier actively removes this moisture from the air, preventing condensation and mold growth.
What success looks like: Your humidity meter consistently shows readings between 45-55%, and you notice no musty odors or condensation in the crawl space.

Step 6: Insulate Foundation Walls (Optional but Recommended)
8. If you’re implementing a sealed crawl space approach, install rigid foam insulation on the interior foundation walls. Cut foam board to fit between the top of your vapor barrier and the rim joist, securing with construction adhesive rated for below-grade use.
Why this matters: Insulating foundation walls in a sealed crawl space reduces condensation by keeping wall temperatures above the dew point. This also improves your home’s overall energy efficiency.
What success looks like: Foundation walls are completely covered with properly fitted insulation, with no gaps or exposed areas. You notice reduced condensation and lower energy bills.
🔴 When to Call a Professional
Stop and call a restoration professional if:
- 🔴 You discover standing water or active flooding
- 🔴 Extensive mold growth covers more than 10 square feet
- 🔴 You notice structural damage (sagging joists, cracked foundation)
- 🔴 Your crawl space has significant pest infestations
- 🔴 You need complete crawl space encapsulation with sealed vents
- 🔴 Drainage problems require French drain or sump pump installation
- 🔴 You’re uncomfortable working in confined spaces
- 🔴 Humidity problems persist after implementing basic solutions
For emergency situations involving standing water or severe moisture damage, immediate professional intervention is essential to prevent structural damage and health hazards.
Understanding Crawl Space Encapsulation
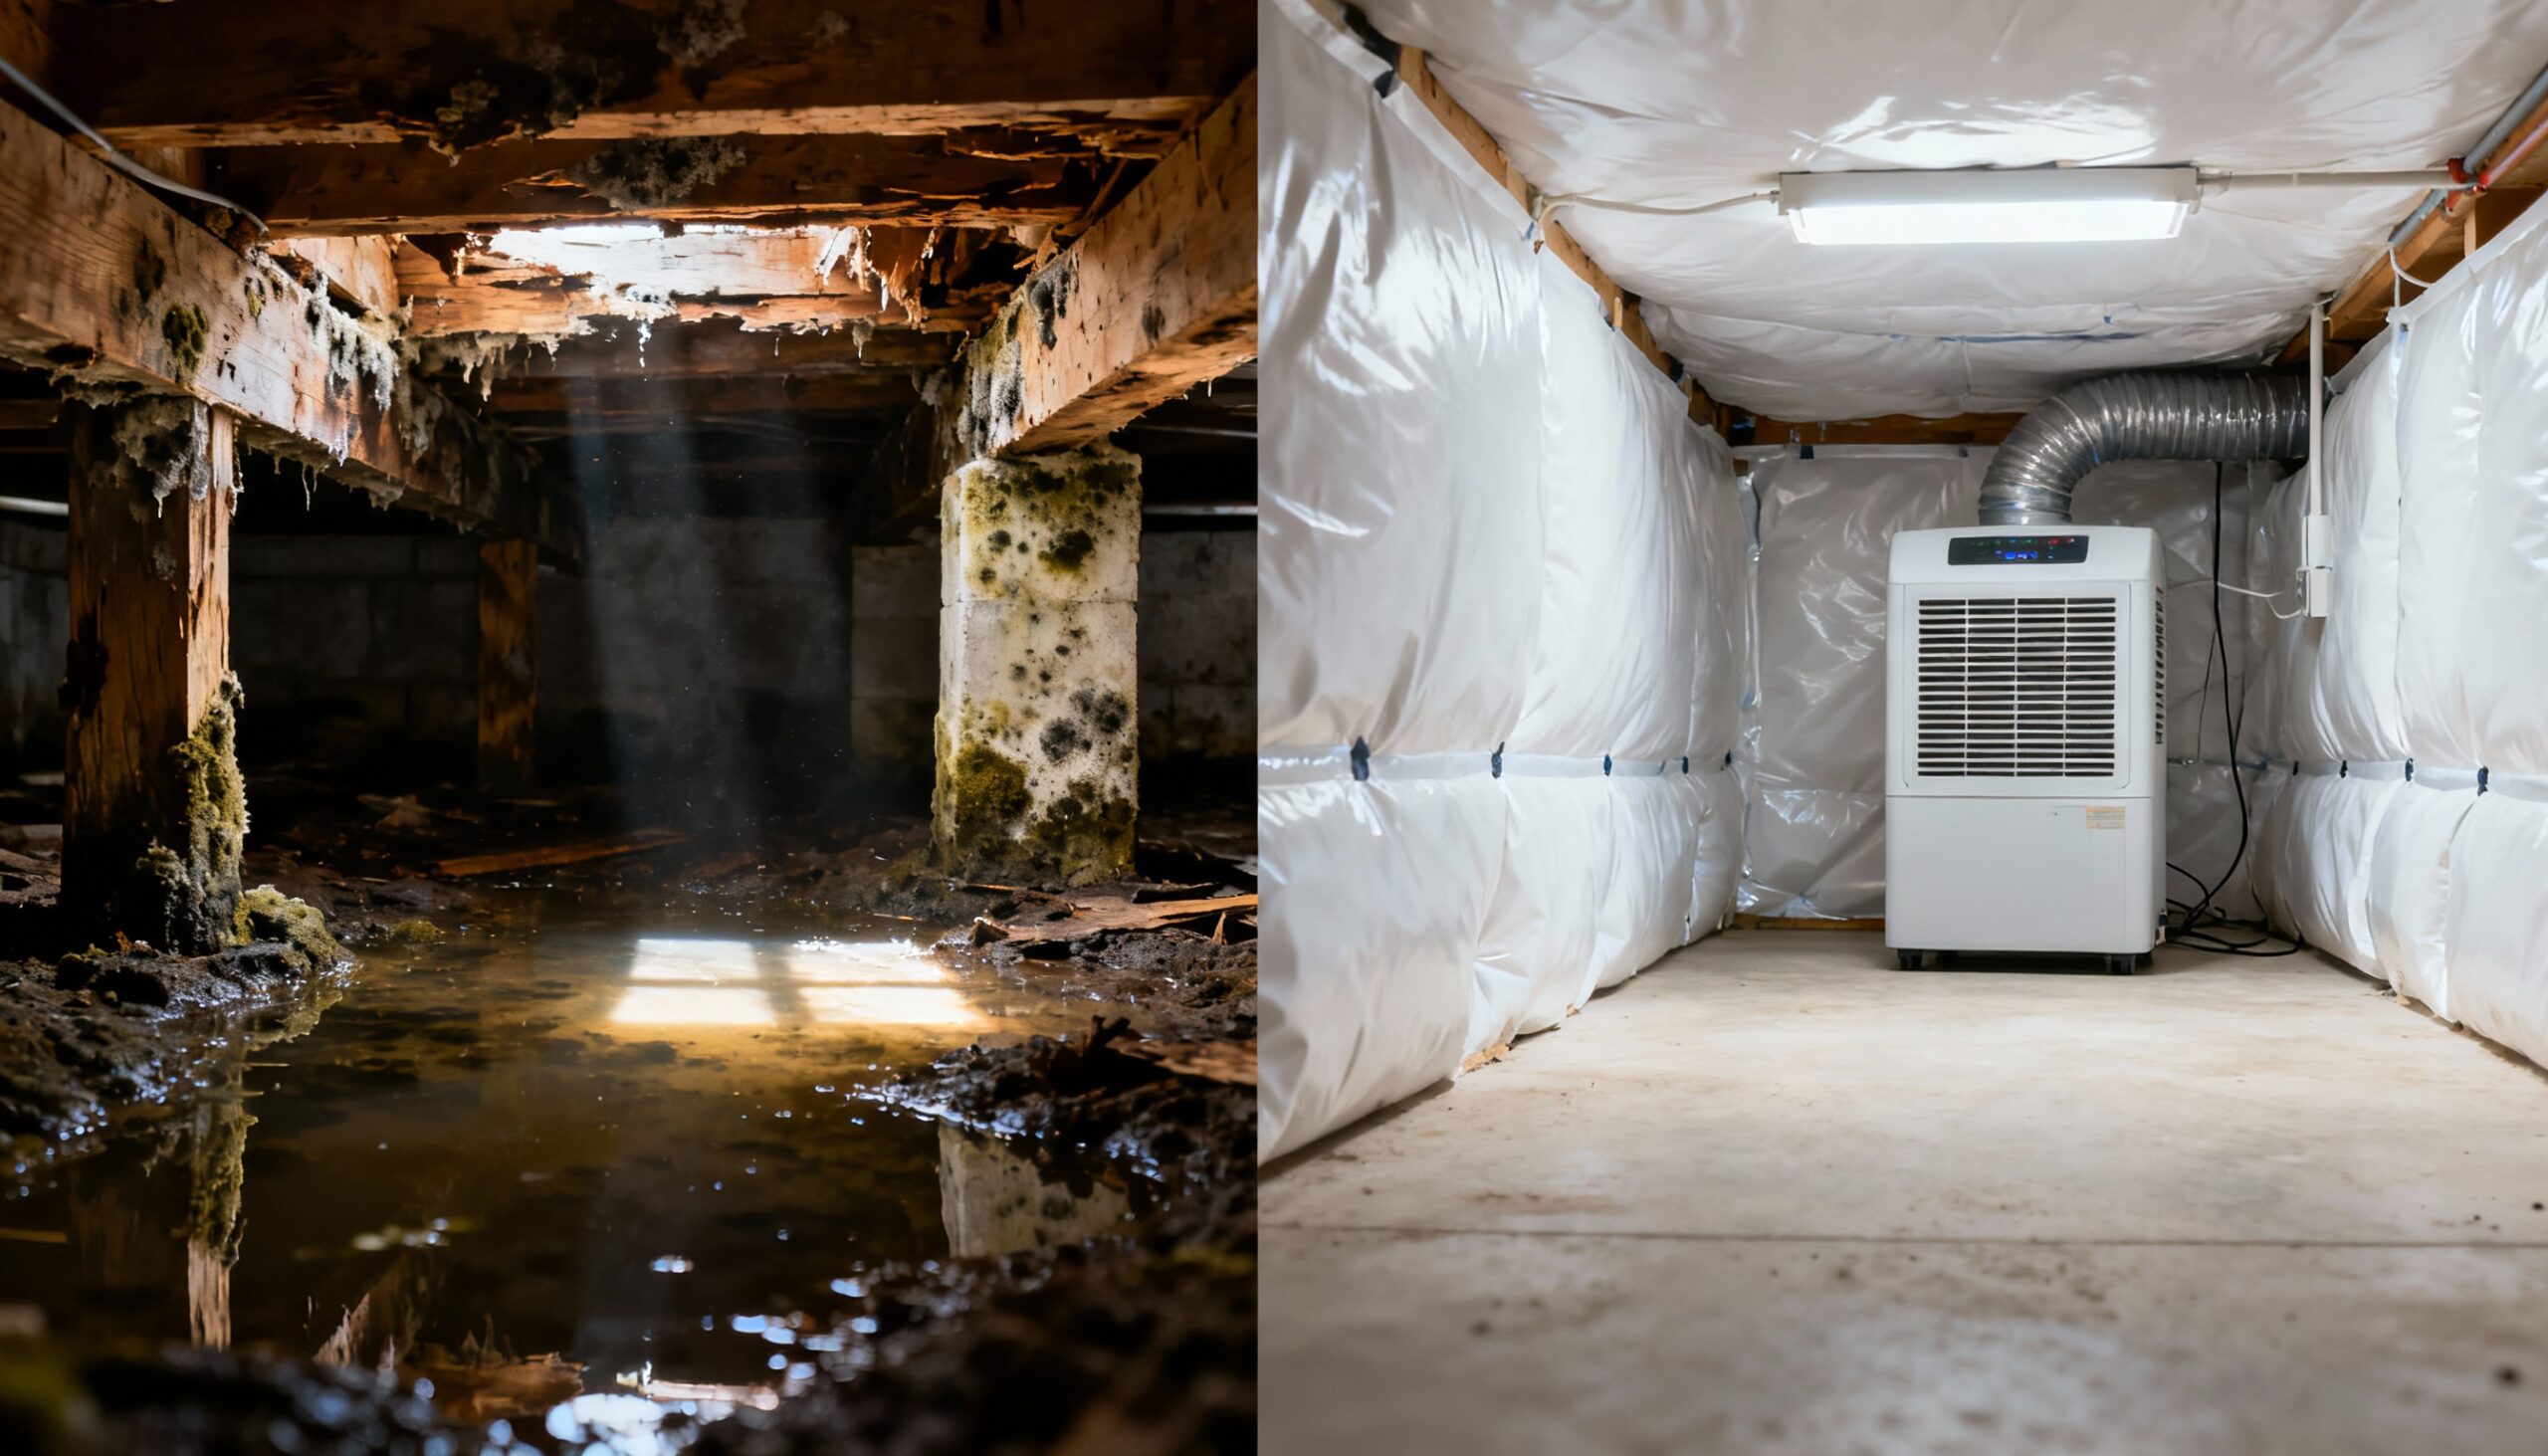
For homes with persistent moisture problems, crawl space encapsulation offers the most comprehensive solution. This professional service involves sealing the crawl space completely from the outside environment, installing heavy-duty vapor barriers on floors and walls, sealing all vents and openings, adding proper insulation, and installing commercial-grade dehumidification systems.
Encapsulation transforms your crawl space into a controlled environment that’s part of your home’s conditioned space. While this is typically a professional job due to the complexity and specialized materials required, it offers the best long-term protection against foundation moisture.
| Moisture Control Method | DIY-Friendly? | Effectiveness | Best For |
|---|---|---|---|
| Exterior Drainage | ✅ Yes | High (Prevention) | All homes as first step |
| Vapor Barrier | ✅ Yes | High (Ground moisture) | Moderate moisture issues |
| Dehumidifier | ✅ Yes | Medium-High (Air moisture) | Sealed crawl spaces |
| Ventilation Adjustment | ⚠️ Varies | Medium (Climate-dependent) | Dry climates only |
| Full Encapsulation | ❌ No | Very High (Comprehensive) | Severe or recurring issues |

Troubleshooting Common Issues
Problem: Humidity levels remain high after installing vapor barrier
Solution: Check for gaps or tears in the barrier. Ensure exterior drainage is working properly. You may need to add a dehumidifier or seal foundation vents.
Problem: Musty odors persist
Solution: Existing mold may need professional remediation. Clean affected surfaces with appropriate solutions and ensure humidity stays below 60% to prevent regrowth.
Problem: Condensation forms on pipes and ductwork
Solution: Insulate cold surfaces and reduce humidity levels. Consider insulating the entire crawl space as part of a sealed approach.
Problem: Water appears after heavy rain
Solution: This indicates drainage problems. Check gutters, downspouts, and grading. You may need professional water cleanup and installation of a French drain or sump pump system.
Problem: Vapor barrier bubbles or lifts
Solution: This suggests water is accumulating beneath the barrier. You have a drainage issue that must be resolved before the barrier can work effectively.
Preventive Maintenance Schedule
Keeping your crawl space dry requires ongoing attention. Create a maintenance routine to catch problems early:
Monthly:
- Check dehumidifier operation and empty reservoir if needed
- Monitor humidity levels with your meter
- Look for new signs of moisture or pest activity
Seasonally:
- Inspect vapor barrier for damage
- Clean gutters and check downspout extensions
- Verify proper drainage around foundation
- Check for new cracks or damage to foundation walls
Annually:
- Professional crawl space inspection
- Service dehumidifier (clean coils, check drainage)
- Evaluate effectiveness of your moisture control system
- Update your approach based on any new issues
Frequently Asked Questions
How do I know if my crawl space has a moisture problem?
Common signs include musty odors in your home, visible mold growth on floor joists, condensation on pipes or ductwork, and humidity readings above 60%. You might also notice wood rot, pest infestations, or deteriorating insulation. If you experience any of these symptoms, conduct a thorough inspection or call a professional for assessment.
Should I have a vented or sealed crawl space?
Modern building science generally recommends sealed, conditioned crawl spaces for most climates, especially humid regions. Traditional crawl space ventilation can actually introduce more moisture from humid outdoor air. A sealed approach with proper vapor barriers and controlled humidity typically provides better moisture control and energy efficiency. Consult with a local professional familiar with your climate for the best recommendation.
Can I install a vapor barrier myself or do I need professional help?
Basic vapor barrier installation is a manageable DIY project for homeowners comfortable working in confined spaces. However, it requires proper sealing techniques and careful attention to detail. If your crawl space has standing water, extensive mold, structural issues, or if you’re implementing a full encapsulation system, professional installation is strongly recommended for best results and safety.
What’s the difference between a vapor barrier and crawl space encapsulation?
A vapor barrier is a plastic sheeting placed over the crawl space floor to block ground moisture. Crawl space encapsulation is a comprehensive system that includes heavy-duty vapor barriers on floors and walls, sealed vents, insulation, dehumidification, and sometimes conditioning systems. Encapsulation turns your crawl space into a controlled environment and provides the most complete protection against foundation moisture.
How often should I check my crawl space for moisture problems?
Conduct monthly quick checks of humidity levels and dehumidifier operation. Perform seasonal inspections (every 3-4 months) to look for new moisture signs, vapor barrier damage, and drainage issues. Schedule annual professional inspections to catch problems early. After heavy storms or flooding events, inspect immediately. Early detection prevents minor moisture issues from becoming major structural problems.
Protect Your Home’s Foundation
Controlling crawl space moisture is essential for protecting your home’s structural integrity, indoor air quality, and long-term value. While some moisture control techniques are DIY-friendly, persistent or severe foundation moisture problems require professional assessment and solutions.
If you’re dealing with ongoing crawl space moisture issues, don’t wait until the problem worsens. Our professional restoration specialists have the expertise, equipment, and materials to implement comprehensive solutions that keep your foundation dry year-round.

