What You’ll Need
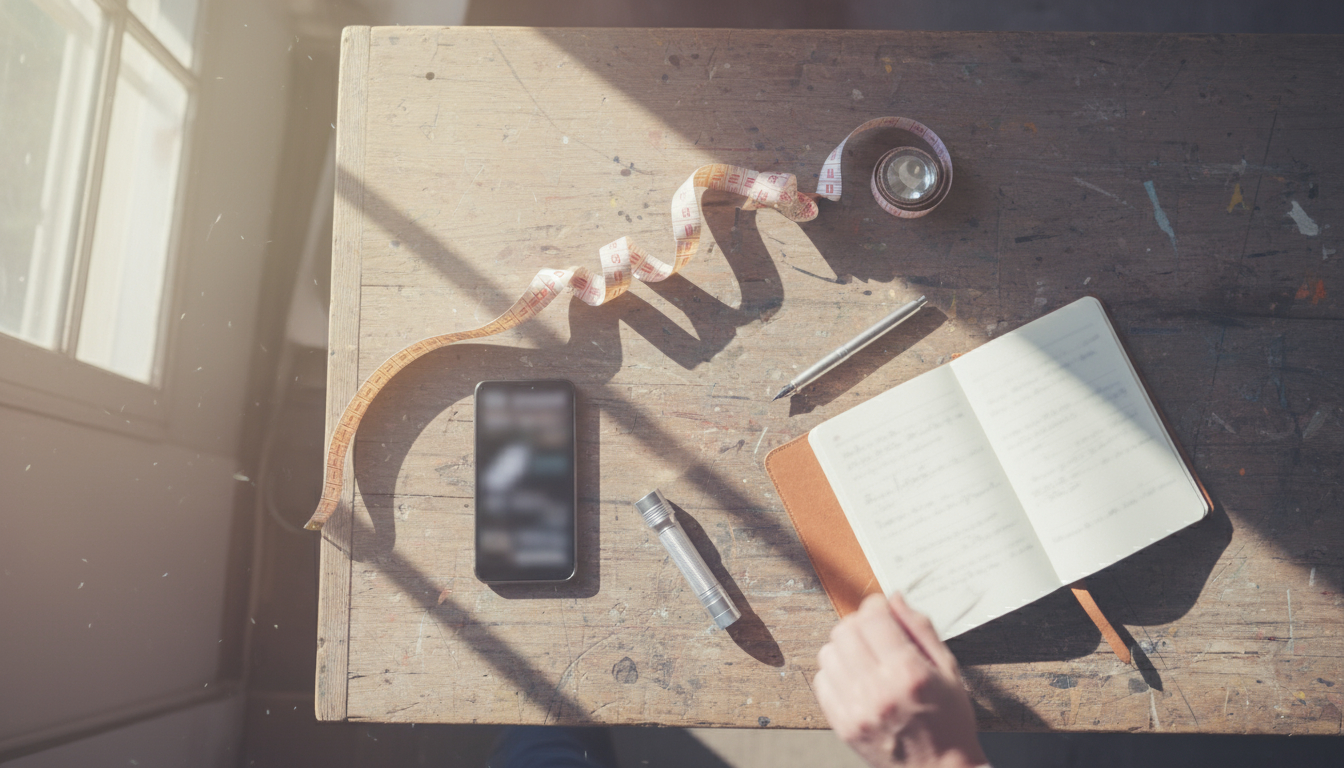
To document disaster damage effectively, you’ll need the right tools and materials to capture comprehensive insurance documentation. Here’s everything required for thorough damage photos and proper claims documentation:
Tools:
- Smartphone or camera (with good photo/video capability)
- Flashlight or portable lighting (for dark areas and detail shots)
- Measuring tape (for documenting size of damaged areas)
- Notebook and pen (for detailed notes)
- Laptop or tablet (optional, for organizing documentation)
Materials:
- Plastic bags or containers (for damaged item samples if needed)
- Labels or sticky notes (for marking damaged areas)
- Cloud storage or external hard drive (for backing up photos)
Time Required:
⏱️ Initial Assessment: 30 minutes
⏱️ Detailed Documentation: 1-2 hours
⏱️ Organization & Upload: 30 minutes

⚠️ Safety First
Before you begin documenting:
- Wait for official clearance to enter your property if evacuated
- Check for structural damage – look for sagging ceilings, cracked walls, or tilted structures
- Turn off utilities if there’s any sign of electrical or gas damage
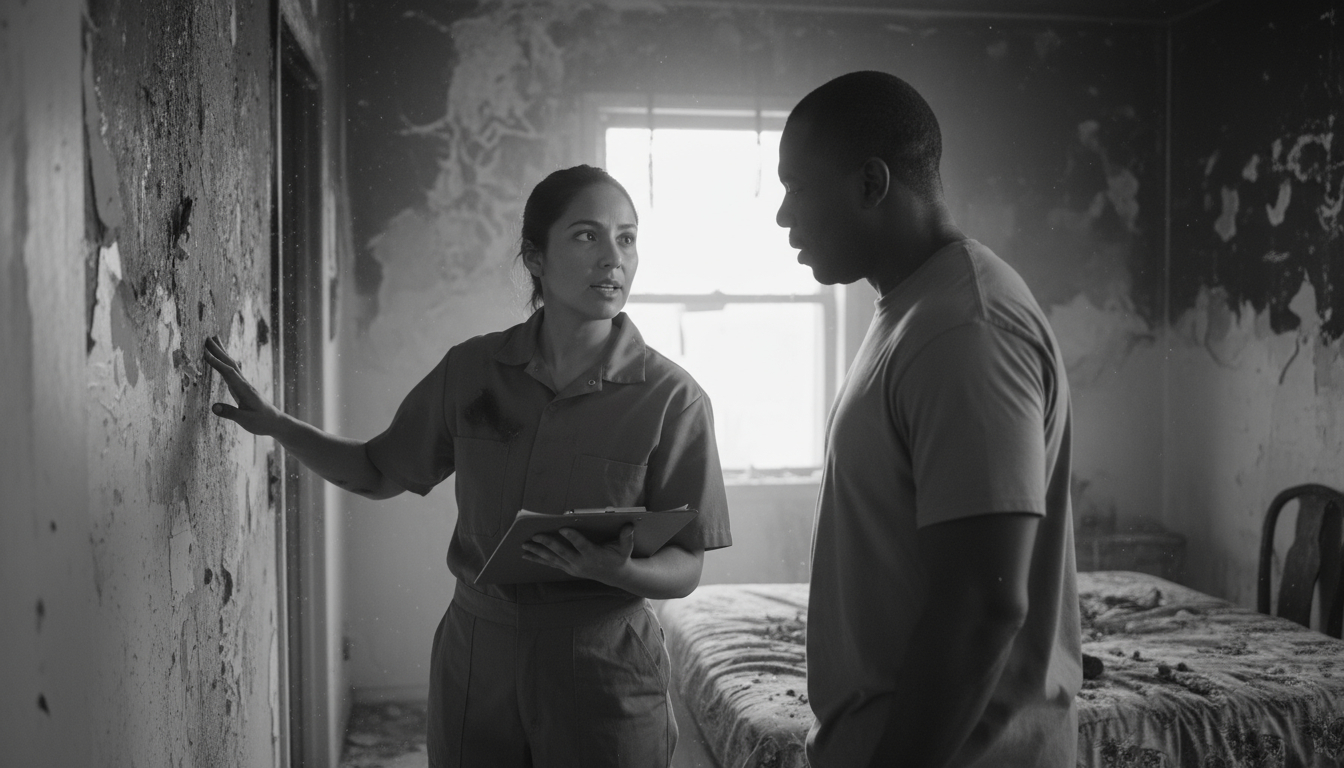
- Wear protective gear – closed-toe shoes, gloves, and mask if there’s mold or debris
- Watch for hazards – standing water, exposed wires, broken glass, or unstable surfaces
- Don’t enter flooded areas with electrical appliances still powered
- Take someone with you if possible for safety and assistance
🔴 Stop and Call a Professional If:
- You see structural damage that could cause collapse
- There are exposed electrical wires or sparking outlets
- You smell gas or suspect a gas leak
- There’s extensive water damage with potential electrical hazards
- You notice significant mold growth or strong chemical odors
- The building has been red-tagged by authorities
- Your property needs emergency board-up services to prevent further damage or unauthorized entry
Step-by-Step Documentation Process
Step 1: Contact Your Insurance Company Immediately
Before you start documenting, call your insurance agent or company to report the claim. Ask them about their specific documentation requirements and whether they’ll send an adjuster. Note your claim number and keep all communication records. This establishes a timeline and shows you’re taking prompt action.
✅ Success indicator: You have a claim number and understand your policy’s documentation requirements.
Step 2: Take Wide-Angle Overview Photos First
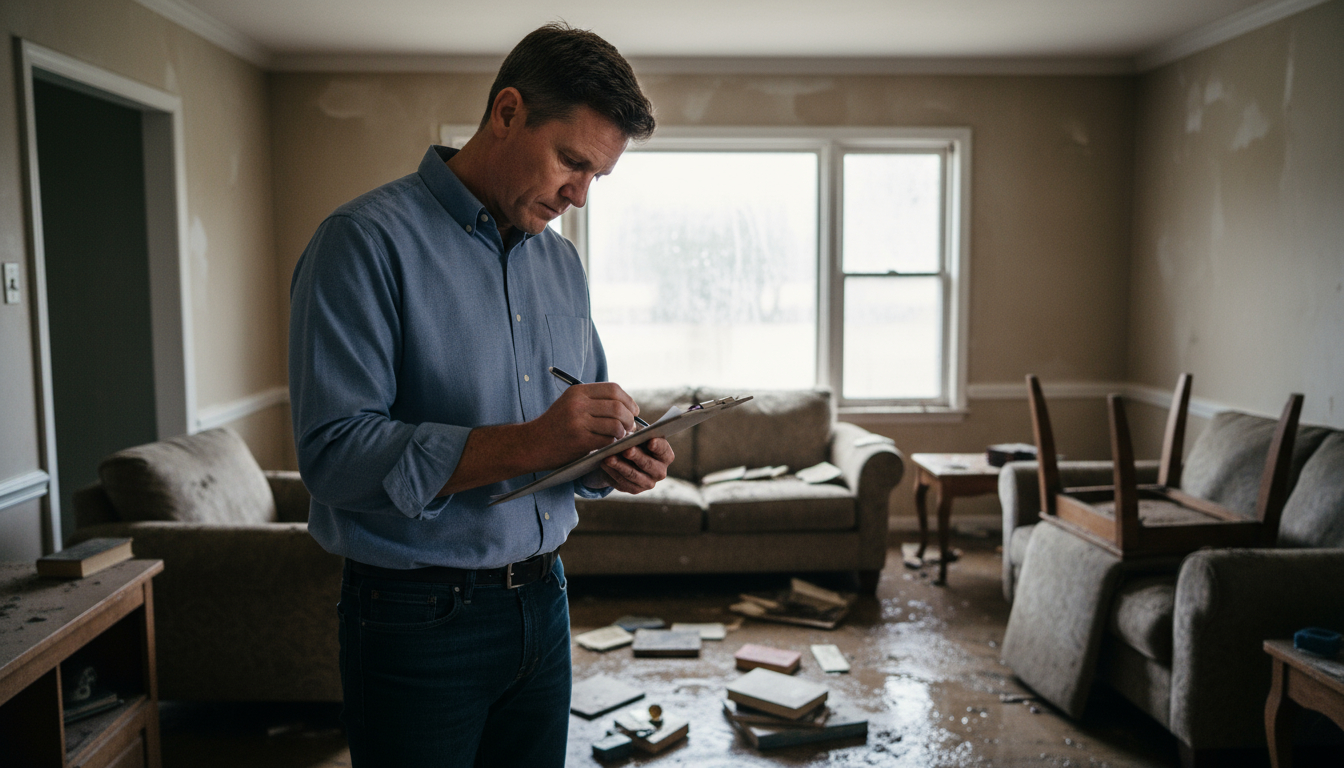
Start by photographing the exterior of your home from multiple angles, capturing the overall scene. Then move inside and take wide shots of each affected room before touching anything. These overview damage photos establish the scope and context of the disaster. Include landmarks or street signs in exterior shots to prove location. When you document disaster damage with wide-angle shots first, you create essential context for the detailed photos that follow.
💡 Pro tip: Take photos from doorways to show the entire room layout and damage context.
✅ Success indicator: You have 4-6 exterior angles and at least one wide shot of each damaged room.
Step 3: Document Every Detail with Close-Up Photos
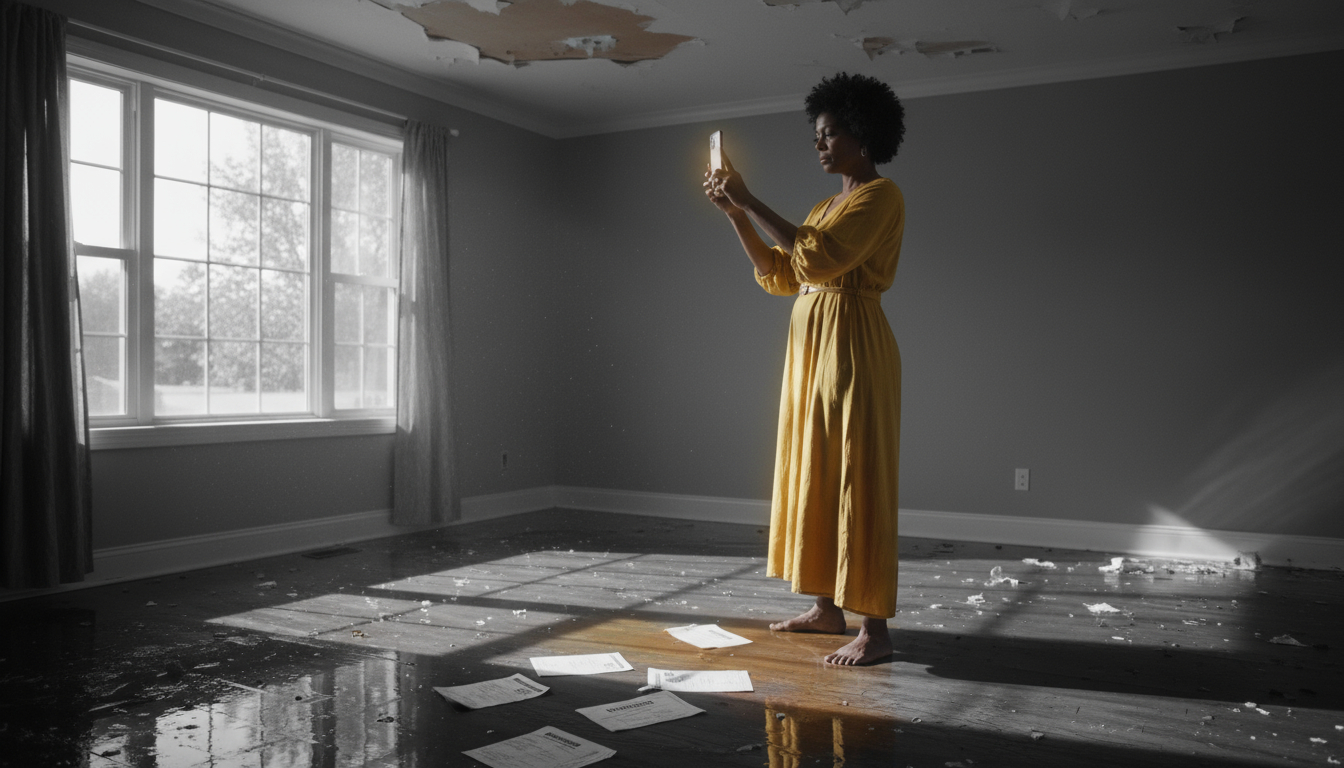
Now get detailed shots of every damaged item, surface, and area. Photograph each damaged item from multiple angles, including close-ups of specific damage. Capture serial numbers, model numbers, and brand names. For structural damage, photograph cracks, water stains, warped floors, and damaged ceilings up close with a measuring tape in the frame for scale. Learning to document disaster damage at both macro and micro levels ensures your insurance company sees the full extent of losses.
What to photograph:
- Every damaged room from multiple angles
- Each damaged item individually
- Serial/model numbers on appliances and electronics
- Water lines on walls showing flood height
- Ceiling damage, including stains and sagging
- Floor damage, warping, or staining
- Damaged personal belongings with brand labels visible
- Contents of closets, drawers, and storage areas
- Smoke damage or soot on walls and surfaces (for fire damage)
✅ Success indicator: You have at least 3-5 photos of each damaged item or area, including detail shots.

Step 4: Record Video Walkthroughs
Take a slow, narrated video walkthrough of your entire property. Speak clearly as you describe what you’re filming, explaining the damage as you see it. Start from the street, walk through each room methodically, and open closets and cabinets to show damage inside. This provides context that photos alone can’t capture and serves as powerful evidence of the extent of damage.
💡 Pro tip: Hold your phone horizontally (landscape mode) for better video quality and frame composition.
✅ Success indicator: You have a complete video walkthrough with clear narration of each affected area.
Step 5: Create a Detailed Written Inventory
Make a comprehensive list of every damaged item with detailed descriptions. For each item, note the brand, model, age, purchase date (if known), original cost, and current condition. Group items by room for easier organization. This written record supplements your visual documentation and helps ensure nothing is forgotten when filing your claim. When you document disaster damage with both photos and written inventories, you create the strongest possible insurance claims package.
| Item Description | Location | Brand/Model | Age/Purchase Date | Condition |
|---|---|---|---|---|
| Samsung 55″ TV | Living Room | Samsung UN55TU8000 | 2 years / June 2023 | Water damaged, non-functional |
| Leather Sofa | Living Room | Ashley Furniture | 3 years / March 2022 | Waterlogged, mold on cushions |
| Hardwood Flooring | Dining Room | Oak, 3/4″ solid | 10 years | Warped, buckling in multiple areas |
✅ Success indicator: Your inventory includes all damaged items with complete descriptions and details.

Step 6: Gather Supporting Documentation
Collect any existing documentation that proves ownership and value. Look for receipts, warranties, credit card statements, and prior insurance photos. Check email for online purchase confirmations. Pull up photos from social media or your phone that show items in your home before the disaster. These supporting documents strengthen your insurance claims by providing proof of ownership and value.
💡 Pro tip: Contact retailers where you made major purchases – many can provide duplicate receipts if you have the approximate date.
✅ Success indicator: You’ve gathered receipts, photos, or other proof for major damaged items.
Step 7: Measure and Document Affected Areas
Use your measuring tape to document the size of damaged areas. Measure rooms, water-damaged sections of walls, stained carpet areas, and any structural damage. Write these measurements in your notes and include a measuring tape in photos to provide visual scale. Accurate measurements help adjusters calculate replacement and repair needs.
✅ Success indicator: You have measurements for all significantly damaged areas and structural elements.
Step 8: Organize and Back Up All Documentation
Create digital folders organized by room or damage type. Name files clearly with dates and descriptions. Upload everything to cloud storage immediately and create a backup on an external drive or second device. Email copies to yourself as an additional backup. Proper organization makes filing your claim easier and ensures you won’t lose critical evidence. The way you organize how you document disaster damage can significantly impact how quickly your claim is processed.
Recommended folder structure:
- 📁 Insurance Claim [Date]
- 📁 Exterior Photos
- 📁 Room 1 – Living Room
- 📁 Room 2 – Kitchen
- 📁 Room 3 – Bedrooms
- 📁 Videos
- 📁 Receipts & Documents
- 📄 Inventory Spreadsheet
✅ Success indicator: All photos, videos, and documents are organized, named clearly, and backed up in multiple locations.

Step 9: Preserve Damaged Items Safely
Don’t throw anything away until your insurance adjuster approves it. Move damaged items to a safe location if possible, but keep them accessible for inspection. Take photos before moving anything. If items must be discarded for health or safety reasons, photograph them thoroughly and get written permission from your adjuster first. Keep samples of damaged materials when possible. For valuable or sentimental items that may be salvageable, consider professional contents cleaning and restoration services.
⚠️ Warning: Discarding items before the adjuster sees them can result in denied claims for those items.
✅ Success indicator: Damaged items are preserved and accessible, with photos documenting their original locations.
Step 10: Submit Documentation Promptly and Keep Records
Submit your documentation to your insurance company according to their preferred method. Send everything together if possible, but don’t delay if you’re still gathering receipts. Keep copies of everything you submit. Document all phone calls with dates, times, names, and summaries of conversations. Follow up regularly on your claim status and respond promptly to any requests for additional information.
✅ Success indicator: All documentation is submitted with confirmation of receipt, and you’re maintaining a log of all communications.
Insurance Documentation Best Practices
| Best Practice | Why It Matters | Common Mistake to Avoid |
|---|---|---|
| Take photos before cleanup | Shows actual damage extent | Cleaning before documenting |
| Include date stamps on photos | Proves timeline of events | Forgetting to enable date/time stamps |
| Photograph from multiple angles | Provides complete visual record | Taking only one photo per item |
| Document everything, even small items | Small items add up quickly | Only photographing major damage |
| Back up all files immediately | Prevents loss of evidence | Relying on a single device |
Troubleshooting Common Documentation Challenges
Even when you’re careful to document disaster damage thoroughly, you may encounter challenges during the process. Here are solutions to the most common issues:
Problem: Photos Are Too Dark to Show Damage Clearly
Solution: Use your phone’s flash or bring portable lighting. Take multiple shots with different lighting settings. Open curtains and turn on all available lights. For very dark areas, use a flashlight held at an angle to highlight texture and damage.
Problem: Can’t Find Receipts for Expensive Items
Solution: Check email for online purchase confirmations. Contact your credit card company for old statements. Look through old photos that might show the item with visible brand names. Search for the item online to establish typical value ranges. Provide an affidavit describing when and where you purchased the item.
Problem: Too Much Damage to Document Everything
Solution: Start with the most valuable items and most severe structural damage. Take general overview photos of areas with many small items. Group similar items together in photos. Consider hiring a public adjuster or restoration company to help with documentation for extensive damage.
Problem: Insurance Company Wants More Information
Solution: Respond promptly to all requests. Take additional photos if needed – you can always return to the property. Be thorough in your written descriptions. Don’t hesitate to ask what specific information they need. Keep detailed records of all additional documentation submitted.
📋 Documentation Checklist
Use this checklist to ensure you haven’t missed anything:
- Contacted insurance company and received claim number
- Photographed exterior of property from all sides
- Taken wide-angle shots of all damaged rooms
- Documented close-up details of each damaged item
- Captured serial numbers and model information
- Recorded video walkthrough with narration
- Created written inventory with descriptions
- Gathered receipts, warranties, and proof of purchase
- Measured all significantly damaged areas
- Organized files into clear folder structure
- Backed up all documentation in multiple locations
- Preserved damaged items for adjuster inspection
- Submitted complete documentation to insurance company
- Kept records of all communications
When to Call a Professional
While most homeowners can successfully document disaster damage on their own, there are situations where professional help is invaluable:
Consider hiring a public adjuster if:
- Your claim is large or complex (typically over $50,000)
- You’re unfamiliar with insurance claims processes
- Your initial settlement offer seems too low
- You’re overwhelmed by the documentation requirements
- The insurance company is disputing your claim
- You need help interpreting your policy coverage
Consider hiring a restoration company to:
- Provide professional damage assessment and documentation
- Prevent further damage with emergency services
- Create detailed estimates for repair work
- Handle communication with insurance adjusters
- Begin restoration work once claim is approved

Preventive Tips for Future Protection
The best time to prepare to document disaster damage is before disaster strikes. Creating a home inventory now makes the claims process much easier later:
Create a home inventory before disaster strikes:
- Photograph your home room by room annually
- Keep receipts for major purchases in cloud storage
- Store copies of insurance policies off-site
- Make a video walkthrough of your home showing belongings
- Document serial numbers of valuable items
- Update your inventory when making new purchases
- Review your insurance coverage yearly to ensure adequate protection
💡 Pro tip: Many insurance companies offer free home inventory apps that make pre-disaster documentation easy and organized.
Frequently Asked Questions
How soon should I document disaster damage after it occurs?
Document damage as soon as it’s safe to enter your property, ideally within 24-48 hours. Quick documentation prevents further damage from being confused with initial damage and shows your insurance company you’re taking prompt action. However, never compromise your safety – wait for official clearance if authorities have evacuated the area or if there are serious hazards like structural instability or downed power lines.
Can I start cleaning up before the insurance adjuster arrives?
You should document everything thoroughly with photos and video before cleaning, but you can and should take steps to prevent further damage. Most policies require you to mitigate additional damage, which might include tarping a damaged roof, removing standing water, or boarding up broken windows. Just photograph everything before you clean or repair, and save all receipts for emergency repairs as these may be reimbursable under your policy.
What if I don’t have receipts for my damaged items?
Don’t worry – missing receipts won’t necessarily hurt your claim. Provide alternative proof like credit card statements, bank records, online order confirmations, or prior insurance photos of your home. You can also search for comparable items online to establish value ranges, and your insurance company may accept a sworn statement describing the item, when you purchased it, and its approximate value. Photos showing brand names and model numbers are especially helpful.
Should I hire a public adjuster to help with my claim?
For most homeowners with straightforward claims, thorough self-documentation is sufficient. However, consider hiring a public adjuster if your claim is complex or large, if you receive a settlement offer that seems too low, if you’re unfamiliar with insurance terminology and processes, or if you’re overwhelmed by the documentation requirements. Public adjusters typically charge a percentage of your settlement but can often negotiate significantly higher payouts that more than cover their fees.
How many photos should I take of each damaged item?
Take at least 3-5 photos of each damaged item from different angles, including close-ups of the specific damage, wider shots showing context, and detailed shots of brand names, model numbers, or serial numbers. For major structural damage, take even more photos showing the damage from various perspectives and distances. It’s better to have too many photos than too few – you can always delete extras, but you can’t go back in time to capture what you missed.
Get Professional Help With Disaster Recovery
While knowing how to document disaster damage properly is crucial for insurance claims, the actual restoration process requires professional expertise. If your home has suffered disaster damage, experienced restoration professionals can help you navigate the recovery process from start to finish. They can provide detailed damage assessments, work directly with your insurance company, and restore your property to pre-loss condition. Advanced DRI offers 24-hour emergency services to help you respond immediately when disaster strikes.
Don’t face disaster recovery alone. Contact a professional restoration company to discuss your situation and get expert guidance on the restoration process. The sooner you involve professionals, the better your chances of minimizing damage and maximizing your insurance settlement.
Remember: When you document disaster damage thoroughly, you protect your investment and ensure you receive fair compensation for your losses. Take your time, be detailed, and don’t hesitate to ask for professional help when you need it.

